crwdns2931527:0crwdnd2931527:0crwdnd2931527:0crwdnd2931527:0crwdne2931527:0
crwdns2935425:01crwdne2935425:0
crwdns2931653:01crwdne2931653:0

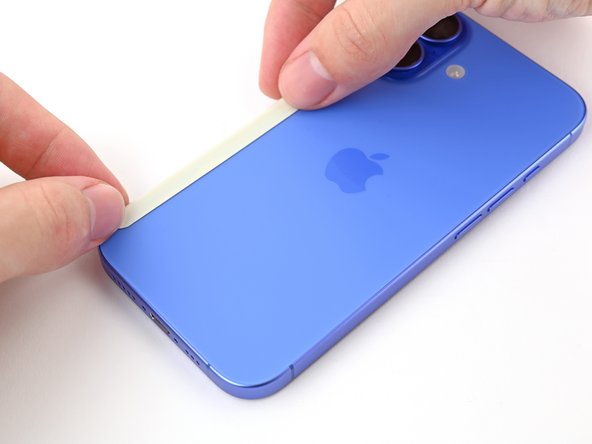
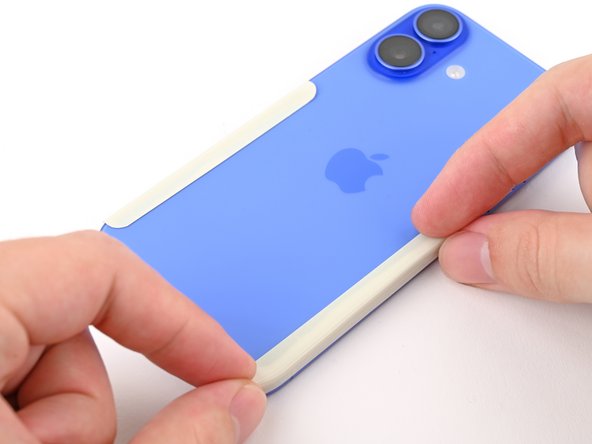


Secure the back glass
-
Cut two strips of tape, apply them along the long edges of the phone, and fold them over the back glass to secure it.
crwdns2944171:0crwdnd2944171:0crwdnd2944171:0crwdnd2944171:0crwdne2944171:0