crwdns2933423:0crwdne2933423:0

スマートはんだごての主基板の交換

crwdns2931529:0crwdnd2931529:0crwdnd2931529:0crwdnd2931529:02crwdnd2931529:0crwdne2931529:0

crwdns2935425:04crwdne2935425:0

crwdns2936315:0crwdne2936315:0
crwdns2936323:0crwdne2936323:0
crwdns2931653:04crwdne2931653:0
Smart Soldering Iron Main Board Replacement, Remove the main board: crwdns2935265:00crwdnd2935265:01crwdnd2935265:03crwdne2935265:0 Smart Soldering Iron Main Board Replacement, Remove the main board: crwdns2935265:00crwdnd2935265:02crwdnd2935265:03crwdne2935265:0 Smart Soldering Iron Main Board Replacement, Remove the main board: crwdns2935265:00crwdnd2935265:03crwdnd2935265:03crwdne2935265:0
Remove the main board
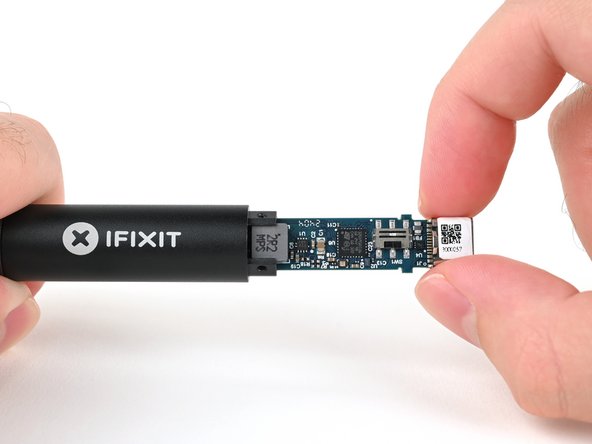
  • Grasp the end of the main board that sticks out from inside of the soldering iron handle.

  • Pull to slide the main board out of the handle.

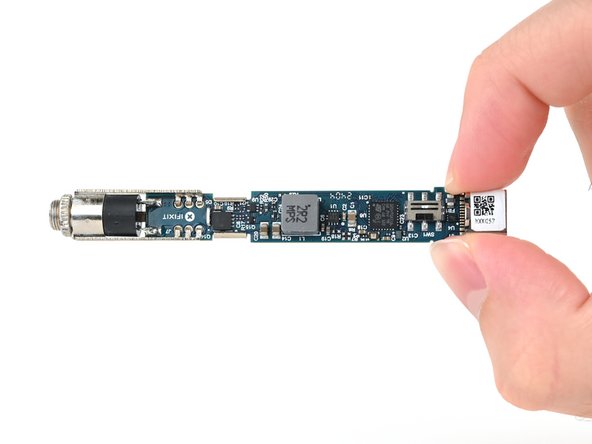
  • When reassembling your iron, make sure to insert the main board with the shiny iron auxiliary port end first.

はんだごてのハンドルから突き出ているメインボードの端をつかみます。

引っ張って、メインボードをハンドルからスライドさせて取り外します。

はんだごてを再び組み立てる際には、はんだごて補助ポートの光沢のある端を最初に挿入してください。

crwdns2944171:0crwdnd2944171:0crwdnd2944171:0crwdnd2944171:0crwdne2944171:0