crwdns2933423:0crwdne2933423:0
crwdns2947577:0crwdnd2947577:0crwdne2947577:0

Smart Soldering Iron Main Board Replacement

crwdns2942213:0crwdne2942213:0

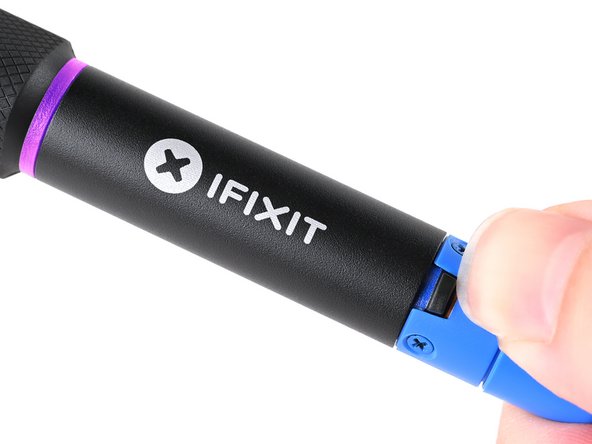
  1. Smart Soldering Iron Main Board Replacement, How to read the Touch-Safe Indicator LED: crwdns2935265:01crwdnd2935265:01crwdnd2935265:03crwdne2935265:0 Smart Soldering Iron Main Board Replacement, How to read the Touch-Safe Indicator LED: crwdns2935265:01crwdnd2935265:02crwdnd2935265:03crwdne2935265:0 Smart Soldering Iron Main Board Replacement, How to read the Touch-Safe Indicator LED: crwdns2935265:01crwdnd2935265:03crwdnd2935265:03crwdne2935265:0
    • The color of the Touch-Safe Indicator LED provides information about the status of the soldering iron tip. Note: the soldering iron grip is always safe to touch.

    • The LED only functions when the soldering iron is connected to a power source—so use caution when handling an unplugged iron if you don't know how hot it is.

    • Blue LED: The iron has cooled below 40 °C (100 °F), and the tip is safe to touch.

    • Purple LED: When pulsing, the iron is actively heating up or cooling down. When static, the iron is in Idle Mode. The iron tip is not safe to touch.

    • Orange LED: The iron has reached the set temperature and is ready to solder. The iron tip is not safe to touch.

    crwdns2952109:0crwdne2952109:0

    crwdns2917038:0crwdne2917038:0

  2. Smart Soldering Iron Main Board Replacement, Turn off the iron: crwdns2935265:02crwdnd2935265:01crwdnd2935265:03crwdne2935265:0 Smart Soldering Iron Main Board Replacement, Turn off the iron: crwdns2935265:02crwdnd2935265:02crwdnd2935265:03crwdne2935265:0 Smart Soldering Iron Main Board Replacement, Turn off the iron: crwdns2935265:02crwdnd2935265:03crwdnd2935265:03crwdne2935265:0
    • The sliding power switch has a built-in color indicator for each position:

    • Orange: ON

    • Blue: OFF

    • Slide the power switch to the blue OFF position.

    • The LED will turn purple and pulse to show the iron is powering down.

    • Leave the soldering iron connected until the indicator ring turns blue, indicating it's now safe to touch the soldering iron tip.

    • Remember: The LED only functions when the soldering iron is connected to a power source—so use caution when handling an unplugged iron if you don't know how hot it is.

    crwdns2952109:0crwdne2952109:0

    crwdns2917038:0crwdne2917038:0

  3. Smart Soldering Iron Main Board Replacement, Unplug the iron: crwdns2935265:03crwdnd2935265:01crwdnd2935265:02crwdne2935265:0 Smart Soldering Iron Main Board Replacement, Unplug the iron: crwdns2935265:03crwdnd2935265:02crwdnd2935265:02crwdne2935265:0
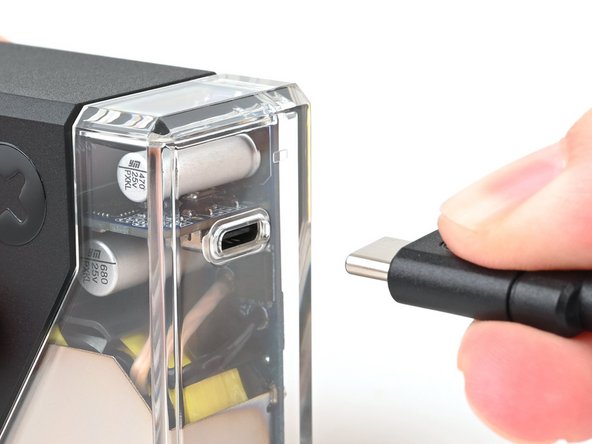
    • Disconnect the iron's USB-C cable from your power source.

    crwdns2952109:0crwdne2952109:0

    crwdns2917038:0crwdne2917038:0

  4. Smart Soldering Iron Main Board Replacement, Unlock the locking collar: crwdns2935265:04crwdnd2935265:01crwdnd2935265:03crwdne2935265:0 Smart Soldering Iron Main Board Replacement, Unlock the locking collar: crwdns2935265:04crwdnd2935265:02crwdnd2935265:03crwdne2935265:0 Smart Soldering Iron Main Board Replacement, Unlock the locking collar: crwdns2935265:04crwdnd2935265:03crwdnd2935265:03crwdne2935265:0
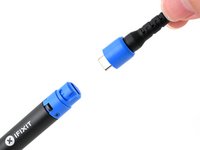
    • Twist the blue cable collar counter-clockwise and pull up to release it from the iron.

    crwdns2952109:0crwdne2952109:0

    crwdns2917038:0crwdne2917038:0

  5. Smart Soldering Iron Main Board Replacement, Disconnect the cable from the iron: crwdns2935265:05crwdnd2935265:01crwdnd2935265:02crwdne2935265:0 Smart Soldering Iron Main Board Replacement, Disconnect the cable from the iron: crwdns2935265:05crwdnd2935265:02crwdnd2935265:02crwdne2935265:0
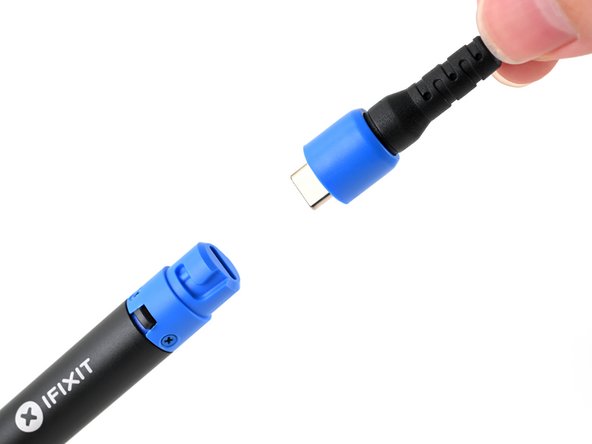
    • Disconnect the USB-C cable from the Smart Soldering Iron.

    crwdns2952109:0crwdne2952109:0

    crwdns2917038:0crwdne2917038:0

  6. Smart Soldering Iron Main Board Replacement, Remove the soldering iron cap: crwdns2935265:06crwdnd2935265:01crwdnd2935265:02crwdne2935265:0 Smart Soldering Iron Main Board Replacement, Remove the soldering iron cap: crwdns2935265:06crwdnd2935265:02crwdnd2935265:02crwdne2935265:0
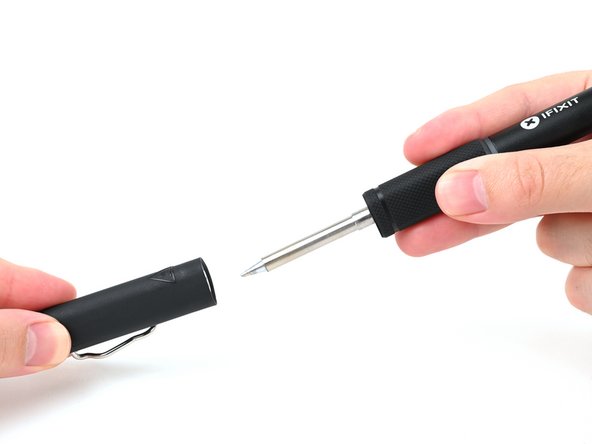
    • Hold the iron from both ends and pull to remove the cap.

    crwdns2952109:0crwdne2952109:0

    crwdns2917038:0crwdne2917038:0

  7. Smart Soldering Iron Main Board Replacement, Remove the quick-swap soldering tip: crwdns2935265:07crwdnd2935265:01crwdnd2935265:02crwdne2935265:0 Smart Soldering Iron Main Board Replacement, Remove the quick-swap soldering tip: crwdns2935265:07crwdnd2935265:02crwdnd2935265:02crwdne2935265:0
    • Make sure the tip has fully cooled before touching it.

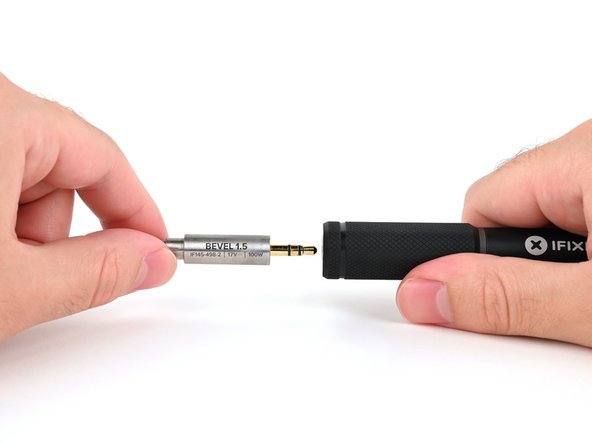
    • Firmly grasp the base of the tip and pull it away from the front of the iron handle to remove it.

    crwdns2952109:0crwdne2952109:0

    crwdns2917038:0crwdne2917038:0

  8. Smart Soldering Iron Main Board Replacement, Remove the handle screws: crwdns2935265:08crwdnd2935265:01crwdnd2935265:02crwdne2935265:0 Smart Soldering Iron Main Board Replacement, Remove the handle screws: crwdns2935265:08crwdnd2935265:02crwdnd2935265:02crwdne2935265:0
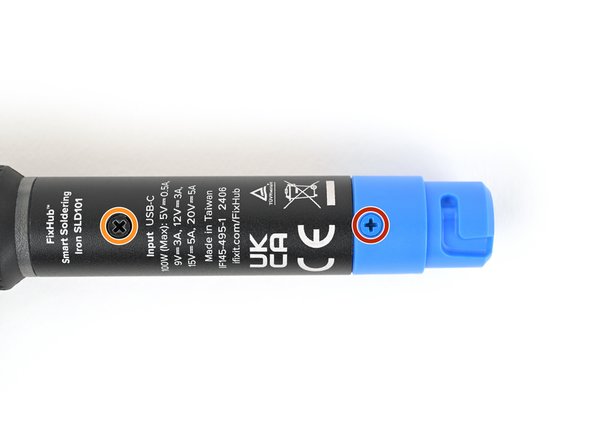
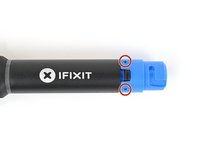
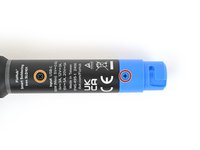
    • Use a Phillips screwdriver to remove the three blue 3.4 mm‑long screws securing the blue end cap.

    • Use a Phillips screwdriver to remove the one black 3.4 mm‑long screw at the base of the enclosure.

    crwdns2952109:0crwdne2952109:0

    crwdns2917038:0crwdne2917038:0

  9. Smart Soldering Iron Main Board Replacement, Remove the blue end cap: crwdns2935265:09crwdnd2935265:01crwdnd2935265:02crwdne2935265:0 Smart Soldering Iron Main Board Replacement, Remove the blue end cap: crwdns2935265:09crwdnd2935265:02crwdnd2935265:02crwdne2935265:0
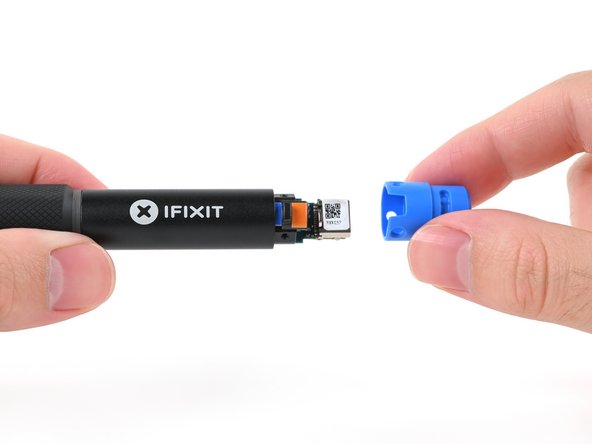
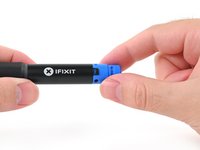
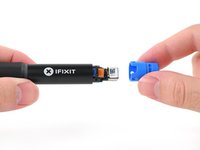
    • Pull to remove the blue end cap from the rest of the iron handle.

    crwdns2952109:0crwdne2952109:0

    crwdns2917038:0crwdne2917038:0

  10. Smart Soldering Iron Main Board Replacement, Remove the power switch: crwdns2935265:010crwdnd2935265:01crwdnd2935265:02crwdne2935265:0 Smart Soldering Iron Main Board Replacement, Remove the power switch: crwdns2935265:010crwdnd2935265:02crwdnd2935265:02crwdne2935265:0
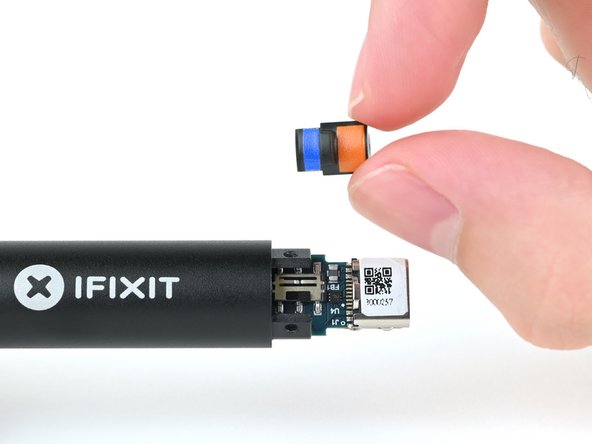
    • Remove the blue and orange power switch.

    crwdns2952109:0crwdne2952109:0

    crwdns2917038:0crwdne2917038:0

  11. Smart Soldering Iron Main Board Replacement, Remove the main board: crwdns2935265:011crwdnd2935265:01crwdnd2935265:03crwdne2935265:0 Smart Soldering Iron Main Board Replacement, Remove the main board: crwdns2935265:011crwdnd2935265:02crwdnd2935265:03crwdne2935265:0 Smart Soldering Iron Main Board Replacement, Remove the main board: crwdns2935265:011crwdnd2935265:03crwdnd2935265:03crwdne2935265:0
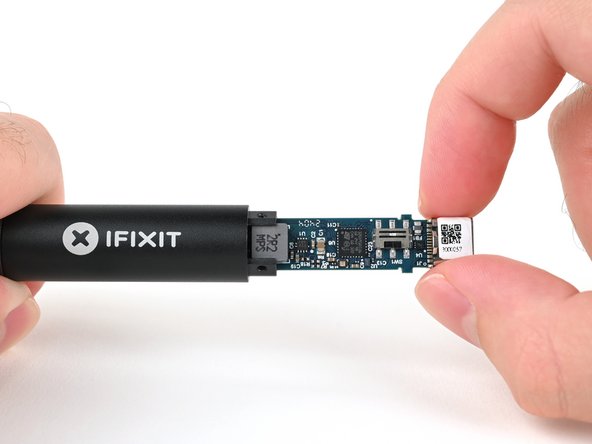
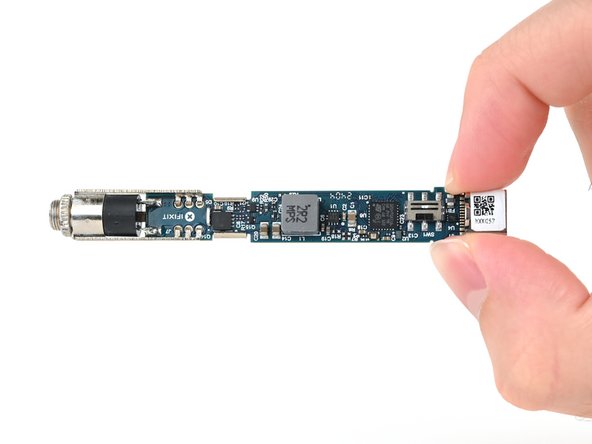
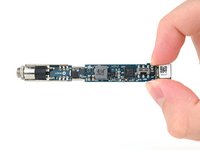
    • Grasp the end of the main board that sticks out from inside of the soldering iron handle.

    • Pull to slide the main board out of the handle.

    • When reassembling your iron, make sure to insert the main board with the shiny iron auxiliary port end first.

    crwdns2952109:0crwdne2952109:0

    crwdns2917038:0crwdne2917038:0

crwdns2915888:0crwdne2915888:0

To reassemble your Smart Soldering Iron, follow these instructions in reverse order.

Take your e-waste to an R2 or e-Stewards certified recycler.

Repair didn’t go as planned? Try some basic troubleshooting, or ask our Answers community for help.

crwdns2935221:0crwdne2935221:0

crwdns2935227:0crwdne2935227:0

Kara Piepenbrink

crwdns2935283:005/31/24crwdne2935283:0

7,988 crwdns2915208:0crwdne2915208:0

crwdns2935297:021crwdne2935297:0

crwdns2935287:0crwdne2935287:0

iFixit crwdns2935289:0iFixitcrwdne2935289:0

Staff

crwdns2931471:0122crwdne2931471:0

crwdns2935297:026,617crwdne2935297:0

crwdns2947412:00crwdne2947412:0

crwdns2917038:0crwdne2917038:0

crwdns2936625:0crwdne2936625:0:

crwdns2936751:024crwdne2936751:0 7

crwdns2936753:07crwdne2936753:0 10

crwdns2936753:030crwdne2936753:0 80

crwdns2942667:0crwdne2942667:0 1,574