crwdns2933423:0crwdne2933423:0

Google Pixel 9 - バッテリー交換

crwdns2936315:0crwdne2936315:0
crwdns2936323:0crwdne2936323:0
crwdns2931653:017crwdne2931653:0
Google Pixel 9 Battery Replacement, Heat the battery: crwdns2935265:00crwdnd2935265:01crwdnd2935265:03crwdne2935265:0 Google Pixel 9 Battery Replacement, Heat the battery: crwdns2935265:00crwdnd2935265:02crwdnd2935265:03crwdne2935265:0 Google Pixel 9 Battery Replacement, Heat the battery: crwdns2935265:00crwdnd2935265:03crwdnd2935265:03crwdne2935265:0
Heat the battery
  • Before starting the battery removal process, carefully read the next three steps. The pull tabs are most effective immediately after heating the battery, so you'll want to know exactly what to do before starting the process.

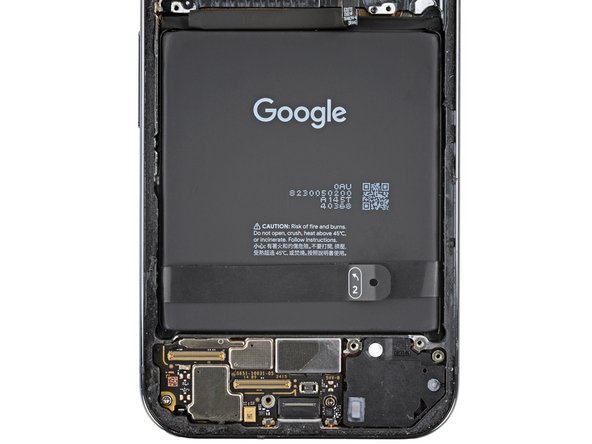
  • Strong strips of adhesive secure the battery to the frame. Heating the battery will soften the adhesive, making it easier to separate.

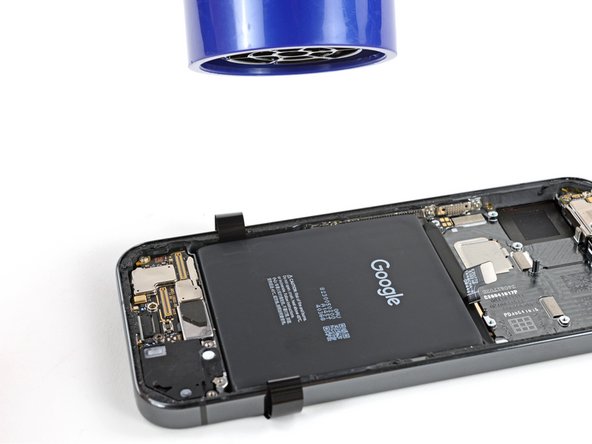
  • Use a hair dryer on High heat and Low speed settings to heat the battery for three minutes, while holding the hair dryer about three inches from the battery. Try to evenly spread the heat over the entire surface of the battery.

  • Alternatively, you can use a heat mat at 70 °C (158 °F) with your phone placed screen side down for 10 minutes.

バッテリーを取り外す作業を始める前に、次の三つの手順を注意深く読んでください。プルタブが加熱の影響を一番受けやすいため、読みながら作業するよりも、どのような手順を踏むか完全に理解してから作業を始めてください。

強力な接着剤がバッテリーをフレームに固定しています。加熱することで接着剤が柔らかくなり、取り外しが簡単になります。

ドライヤーの設定を高温かつ弱風に設定し、7~8cm離れた場所から3分間バッテリーに風を当てます。このとき、熱がバッテリーの表面全体にまんべんなく加わるようにしてください。

ドライヤーの代わりにヒートマットを使うこともできます。この場合、温度を70°Cに設定し、画面が下向きになるように端末を置いて10分加熱します。

crwdns2944171:0crwdnd2944171:0crwdnd2944171:0crwdnd2944171:0crwdne2944171:0