crwdns2933423:0crwdne2933423:0

Main Board Removal

crwdns2931527:0crwdnd2931527:0crwdnd2931527:0crwdnd2931527:0crwdne2931527:0

crwdns2936315:0crwdne2936315:0
crwdns2936323:0crwdne2936323:0
crwdns2931653:04crwdne2931653:0
Main Board Removal: crwdns2935265:00crwdnd2935265:01crwdnd2935265:03crwdne2935265:0 Main Board Removal: crwdns2935265:00crwdnd2935265:02crwdnd2935265:03crwdne2935265:0 Main Board Removal: crwdns2935265:00crwdnd2935265:03crwdnd2935265:03crwdne2935265:0
  • The power supply is connected to the bottom of the main board assembly by metal prongs that plug into the bottom left corner.

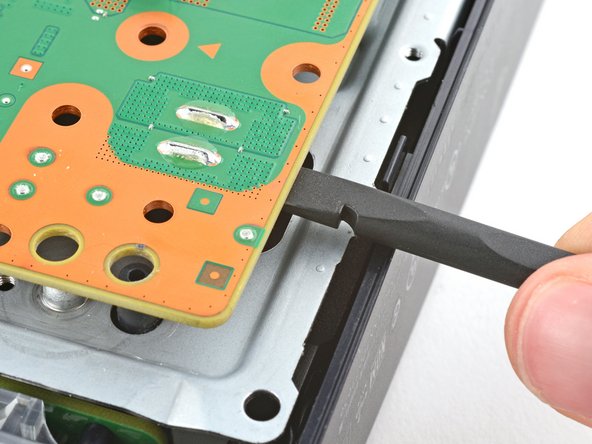
  • Insert the flat end of a spudger between the board and the lower shield plate, by the two parallel solder joints near the corner with the power button.

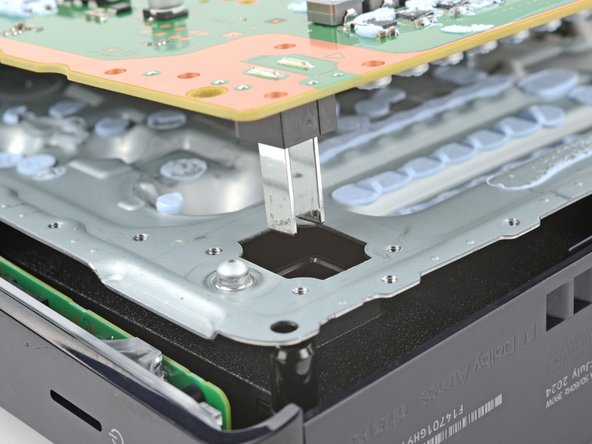
  • Use your spudger to pry up the board until the two prongs come completely out of their socket.

  • You should feel the prongs slide out.

  • During reassembly, press down on the corner of the board to fully seat the prongs in the power supply—you should feel them slide into place.

crwdns2935429:0crwdne2935429:0

crwdns2935429:0crwdne2935429:0

crwdns2935429:0crwdne2935429:0

crwdns2935429:0crwdne2935429:0

crwdns2935429:0crwdne2935429:0

crwdns2944171:0crwdnd2944171:0crwdnd2944171:0crwdnd2944171:0crwdne2944171:0