crwdns2935425:010crwdne2935425:0
crwdns2931653:010crwdne2931653:0

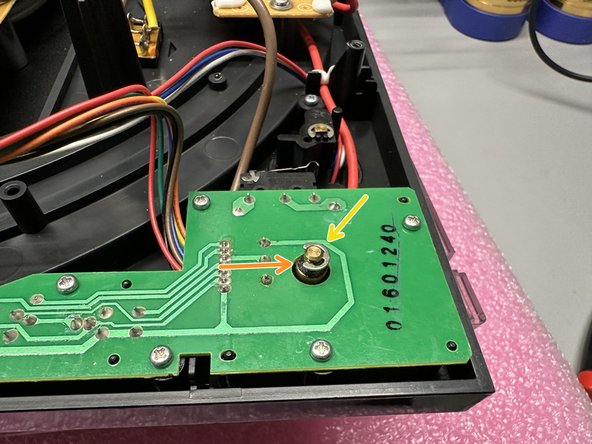


Replacement: Inserting And Securing The Button
-
Insert the button back into the base of the turntable with the small highlighted post from Step 9 closest to you.
-
Adjust the turntable on top of the dust cover such that the button is protruding from the PCB.
-
Slide the black felt washer onto the shaft of the new button.
-
Press the clamp back into the grooved portion of the shaft.
crwdns2944171:0crwdnd2944171:0crwdnd2944171:0crwdnd2944171:0crwdne2944171:0