crwdns2935425:03crwdne2935425:0
crwdns2931653:03crwdne2931653:0

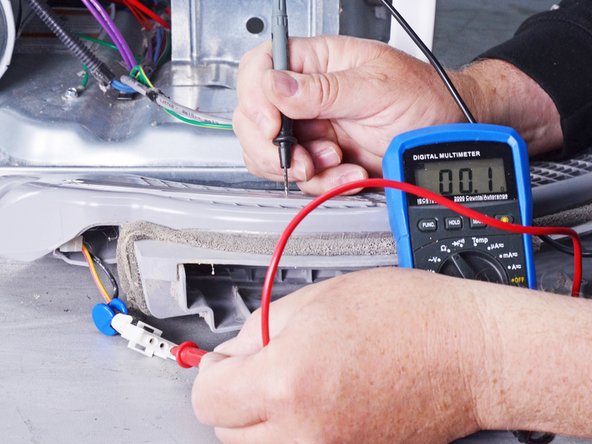
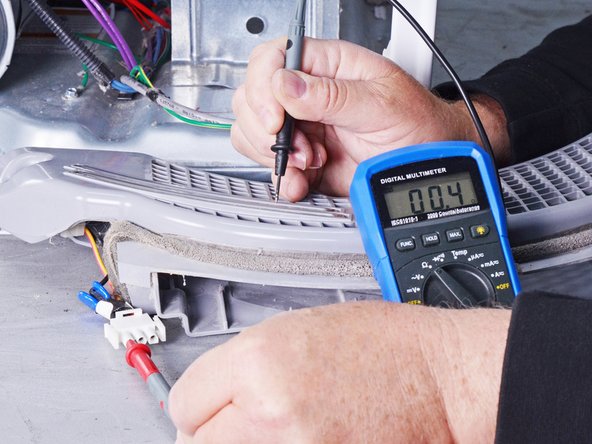


Check continuity from strip to connector
-
Set the multimeter to resistance (Ω) and check the continuity between the two metal strips and their respective ports located on the outside edges of the connector.
-
If the strips show continuity (less than 1 Ω) to the connector, go to the next step.
-
If either strip shows an open circuit (OL) to its connector, skip the next step.
crwdns2944171:0crwdnd2944171:0crwdnd2944171:0crwdnd2944171:0crwdne2944171:0