crwdns2933423:0crwdne2933423:0

Nintendo 3DS XL 상단 및 하단 외부 케이스 교체

crwdns2936315:0crwdne2936315:0
crwdns2936325:0crwdne2936325:0
crwdns2931653:04crwdne2931653:0
Nintendo 3DS XL Top and Bottom Outer Casing Replacement: crwdns2935265:00crwdnd2935265:01crwdnd2935265:03crwdne2935265:0 Nintendo 3DS XL Top and Bottom Outer Casing Replacement: crwdns2935265:00crwdnd2935265:02crwdnd2935265:03crwdne2935265:0 Nintendo 3DS XL Top and Bottom Outer Casing Replacement: crwdns2935265:00crwdnd2935265:03crwdnd2935265:03crwdne2935265:0
  • Flip the device over to its top side and open its lid.

  • Be careful when using the tools close to the screen.

  • Remove the rubber pieces with the help of tweezers.

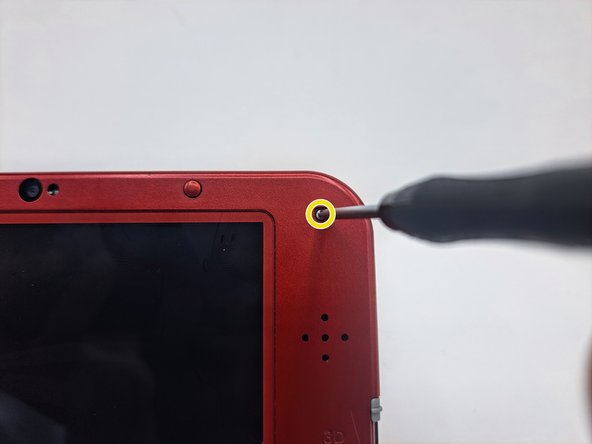
  • Unscrew the 2.0 mm screws in a counterclockwise motion with a Phillips #00 screwdriver.

기기를 위로 뒤집어 뚜껑을 열어주세요.

스크린 근처 에서 도구를 사용할 때는 주의해주세요.

IF145-020을 사용하여 고무 조각을 분리하세요.

Phillips #00 드라이버를 사용해 2.0mm 나사를 시계 반대 방향으로 돌려 풀어주세요.

crwdns2944171:0crwdnd2944171:0crwdnd2944171:0crwdnd2944171:0crwdne2944171:0