crwdns2933423:0crwdne2933423:0

Nintendo 3DS XL 상단 및 하단 외부 케이스 교체

crwdns2936315:0crwdne2936315:0
crwdns2936325:0crwdne2936325:0
crwdns2931653:03crwdne2931653:0
Nintendo 3DS XL Top and Bottom Outer Casing Replacement: crwdns2935265:00crwdnd2935265:01crwdnd2935265:02crwdne2935265:0 Nintendo 3DS XL Top and Bottom Outer Casing Replacement: crwdns2935265:00crwdnd2935265:02crwdnd2935265:02crwdne2935265:0
  • Make sure the battery is in its seated position.

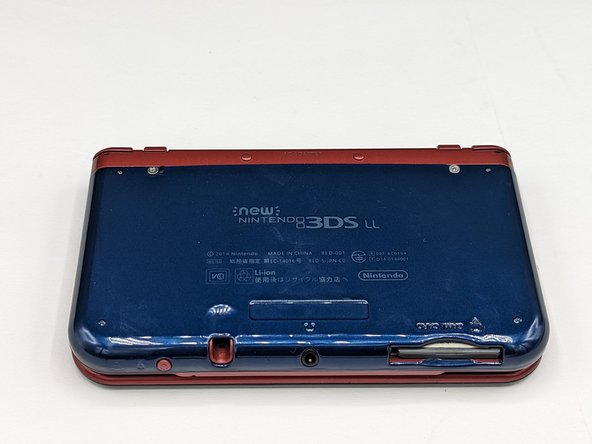
  • Place the replacement rear case onto the rear panel of device.

  • Snap the new case in place by pressing its wedges onto the rear panels.

  • A click sound will indicate successful locking of the wedges.

  • Screw in a clockwise motion the 2.0 mm screws using the Phillips #00 screwdriver.

배터리가 제대로 장착되어 있는지 확인하세요.

교체용 후면 케이스를 기기의 후면 패널 위에 놓으세요.

새 케이스의 쐐기를 후면 패널에 눌러서 제자리에 고정하세요.

딸깍하는 소리로 쐐기가 제대로 잠긴 것을 알 수 있습니다.

Phillips #00 드라이버를 사용해 2.0 mm 나사를 시계 방향으로 돌려 조여주세요.

crwdns2944171:0crwdnd2944171:0crwdnd2944171:0crwdnd2944171:0crwdne2944171:0