crwdns2935425:015crwdne2935425:0
crwdns2931653:015crwdne2931653:0

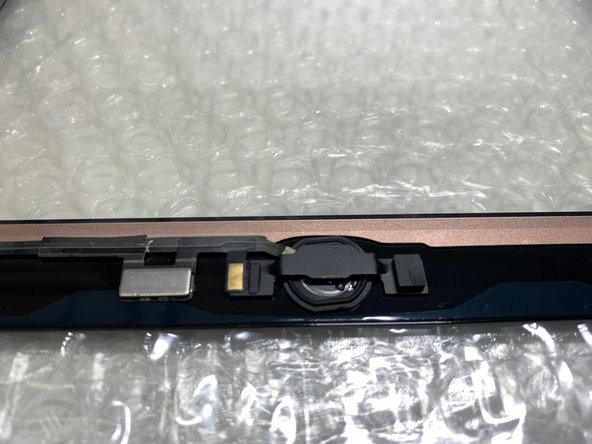


Home button installation - part #2
-
mount the metal Home button bracket so that the round distance corresponds to the micro-switch of the button - which is important for proper work of entire button (click function)
-
stick the rest of the button tape to the glass. In the case (like mine) where the screen adhesive is already placed on the inside of the glass, make sure that you do not stick the button to the film protecting the adhesive. Lift the foil protecting the adhesive and glue the button elements under it.
crwdns2944171:0crwdnd2944171:0crwdnd2944171:0crwdnd2944171:0crwdne2944171:0