crwdns2933423:0crwdne2933423:0

Google Pixel 3 スクリーンアセンブリの交換

crwdns2936315:0crwdne2936315:0
crwdns2936323:0crwdne2936323:0
crwdns2931653:012crwdne2931653:0
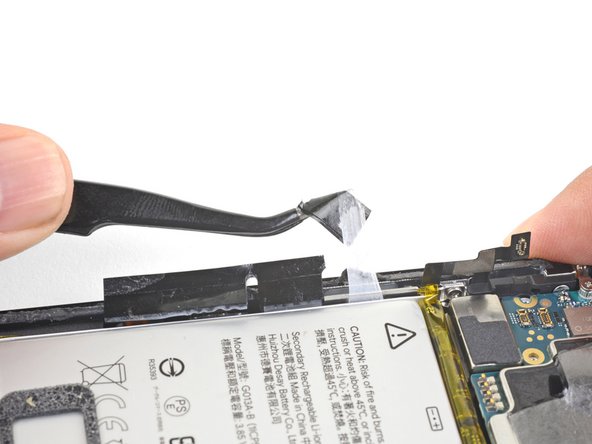
Google Pixel 3 Screen Assembly Replacement, Remove the pull tab: crwdns2935265:00crwdnd2935265:01crwdnd2935265:03crwdne2935265:0 Google Pixel 3 Screen Assembly Replacement, Remove the pull tab: crwdns2935265:00crwdnd2935265:02crwdnd2935265:03crwdne2935265:0 Google Pixel 3 Screen Assembly Replacement, Remove the pull tab: crwdns2935265:00crwdnd2935265:03crwdnd2935265:03crwdne2935265:0
Remove the pull tab
  • Pull on the black pull tab at a shallow angle with steady force. When the adhesive grows long, roll it around some tweezer tips and continue pulling.

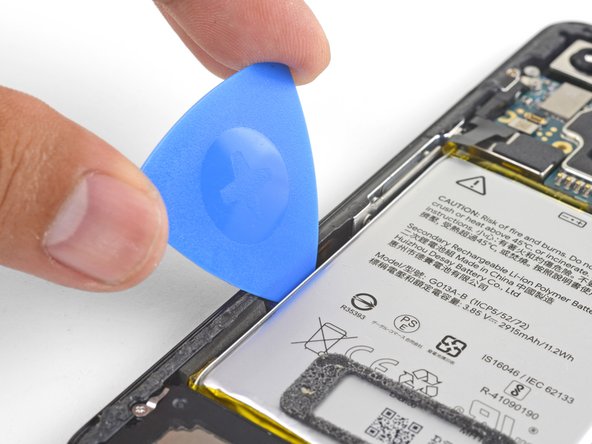
  • If the adhesive strips break, use an opening pick to help pry up and loosen the battery.

  • You can also fill a plastic dropper or syringe with high concentration isopropyl alcohol and apply a few drops under the left edge of the battery. Give the alcohol a minute to weaken the battery adhesive.

黒いプルタブを低い角度で一定の力で引っ張ります。接着剤が伸びてきたら、ピンセットの先端に巻きつけて引っ張り続けます。

接着ストリップが切れた場合は、オープニングピックを使ってバッテリーをこじ開け、緩めるのに役立ちます。

またプラスチックのスポイトや注射器に高濃度のイソプロピルアルコールを注入し、バッテリー左端の下に数滴垂らしてください。接着力を弱めるため約1分間待機してください。

crwdns2944171:0crwdnd2944171:0crwdnd2944171:0crwdnd2944171:0crwdne2944171:0