crwdns2935425:04crwdne2935425:0
crwdns2931653:04crwdne2931653:0

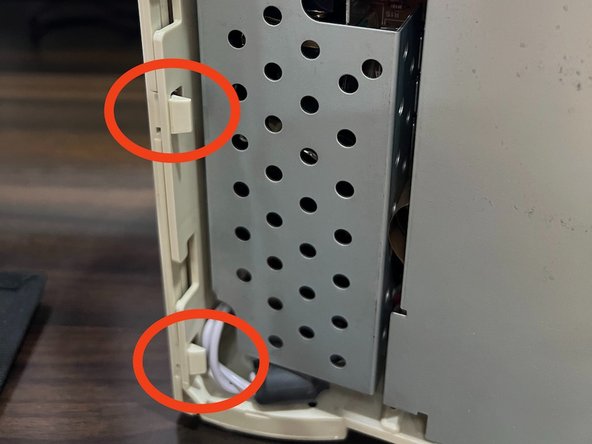


Remove the Rear Panel
-
Now remove the rear panel. First, unscrew the two Philips screws in the rear.
crwdns2944171:0crwdnd2944171:0crwdnd2944171:0crwdnd2944171:0crwdne2944171:0