crwdns2933423:0crwdne2933423:0

Installazione BL Touch CR-10S Pro

crwdns2936315:0crwdne2936315:0
crwdns2936321:0crwdne2936321:0
crwdns2931653:07crwdne2931653:0
CR-10S Pro BL Touch Install, Bottom Section 1a.: crwdns2935265:00crwdnd2935265:01crwdnd2935265:03crwdne2935265:0 CR-10S Pro BL Touch Install, Bottom Section 1a.: crwdns2935265:00crwdnd2935265:02crwdnd2935265:03crwdne2935265:0 CR-10S Pro BL Touch Install, Bottom Section 1a.: crwdns2935265:00crwdnd2935265:03crwdnd2935265:03crwdne2935265:0
Bottom Section 1a.
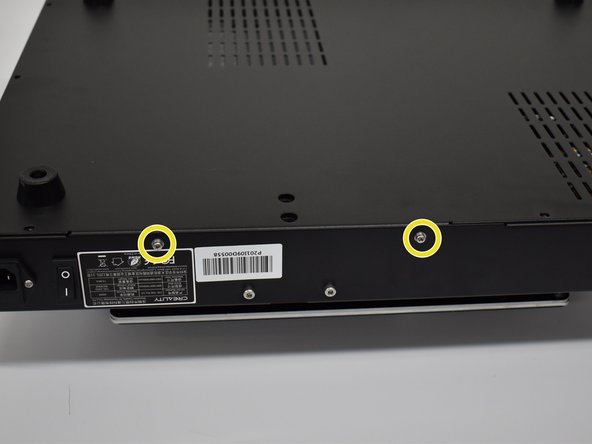
  • Using a #1 Phillips screwdriver, remove the 11 screws on the bottom and 2 screws on each side for a total of 15. Next, remove the bottom cover.

  • Unplug the original ribbon cable (not shown)

  • Plug in new connections. For clarity, we only have the new connections shown here.

  • Ribbon Cable (keyed)

  • 3 pin black plug into D11 (end row towards SD card slot) Orange wire will face the ribbon cable like in the picture.

  • 2 pin white plug into Z+ (connection closest to the ribbon cable) From the same view as the picture, use the right 2 pins.

  • Hot glue is optional.

Usando un cacciavite a croce Phillips #1, svita le 11 viti sulla copertura inferiore e le due viti su entrambi i lati, per un totale di 15 viti. Quindi, rimuovi la copertura inferiore.

Scollega il cavo a nastro originale (non mostrato nelle immagini).

Collega le nuove connessioni. Per chiarezza, abbiamo mostrato solo le nuove connessioni.

Cavo a nastro (indentato)

Presa a 3 contatti nella D11 (ultima fila verso il lettore di schede SD), con il cavo arancione rivolto verso il cavo a nastro come mostrato.

Presa bianca a 2 contatti nella Z+ (connessione più vicina al cavo a nastro), dalla stessa visuale dell'immagine, usa i due contatti a destra.

La colla a caldo è opzionale.

crwdns2944171:0crwdnd2944171:0crwdnd2944171:0crwdnd2944171:0crwdne2944171:0