crwdns2933423:0crwdne2933423:0

Instalación de BL Touch CR-10S Pro

crwdns2936315:0crwdne2936315:0
crwdns2936331:0crwdne2936331:0
crwdns2931653:07crwdne2931653:0
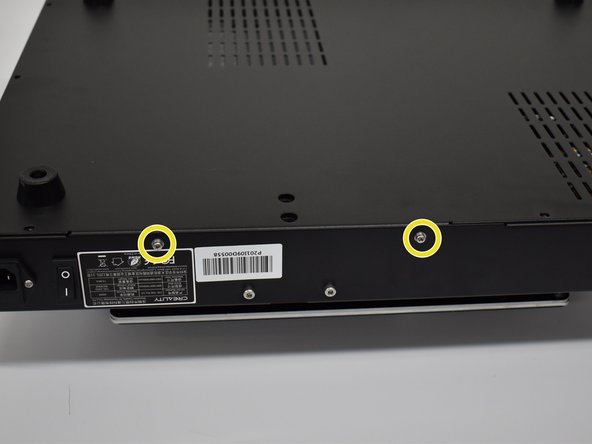
CR-10S Pro BL Touch Install, Bottom Section 1a.: crwdns2935265:00crwdnd2935265:01crwdnd2935265:03crwdne2935265:0 CR-10S Pro BL Touch Install, Bottom Section 1a.: crwdns2935265:00crwdnd2935265:02crwdnd2935265:03crwdne2935265:0 CR-10S Pro BL Touch Install, Bottom Section 1a.: crwdns2935265:00crwdnd2935265:03crwdnd2935265:03crwdne2935265:0
Bottom Section 1a.
  • Using a #1 Phillips screwdriver, remove the 11 screws on the bottom and 2 screws on each side for a total of 15. Next, remove the bottom cover.

  • Unplug the original ribbon cable (not shown)

  • Plug in new connections. For clarity, we only have the new connections shown here.

  • Ribbon Cable (keyed)

  • 3 pin black plug into D11 (end row towards SD card slot) Orange wire will face the ribbon cable like in the picture.

  • 2 pin white plug into Z+ (connection closest to the ribbon cable) From the same view as the picture, use the right 2 pins.

  • Hot glue is optional.

Con un destornillador Phillips n.° 1, retira los 11 tornillos de la parte inferior y los 2 tornillos de cada lado para un total de 15. Luego, retira la cubierta inferior.

Desconecta el cable de cinta original (no se muestra)

Enchufa nuevas conexiones. Para mayor claridad, solo tenemos las nuevas conexiones que se muestran aquí.

Cable plano (con llave)

Enchufe negro de 3 pines en D11 (fila final hacia la ranura de la tarjeta SD) El cable naranja estará frente al cable plano como en la imagen.

Enchufe blanco de 2 pines en Z+ (conexión más cercana al cable plano) Desde la misma vista que la imagen, usa los 2 pines correctos.

El pegamento caliente es opcional.

crwdns2944171:0crwdnd2944171:0crwdnd2944171:0crwdnd2944171:0crwdne2944171:0