crwdns2915892:0crwdne2915892:0
Follow this guide to replace the Taptic Engine in your iPhone 6s. The Taptic Engine is the iPhone's vibrating and haptic feedback motor. If your phone isn't vibrating or produces a rattling sound when it does, replacing the Taptic Engine can remedy your issues.
crwdns2942213:0crwdne2942213:0
-
-
Remove the two 3.4 mm P2 Pentalobe screws on the bottom edge of the iPhone, on either side of the Lightning connector.
-
-
crwdns2935267:0crwdne2935267:0Clampy - Anti-Clamp$24.95
-
Pull the blue handle backwards to unlock the Anti-Clamp's arms.
-
Slide the arms over either the left or right edge of your iPhone.
-
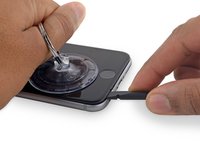
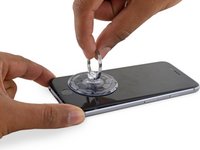
Position the suction cups near the bottom edge of the iPhone just above the home button—one on the front, and one on the back.
-
Squeeze the cups together to apply suction to the desired area.
-
-
-
Pull the blue handle forwards to lock the arms.
-
Turn the handle clockwise 360 degrees or until the cups start to stretch.
-
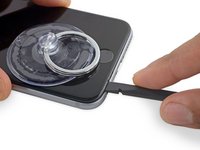
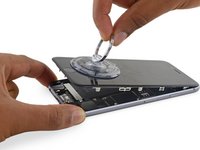
Insert an opening pick under the screen when the Anti-Clamp creates a large enough gap.
-
Skip the next three steps.
-
-
crwdns2935267:0crwdne2935267:0Clampy - Anti-Clamp$24.95
-
Apply mild heat to the lower edge of the iPhone using an iOpener or hair dryer for about a minute.
-
-
-
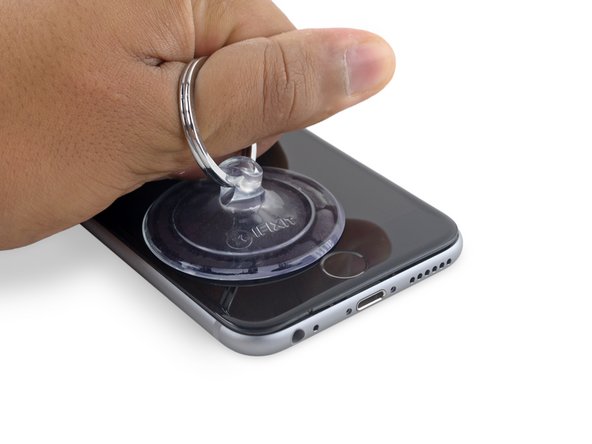
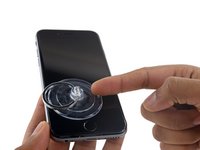
Apply a suction cup to the lower left corner of the display assembly.
-
Take care not to place the suction cup over the home button.
-
-
-
Pull up on the suction cup with firm, constant pressure to create a slight gap between the front panel and rear case.
-
-
-
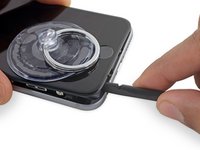
Place the flat edge of a spudger into the gap between the screen and rear case, directly above the headphone jack.
-
-
-
-
Twist the spudger to widen the gap between the front panel assembly and the rest of the phone.
-
-
-
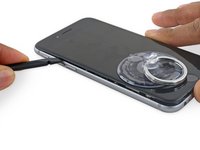
Insert the flat end of the spudger on the left side of the phone, between the display assembly and rear case.
-
Slide the spudger up the side of the phone to separate the adhesive and pop the clips free.
-
-
-
Remove the spudger and reinsert it on the bottom edge, where you pried the phone open.
-
Slide the spudger to the right, along the bottom edge of the phone.
-
-
-
Slide the spudger up the right side to continue separating the adhesive and popping the display clips free from the iPhone.
-
-
-
Use the suction cup to open the display, breaking the last of the adhesive.
-
-
-
Pull up on the nub on the top side of the suction cup to remove it from the front panel.
-
-
-
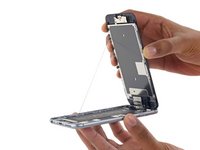
Gently grasp the display assembly and lift it up to open the phone, using the clips at the top of the front panel as a hinge.
-
Open the display to about a 90º angle, and lean it against something to keep it propped up while you're working on the phone.
-
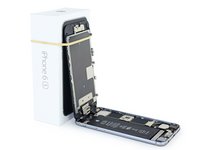
Add a rubber band to keep the display securely in place while you work. This prevents undue strain on the display cables.
-
During reassembly, pause here if you wish to replace the adhesive around the edges of the display.
-
During reassembly, the camera end of the screen body needs to hook under the edge of the body. The hooks of the screen frame need to be under the rim of the main body and snugged toward the camera end to easily close the cover and have it properly clip.
-
These hooks are not really a proper hinge but clasps that need to be under the rim of the main phone frame/edge!! This way the screen easily will return to its closed state nicely gently snapping into place.
-
During reassembly, reverse order for getting the screen clipped back in means pressing along the right side top to bottom corner. Then the left.
-
-
crwdns2935267:0crwdne2935267:0Magnetic Project Mat$19.95
-
Remove two Phillips screws securing the battery connector bracket, of the following lengths:
-
One 2.9 mm screw
-
One 2.2 mm screw
-
-
-
Remove the battery connector bracket from the iPhone.
-
-
-
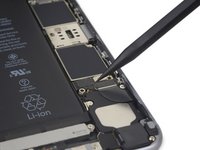
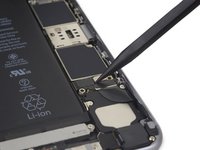
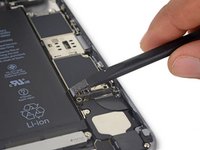
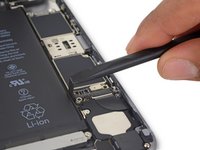
Use the point of a spudger to disconnect the battery connector by prying it straight up from the logic board.
-
-
-
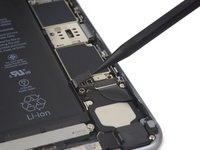
Push the battery connector away from the logic board until it stays separated from its socket, so as to avoid any accidental connection to the battery while you work.
-
-
-
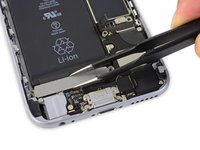
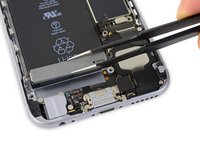
Remove the two 1.5 mm Phillips screws holding the Taptic Engine in place.
-
-
-
Remove the Taptic Engine from the iPhone.
-
To reassemble your device, follow these instructions in reverse order.
crwdns2935221:0crwdne2935221:0
crwdns2935229:0113crwdne2935229:0
crwdns2947412:05crwdne2947412:0
Guide very clear and toolset and replacement battery worked just fine. I replaced battery without disconnecting front panel. Both glued strips got broken (I didn’t remove Taptic Engine) but I managed to rescue strips by carefully leveling up battery with the spudger and picking the strips with twezzer. Then it was easy to pull the glued strips thanks to the gap gained between battery and rear panel
Iphone 6s is back to life. Sorry for my poor English writing skills (creo que escribo mejor en Spanish)
Thank you all
avilece4 - crwdns2934203:0crwdne2934203:0 crwdns2950251:0crwdne2950251:0
A very good clear guide, and my iphone 6s works fine, restored with the new replacement battery. The replacement battery came with a full set of tools, including sucker, screwdrivers, spudgers and even a packet of screws.
I must admit, although the guide was excellent and well illustrated, I found it a bit of a challenge. I don’t know if my age (nearly 80) didn’t help , with a slightly shaky hand! Those tiny, tiny screws that can ping all over the place, and replacing the weenie terminals that could so easily be damaged if you press in the wrong place, I found the worst to cope with. However the guide was very helpful with its warnings, such as when you are getting the old battery out and the danger of damaging the volume button connector if you work too near the top end.
To conclude I think the guide is very good, and thank you.
jamieson - crwdns2934203:0crwdne2934203:0 crwdns2950251:0crwdne2950251:0
Great guide! The battery health seems to be working as well surprisingly.
Casey Cox - crwdns2934203:0crwdne2934203:0 crwdns2950251:0crwdne2950251:0
Excellent source. I was able to repurpose an old iPhone for reuse as a quasi iPod and keep it out of the trash cycle. HINT: when disassembling devices such as this with many tiny screws I use an enlarged screen shot from the directions, tape it to a steel sheet. I lay out tiny magnets on the picture in the exact pattern as the place from which they came before I remove them. For reassembly, I remove them from the magnets one-by-one as used. This way each screw goes back in the place from which it came.
Tom Smith - crwdns2934203:0crwdne2934203:0 crwdns2950251:0crwdne2950251:0
I am not a tech person, and this is the second time I have replaced the battery in my iPhone 6s using your kit and replacement battery. The first time was a year and a half ago, and all was good until that first replacement battery simply stopped charging. It lasted a year and a half, so I think that's pretty good!
The hardest part of the repair for me is getting all those tiny screws back in. Otherwise, easy to follow instructions, photos and tools. You guys do great work -- thank you!
Rose Ana - crwdns2934203:0crwdne2934203:0 crwdns2950251:0crwdne2950251:0


