crwdns2915892:0crwdne2915892:0
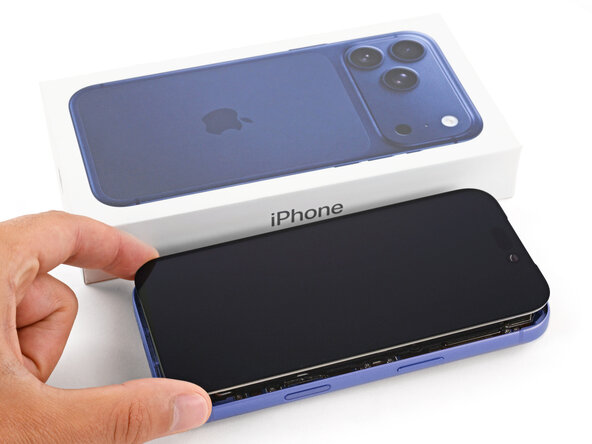
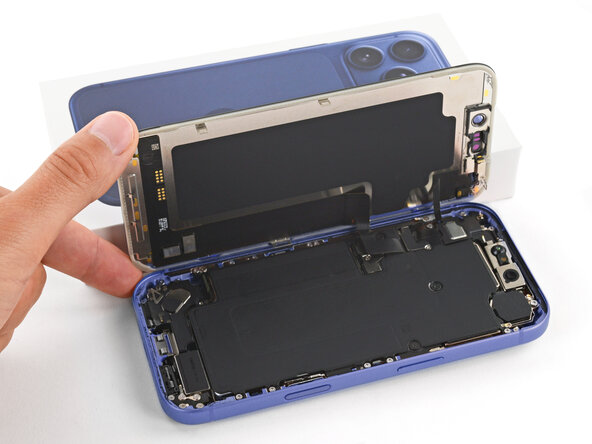
Follow this guide to replace a broken, cracked, or non‑responsive screen on an iPhone 17 Pro.
After replacement, True Tone and auto-brightness may be disabled until you calibrate the screen with Apple’s Repair Assistant. Non-genuine screens may not get True Tone and auto‑brightness functionality back.
Note: You'll need replacement screen adhesive to complete this repair.
crwdns2942213:0crwdne2942213:0
-
-
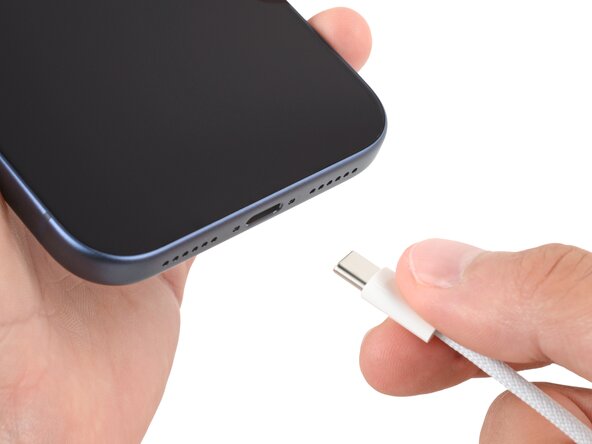
Unplug all cables from your phone.
-
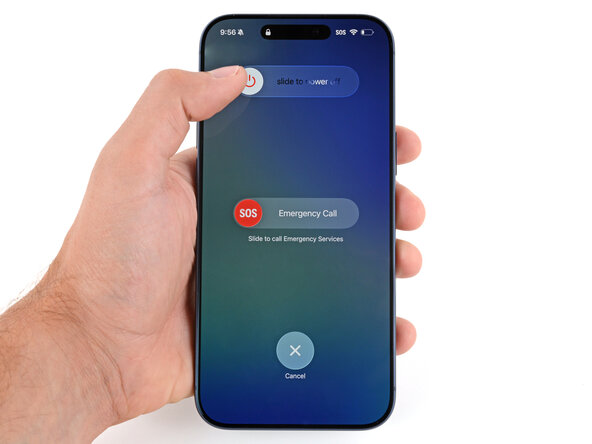
Hold the power and either volume button and slide to power off your phone.
-
-
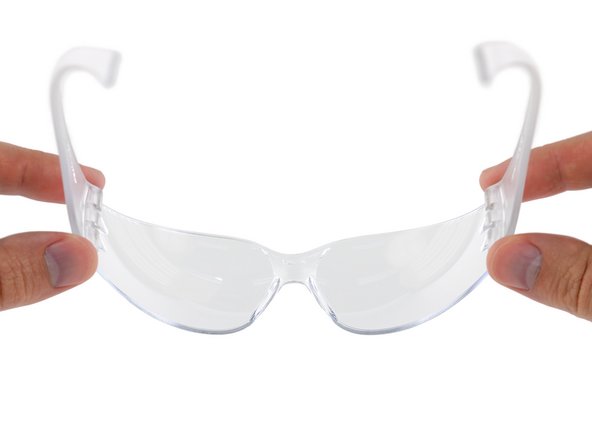
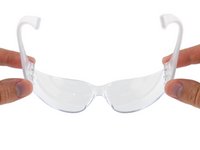
crwdns2935267:0crwdne2935267:0iFixit Safety Glasses$7.99
-
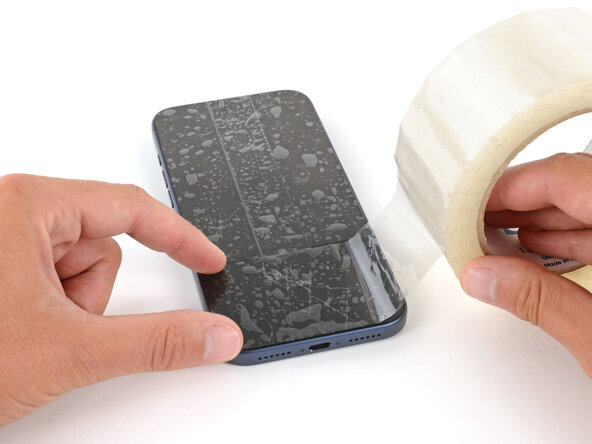
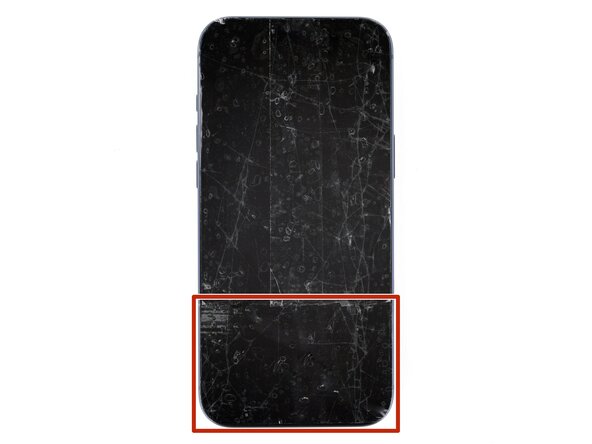
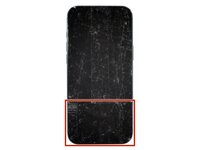
Apply strips of packing tape to the cracked glass until it's completely covered—this will help keep the glass contained and allow the suction cup to stick.
-
Make sure there's a single strip of tape (not overlapping) across the bottom edge, big enough for a suction cup to fit on.
-
-
-
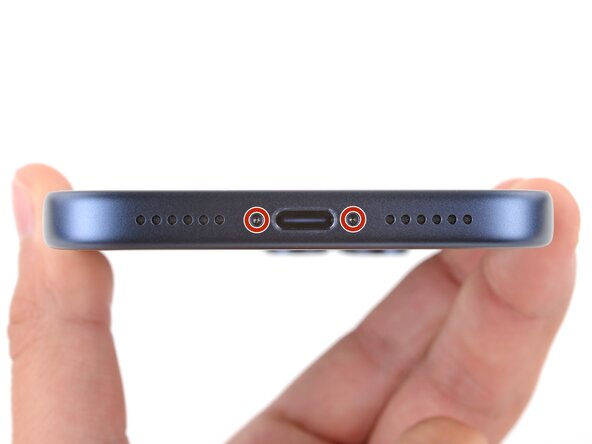
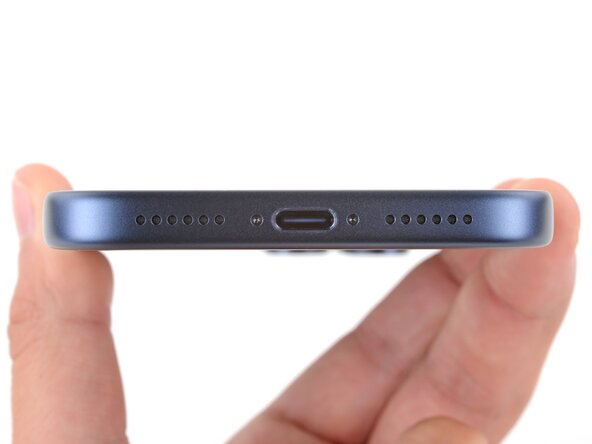
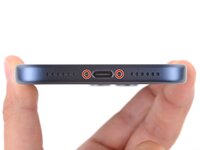
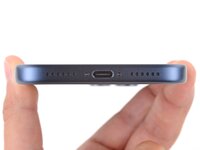
Use a P2 pentalobe screwdriver to remove the two 7.5 mm‑long screws on either side of the charging port.
-
-
-
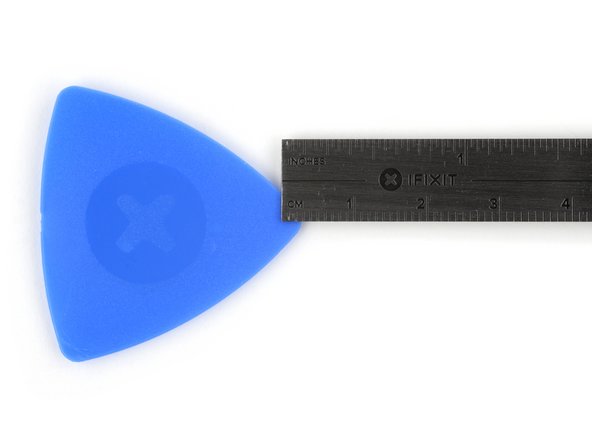
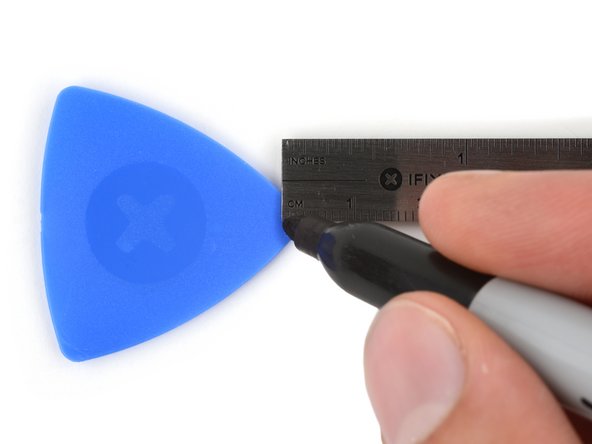
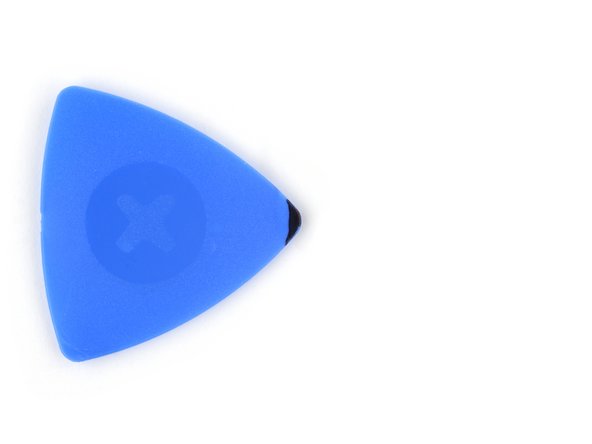
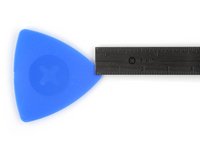
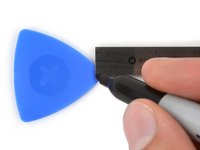
Measure 3 mm from the tip and mark the opening pick with a permanent marker.
-
-
-
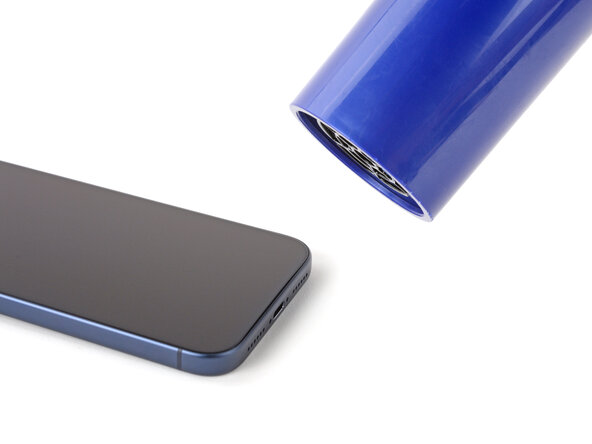
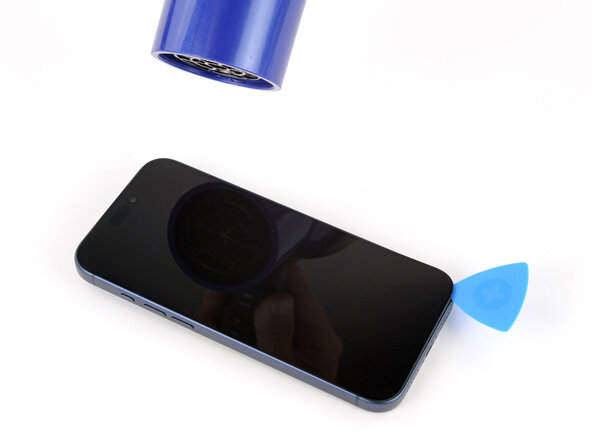
Use a hair dryer or heat gun to heat the bottom edge of the screen until it's slightly too hot to touch.
-
-
-
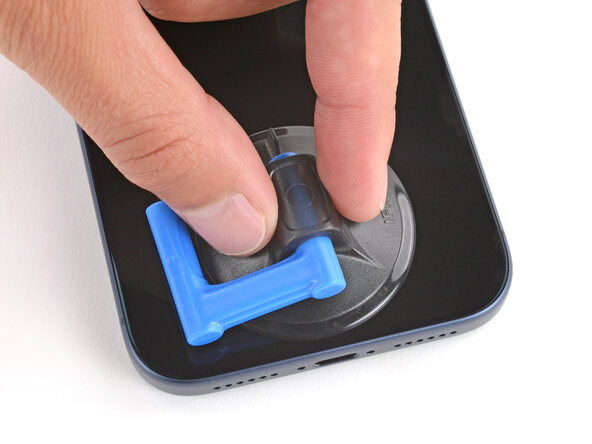
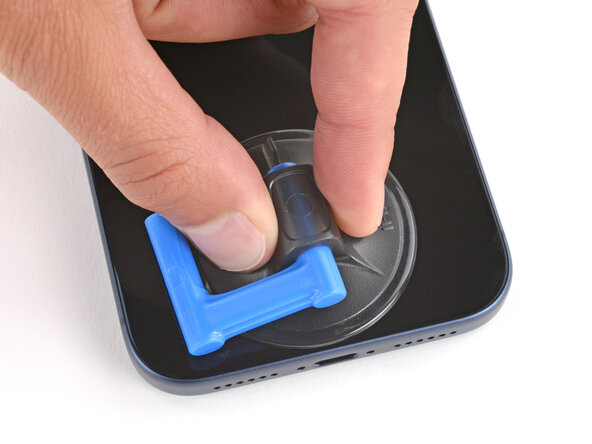
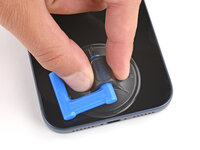
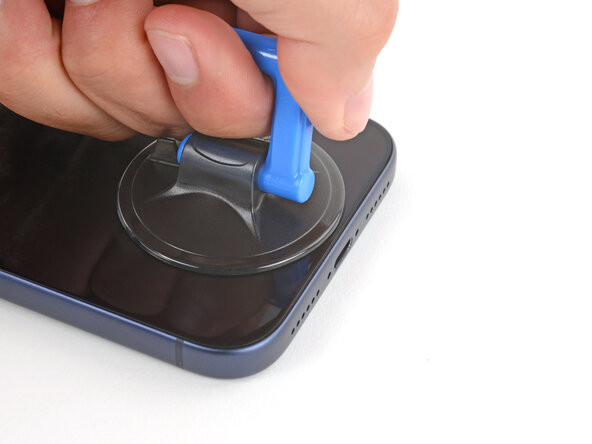
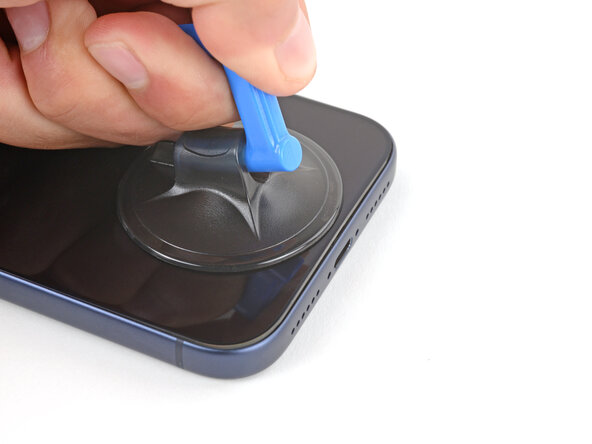
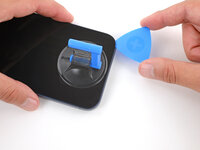
Apply a suction handle to the bottom edge of the screen, as close to the edge as possible.
-
-
-
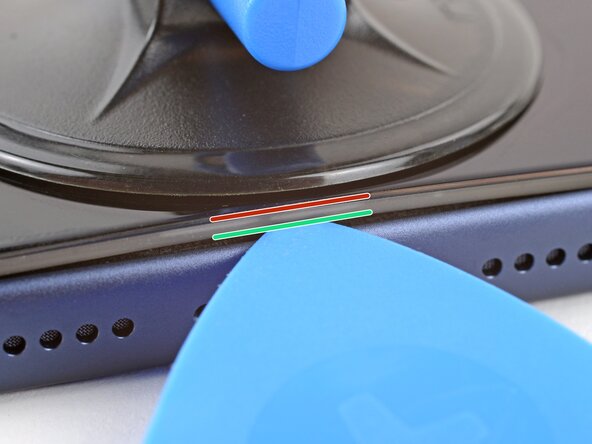
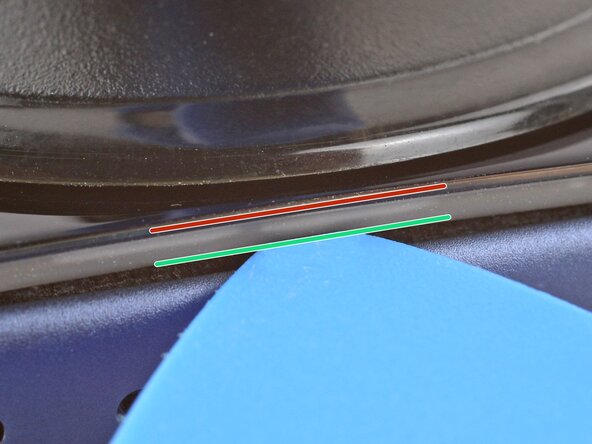
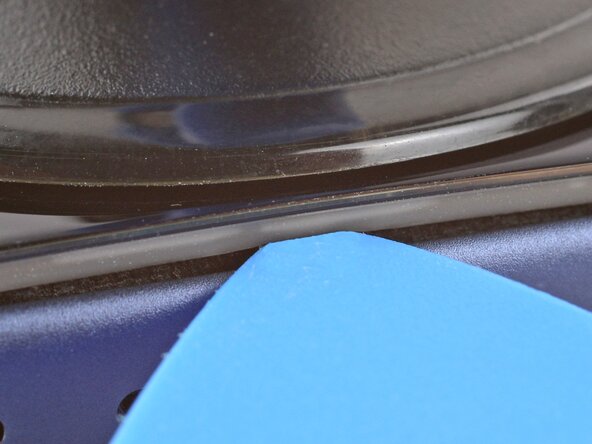
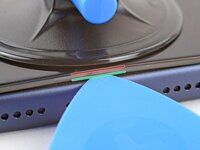
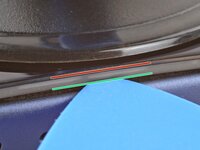
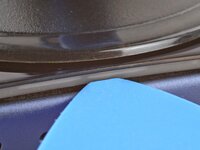
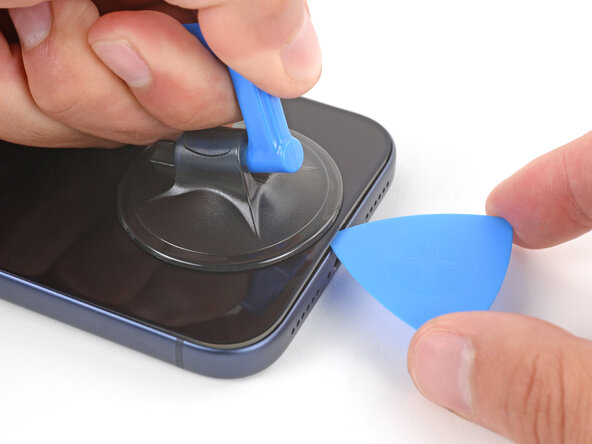
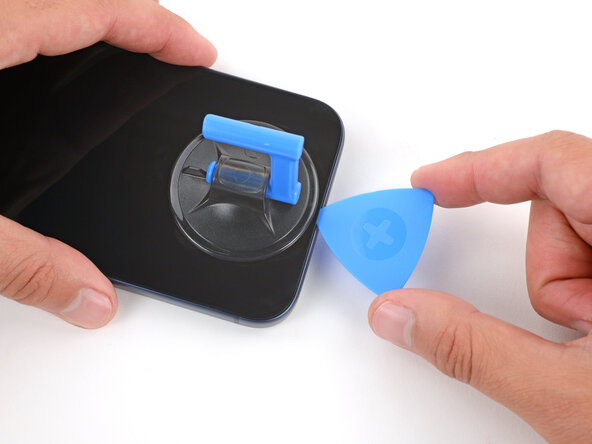
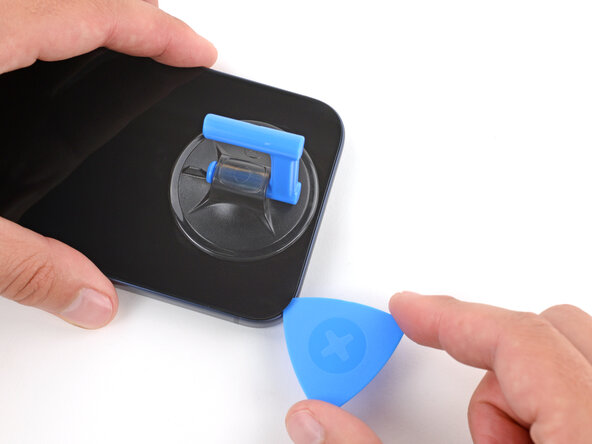
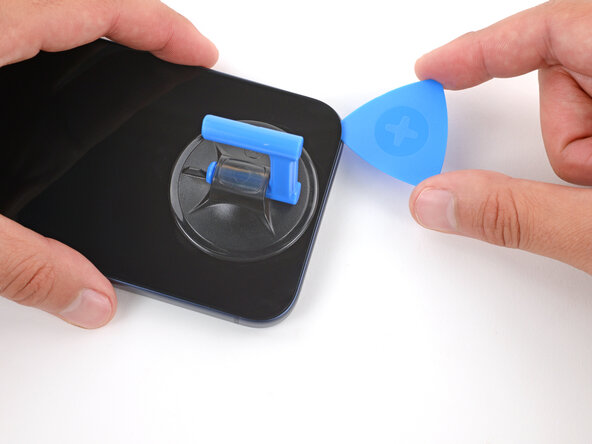
There's a plastic bezel on the underside of the screen that sits on the frame. Insert your pick here, making sure it's completely under the bezel.
-
There's a seam between the plastic bezel and the display panel. Don't insert your pick here or you'll separate the two, complicating the repair.
-
-
-
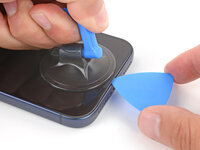
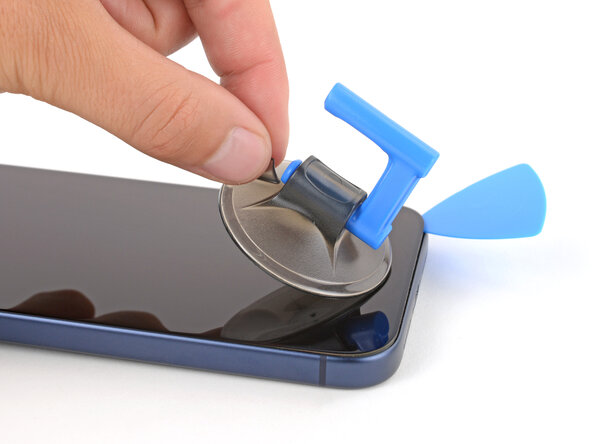
Pull up on the suction handle with strong, steady force until a gap forms between the screen and frame.
-
Insert the tip of an opening pick in the gap you just created.
-
-
-
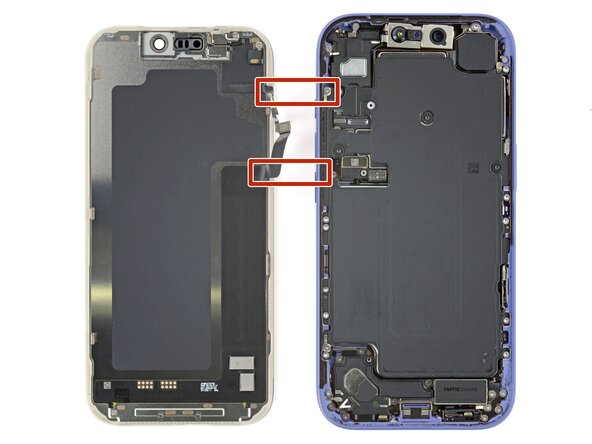
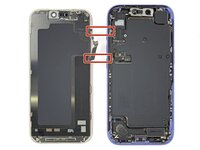
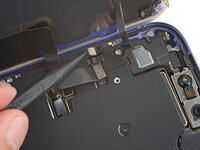
The screen and ambient light sensor cables are located near the volume and Action buttons.
-
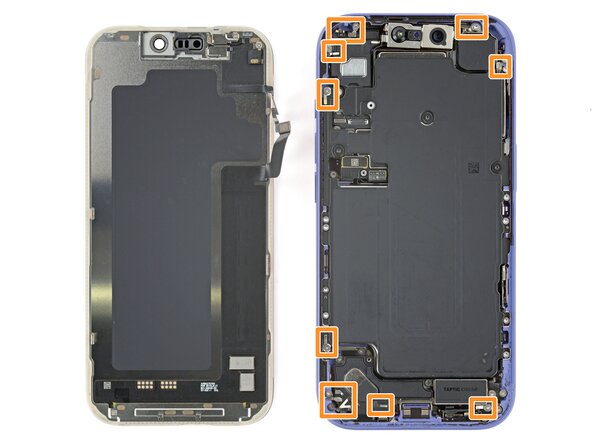
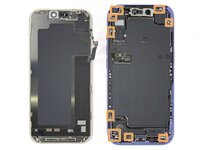
There are delicate spring contacts around the perimeter of the phone.
-
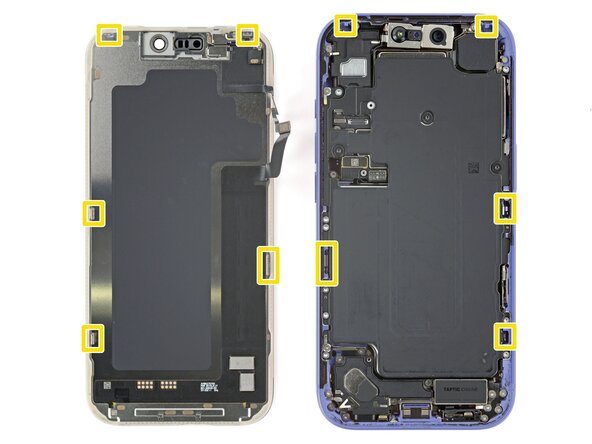
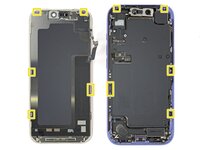
The underside of the screen has thin, metal clips that go into corresponding slots on the frame.
-
-
-
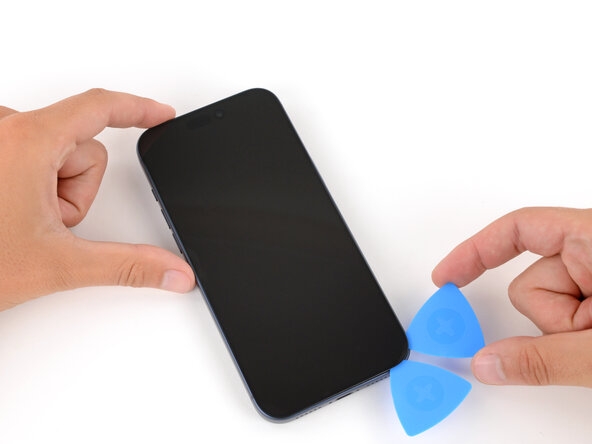
Slide the opening pick along the bottom edge to separate the adhesive.
-
Leave the pick inserted under the bottom right corner to prevent the adhesive from re‑sealing.
-
-
-
-
Pull the small nub on the suction cup to remove it from the screen.
-
-
-
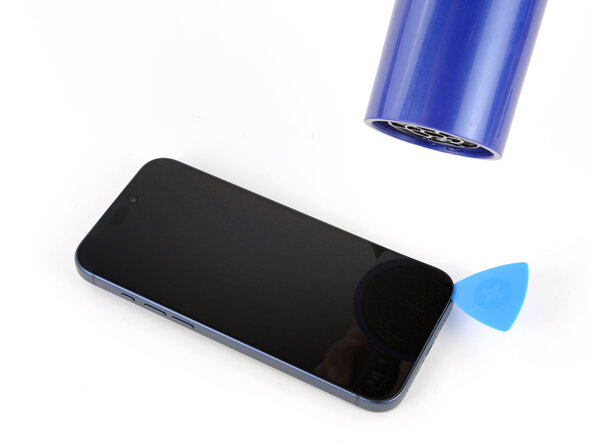
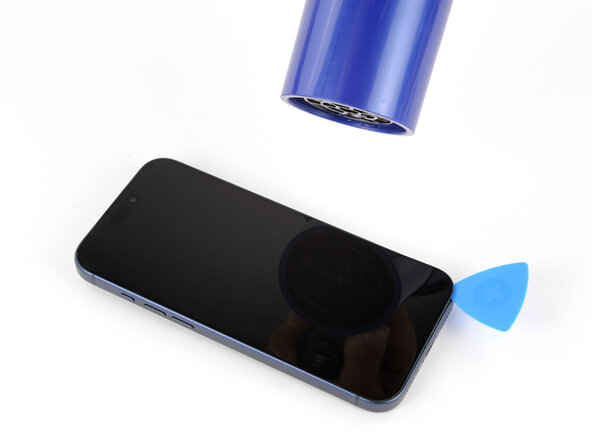
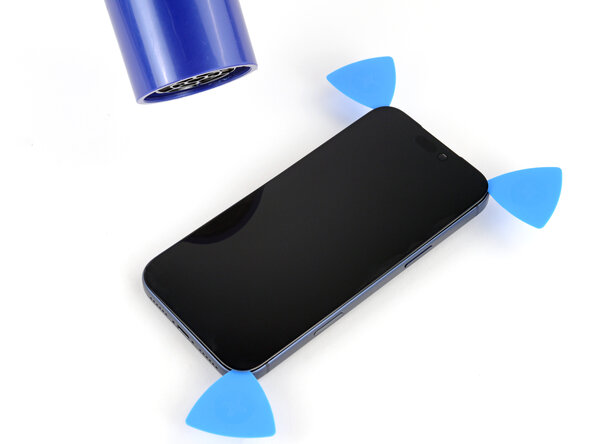
Use a hair dryer or heat gun to heat the right edge of the screen.
-
-
-
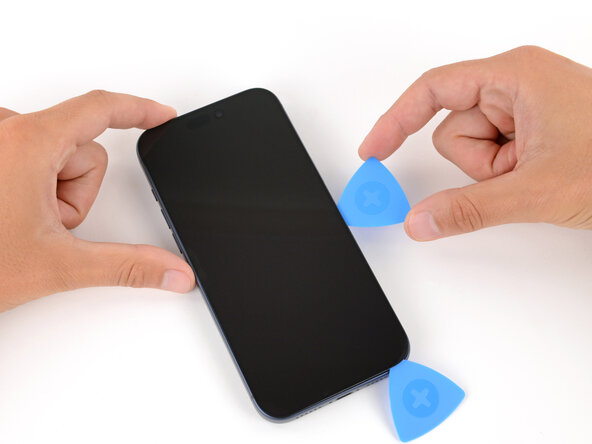
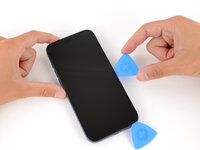
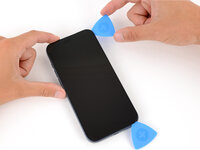
Insert a second opening pick under the bottom right corner of the screen.
-
Slide the pick up the right edge to separate the adhesive and release the two clips.
-
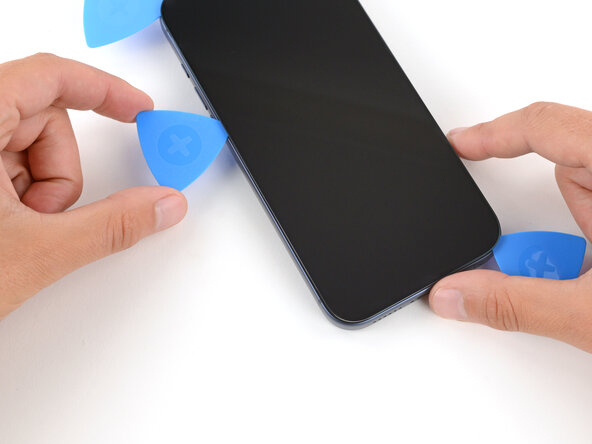
Leave the pick inserted under the top right corner to prevent the adhesive from re‑sealing.
-
-
-
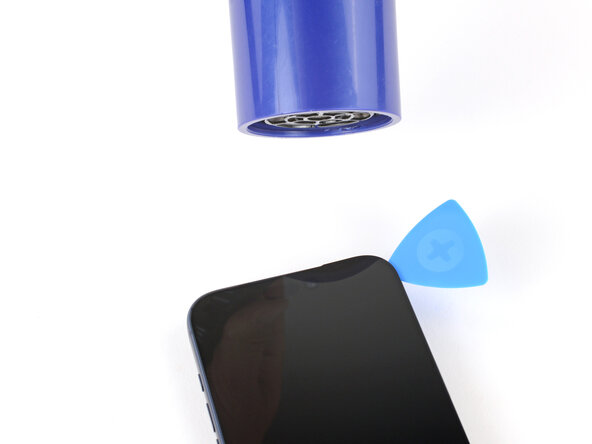
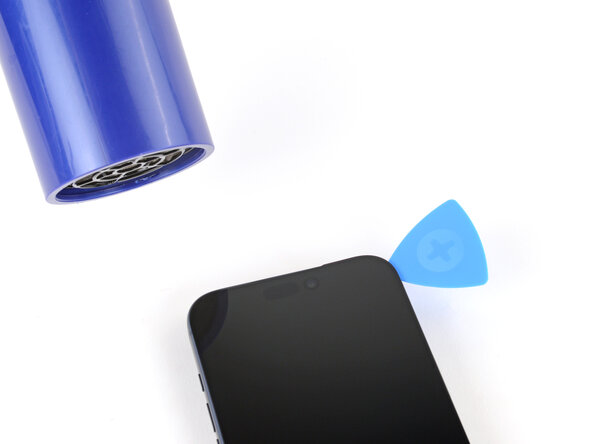
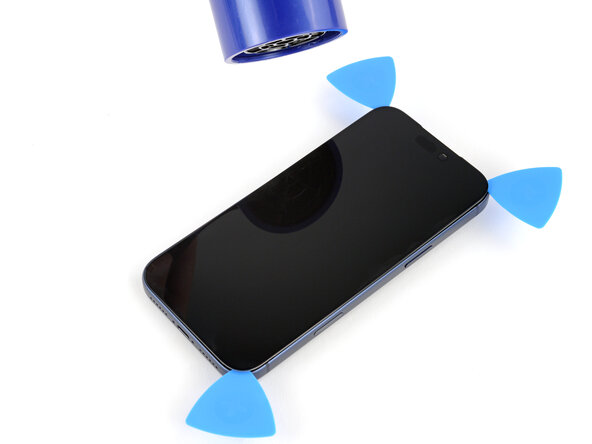
Use a hair dryer or heat gun to heat the top edge of the screen.
-
-
-
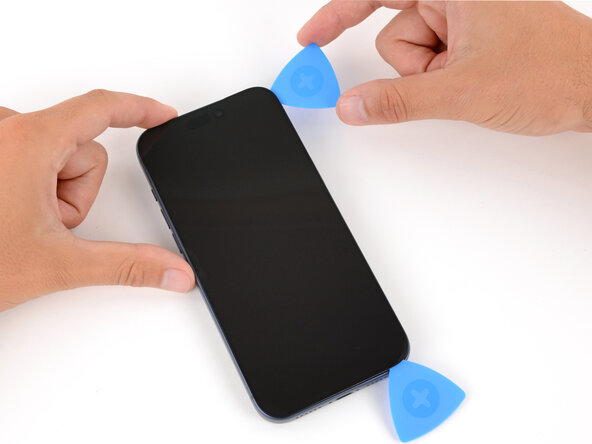
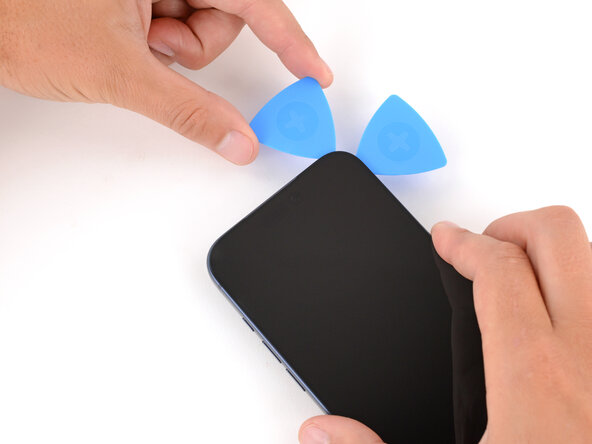
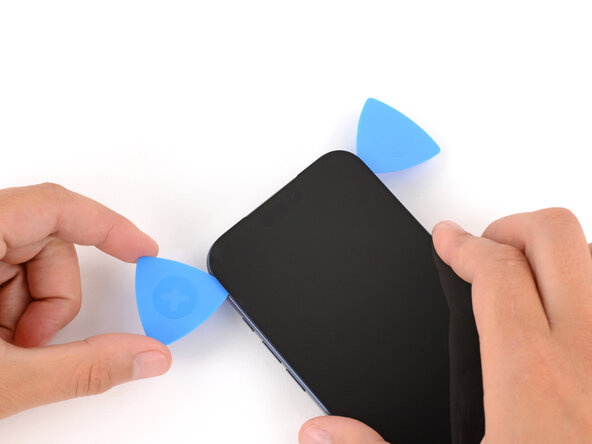
Insert a third opening pick under the top right corner of the screen.
-
Slide the pick along the top edge and just barely around the top left corner to separate the adhesive and release the two clips.
-
Leave the pick inserted under the top left corner to prevent the adhesive from re‑sealing.
-
-
-
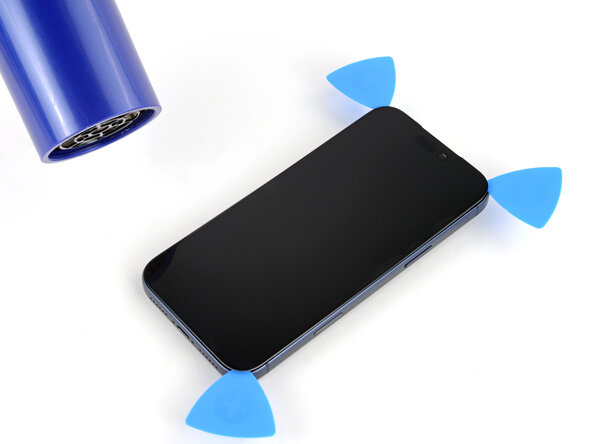
Use a hair dryer or heat gun to heat the left edge of the screen.
-
-
-
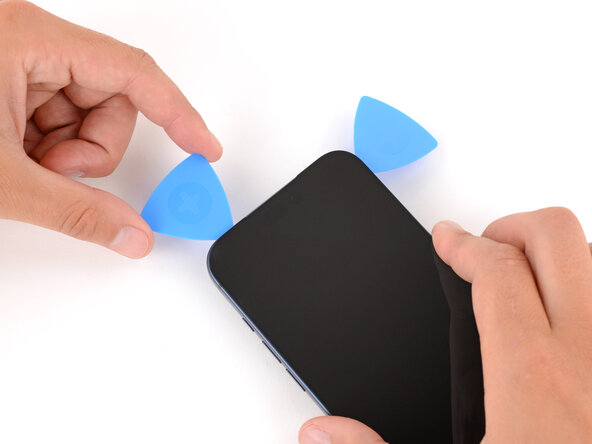
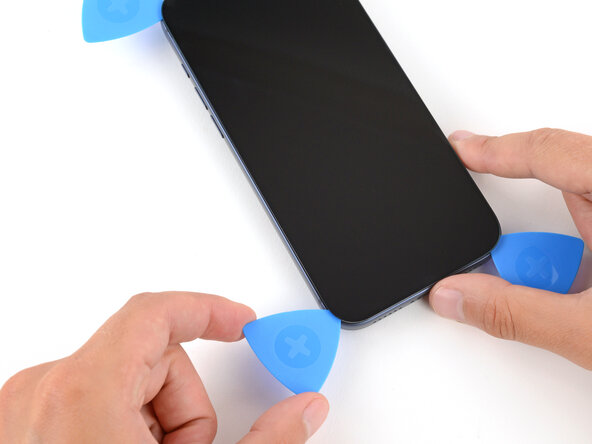
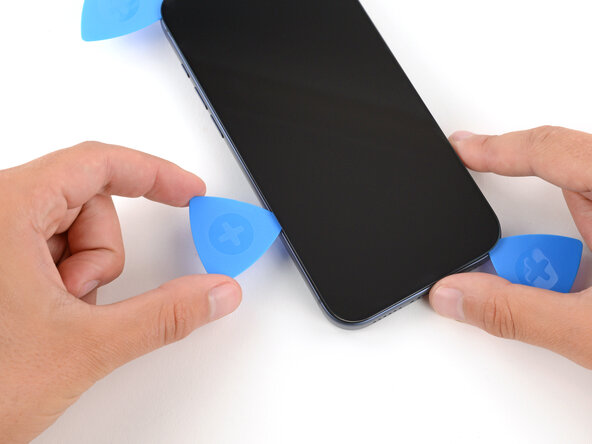
Insert a fourth opening pick under the bottom left corner of the screen.
-
Slide the pick up the right edge to separate the adhesive and release the clip, stopping just before the volume up button.
-
-
-
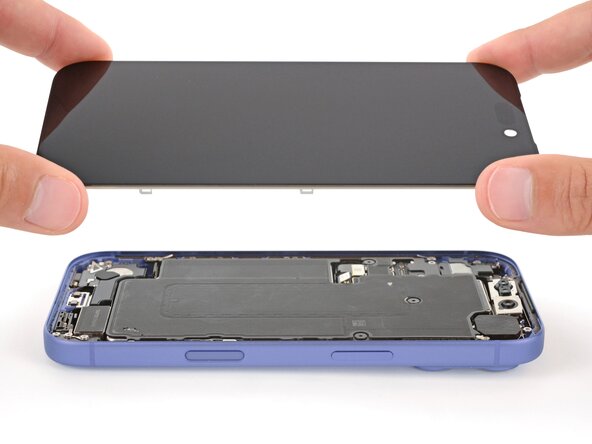
Lift the screen straight up and swing it over the left edge, propping it up against a sturdy box or stack of books so the cables aren't strained.
-
-
crwdns2935267:0crwdne2935267:0FixMat$36.95
-
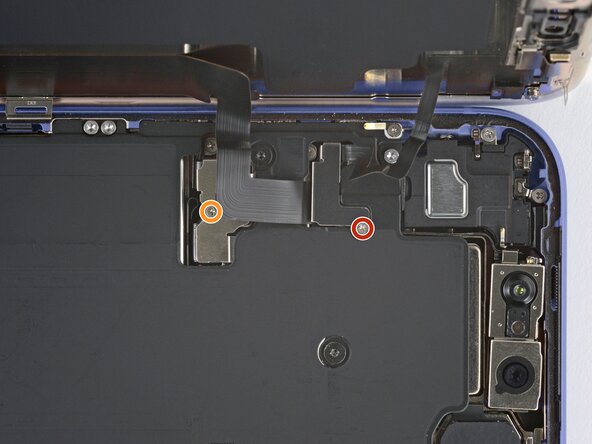
Use a JIS 00 screwdriver to remove the two screws securing the cable covers:
-
One 1.4 mm‑long screw for the screen and front sensor cable cover
-
One 1.3 mm‑long screw for the battery cover
-
-
-
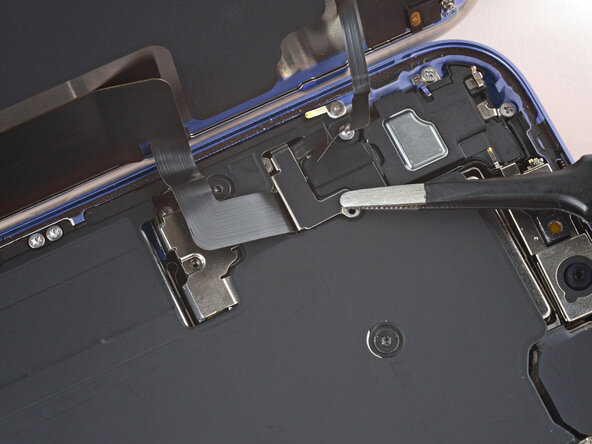
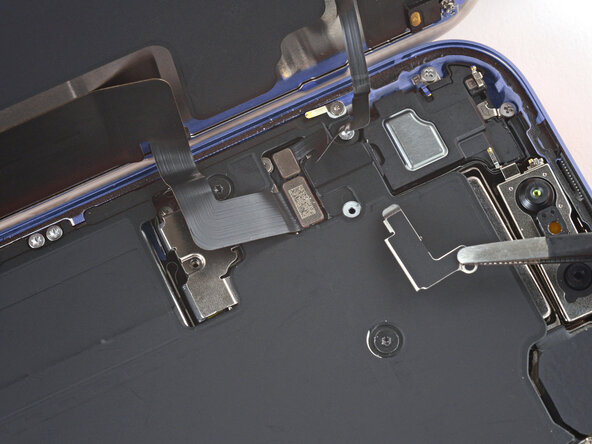
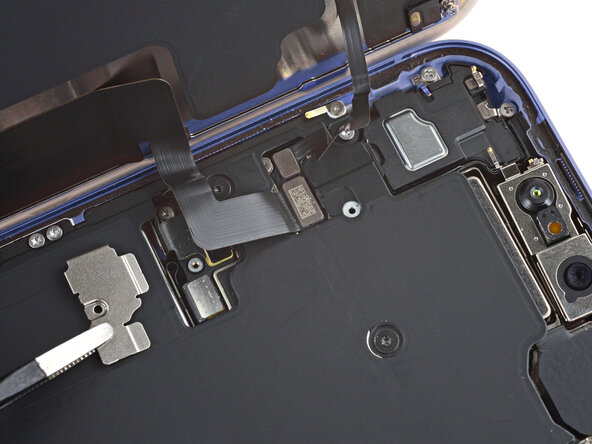
Remove the two covers.
-
-
-
Use the point of a spudger to pry up and disconnect the battery press connector.
-
-
-
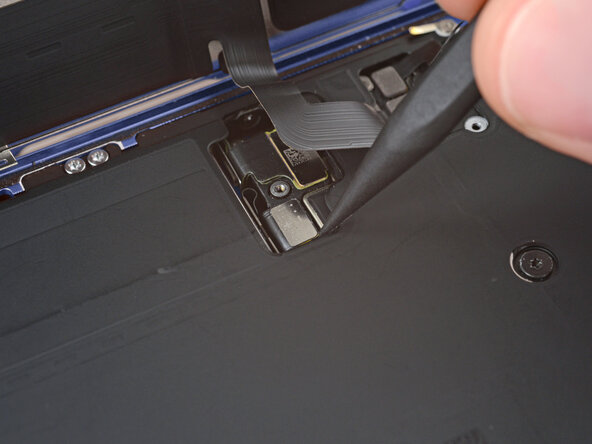
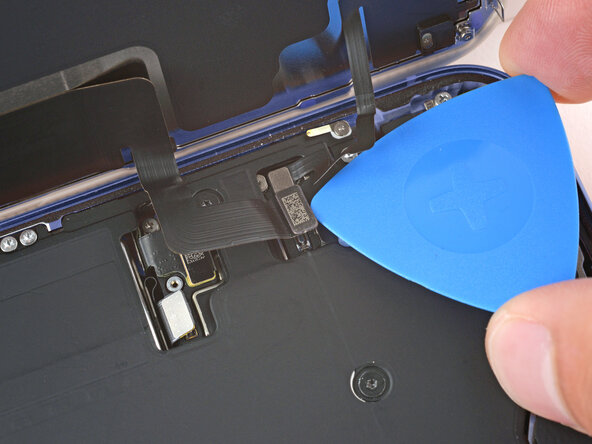
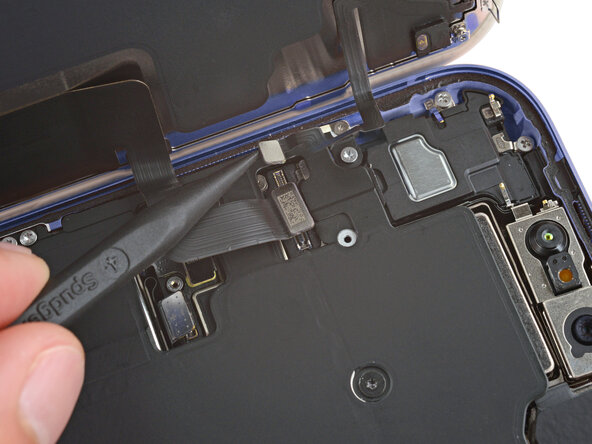
Use the tip of an opening pick or the point of a spudger to pry up and disconnect the screen and ambient light sensor press connectors.
-
-
-
Remove the screen.
-
-
-
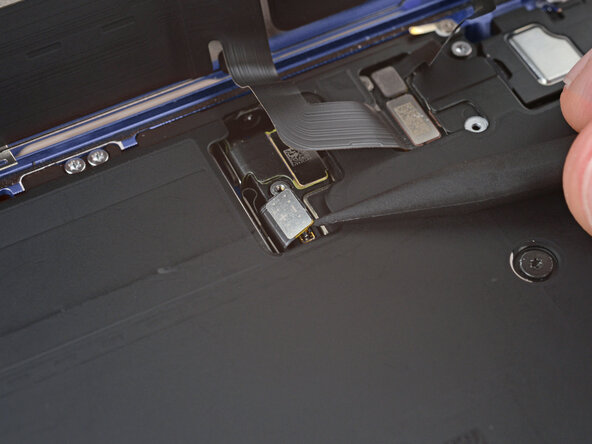
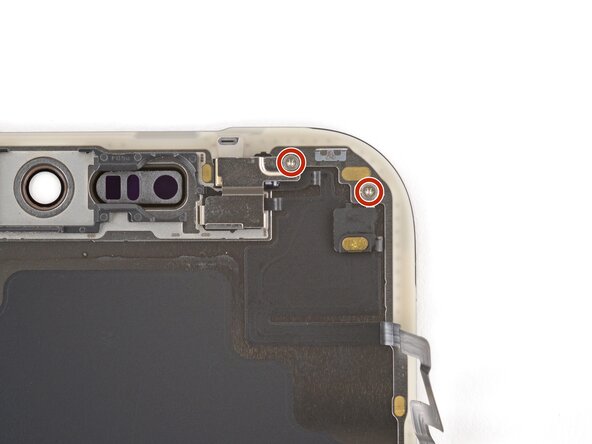
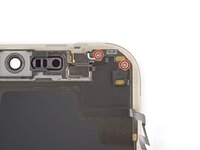
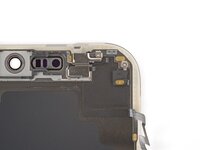
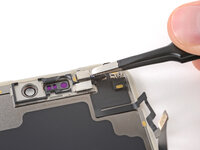
Use a tri‑point Y000 screwdriver to remove the two 1.0 mm‑long front sensors screws.
-
-
-
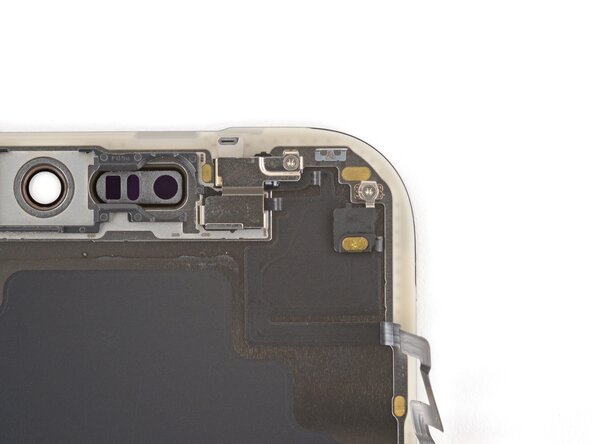
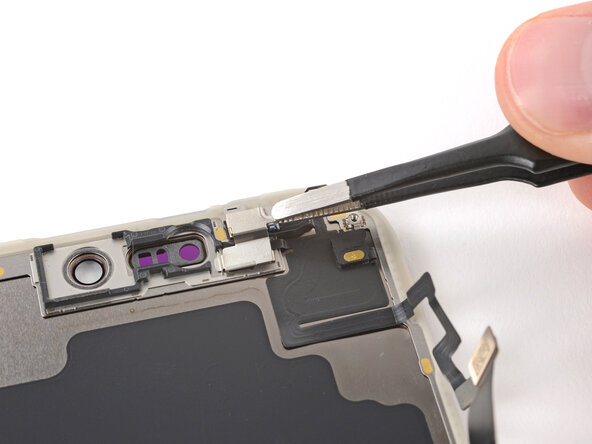
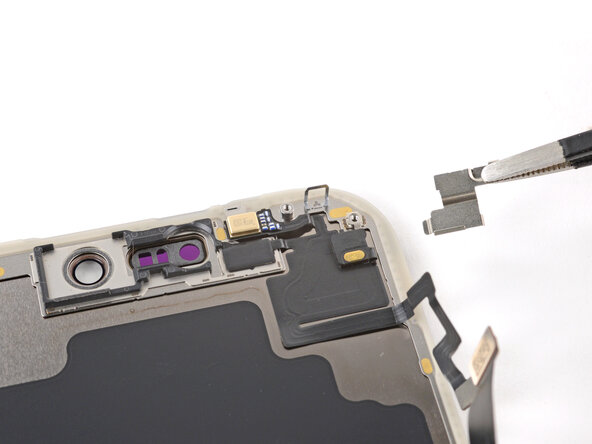
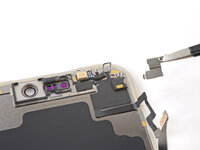
Remove the front sensors bracket.
-
-
-
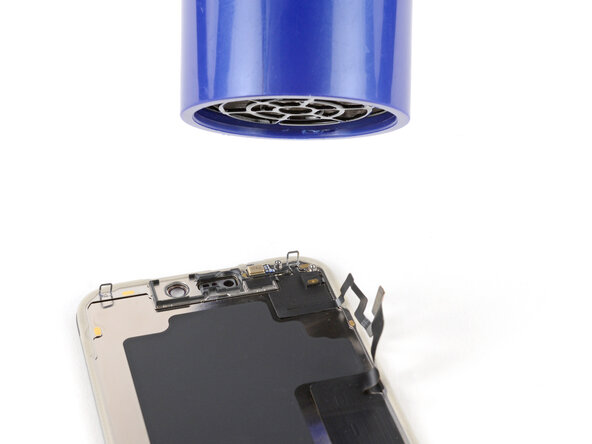
Use a hair dryer or heat gun to heat the front sensors.
-
-
-
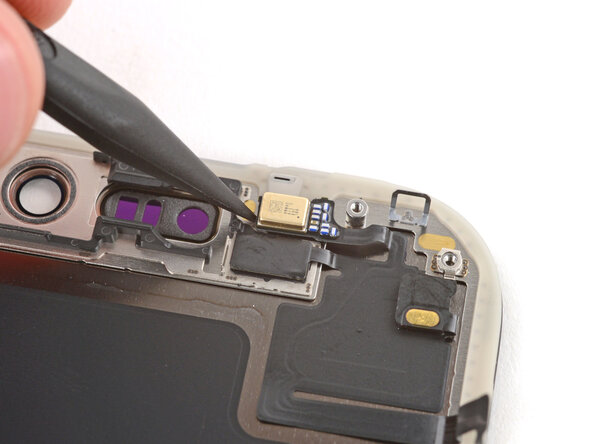
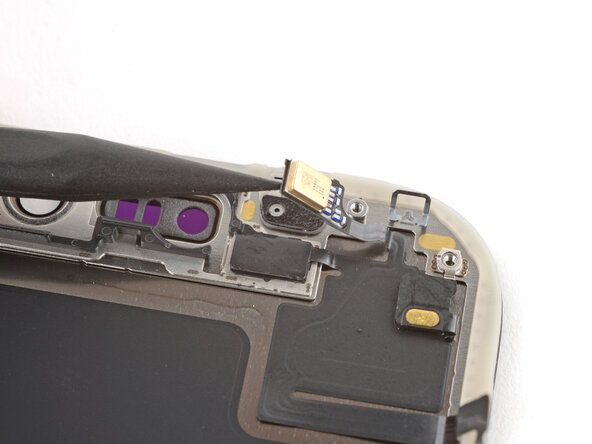
Use the point of a spudger to pry up both front sensors.
-
-
-
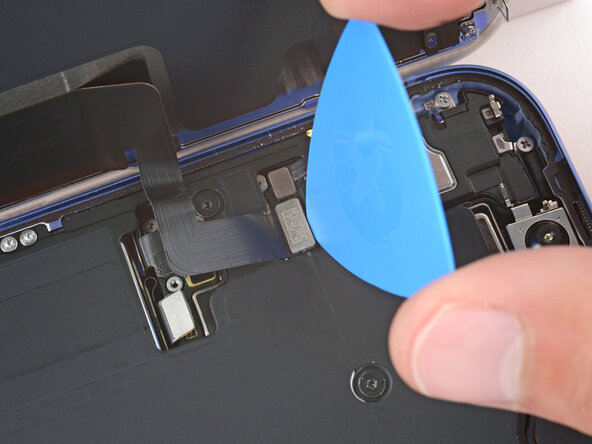
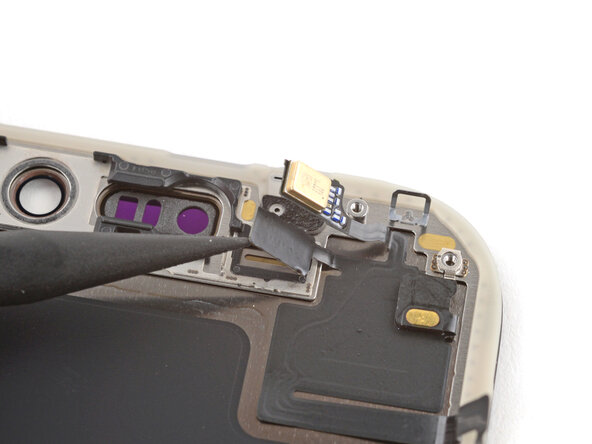
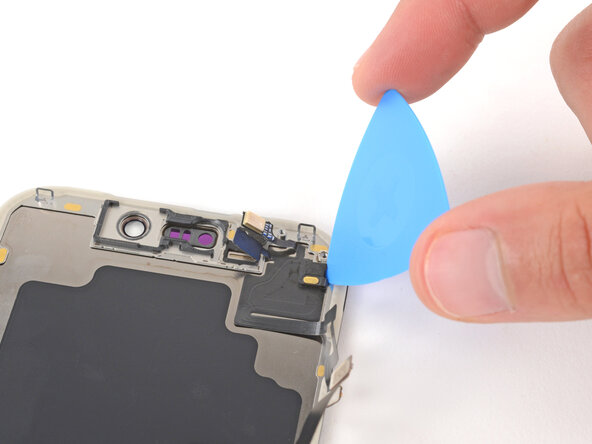
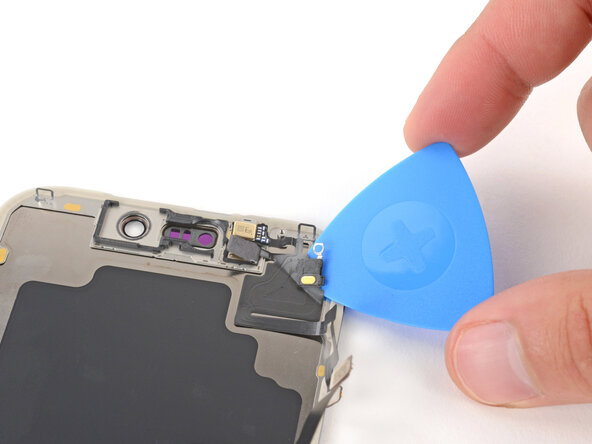
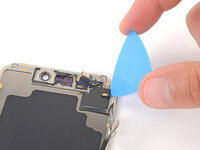
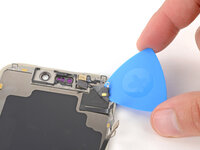
Insert the tip of an opening pick under the top right corner of the front sensors large, glued down cable.
-
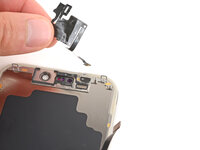
Slowly slide the pick under the cable and lift until you can grip it with your fingers.
-
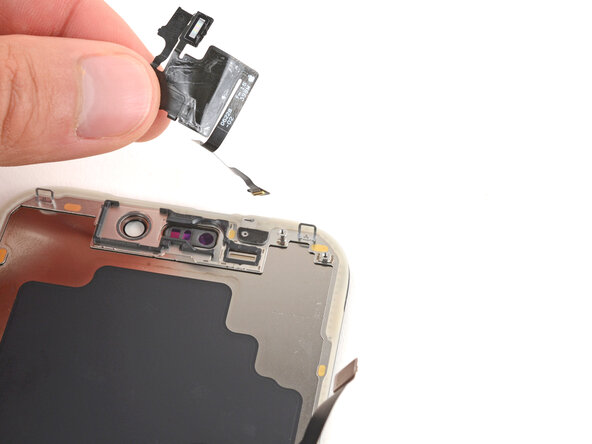
Use your fingers to peel up the cable and remove the sensors.
-
To reassemble your device, follow these instructions in reverse order.
After your repair, calibrate a genuine replacement screen using Apple's Repair Assistant. Navigate to Settings → General → About → Parts & Service History, tap Restart & Finish Repair, and follow the onscreen prompts.
Take your e-waste to an R2 or e-Stewards certified recycler.
Repair didn’t go as planned? Try some basic troubleshooting, or ask our Answers Community for help.
crwdns2935221:0crwdne2935221:0
crwdns2935227:0crwdne2935227:0
