crwdns2933423:0crwdne2933423:0

iPhone 17 Pro Battery Replacement

crwdns2942213:0crwdne2942213:0

  1. iPhone 17 Pro Battery Replacement, Safety precautions: crwdns2935265:01crwdnd2935265:01crwdnd2935265:02crwdne2935265:0 iPhone 17 Pro Battery Replacement, Safety precautions: crwdns2935265:01crwdnd2935265:02crwdnd2935265:02crwdne2935265:0
    • Let your iPhone's battery drain below 25% before starting this repair—a charged lithium‑ion battery may catch fire if damaged.

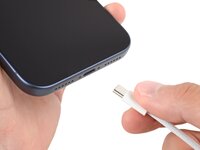
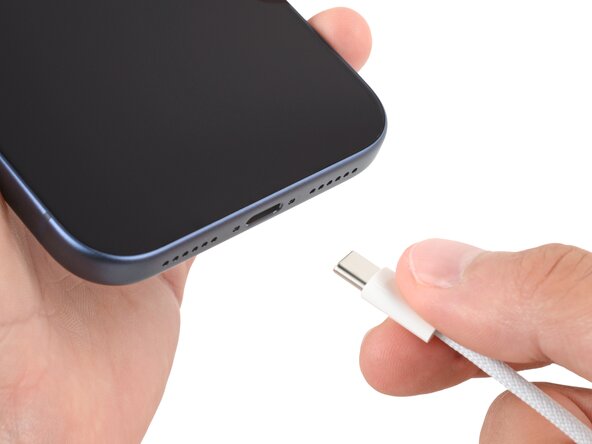
    • Unplug all cables from your phone.

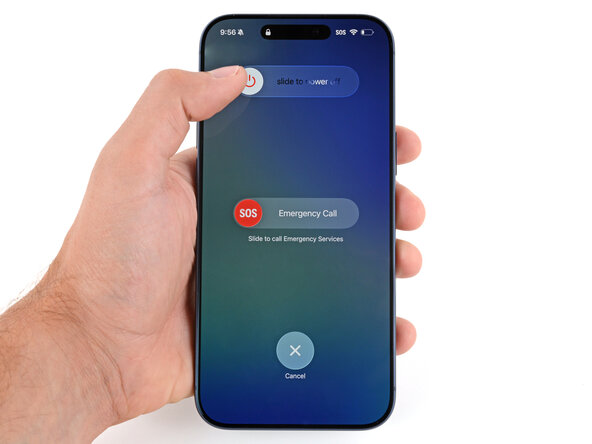
    • Hold the power and either volume button and slide to power off your phone.

  2. iPhone 17 Pro Battery Replacement, Cracked glass preparation: crwdns2935265:02crwdnd2935265:01crwdnd2935265:03crwdne2935265:0 iPhone 17 Pro Battery Replacement, Cracked glass preparation: crwdns2935265:02crwdnd2935265:02crwdnd2935265:03crwdne2935265:0 iPhone 17 Pro Battery Replacement, Cracked glass preparation: crwdns2935265:02crwdnd2935265:03crwdnd2935265:03crwdne2935265:0
    crwdns2935267:0crwdne2935267:0
    iFixit Safety Glasses
    $7.99
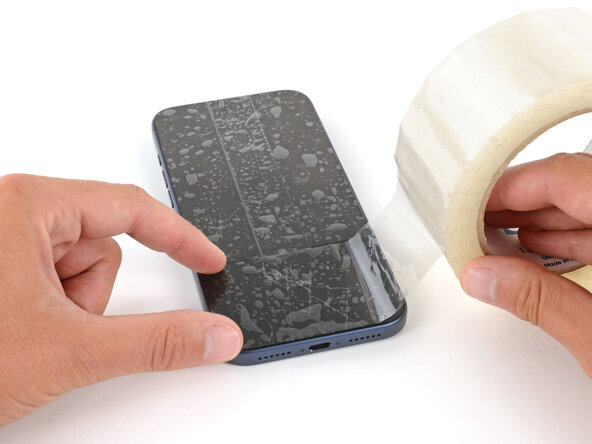
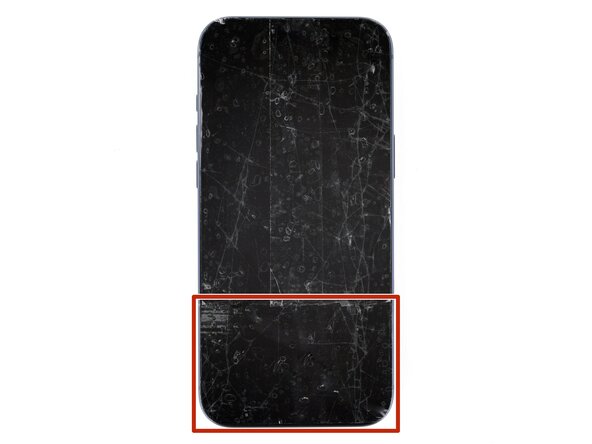
    • Glass shards can complicate disassembly—or worse, cause injury. If your phone is cracked, follow this step.

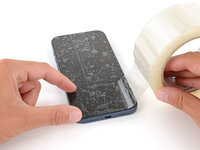
    • Apply strips of packing tape to the cracked glass until it's completely covered—this will help keep the glass contained and allow the suction cup to stick.

    • Make sure there's a single strip of tape (not overlapping) across the bottom edge, big enough for a suction cup to fit on.

    • Only cover the glass itself—don't stick any tape to the frame.

    • Consider wearing safety glasses to protect your eyes from any glass shaken free during the repair.

  3. iPhone 17 Pro Battery Replacement, Remove the pentalobe screws: crwdns2935265:03crwdnd2935265:01crwdnd2935265:02crwdne2935265:0 iPhone 17 Pro Battery Replacement, Remove the pentalobe screws: crwdns2935265:03crwdnd2935265:02crwdnd2935265:02crwdne2935265:0
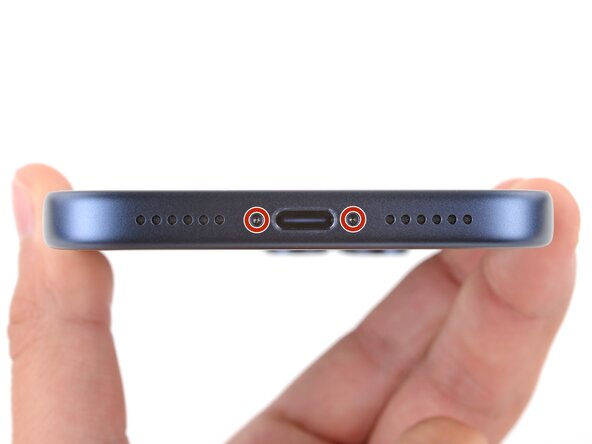
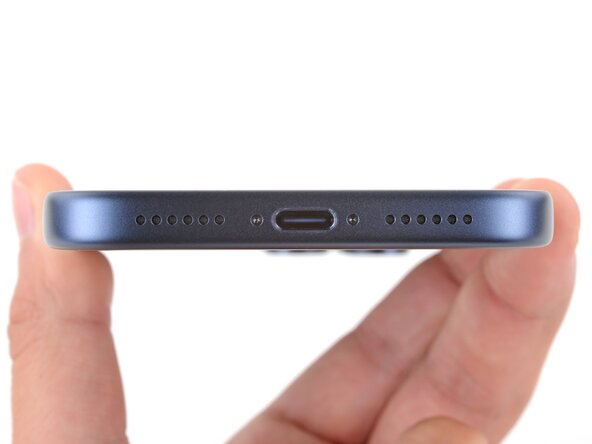
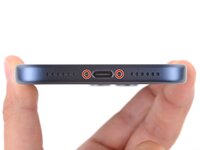
    • Use a P2 pentalobe screwdriver to remove the two 7.5 mm‑long screws on either side of the charging port.

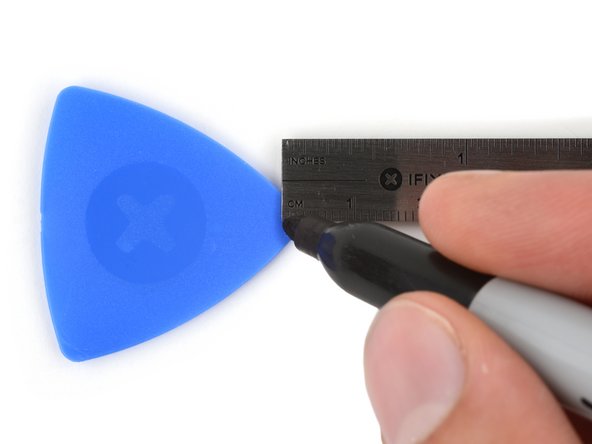
  4. iPhone 17 Pro Battery Replacement, Mark your opening picks: crwdns2935265:04crwdnd2935265:01crwdnd2935265:03crwdne2935265:0 iPhone 17 Pro Battery Replacement, Mark your opening picks: crwdns2935265:04crwdnd2935265:02crwdnd2935265:03crwdne2935265:0 iPhone 17 Pro Battery Replacement, Mark your opening picks: crwdns2935265:04crwdnd2935265:03crwdnd2935265:03crwdne2935265:0
    • If inserted too far, an opening pick can damage your device. Follow this step to mark your pick and prevent damage.

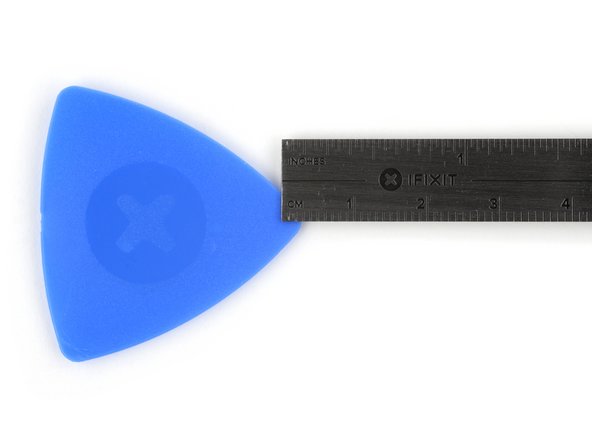
    • Measure 3 mm from the tip and mark the opening pick with a permanent marker.

    • Alternatively, you can tape a coin 3 mm from the tip of the pick.

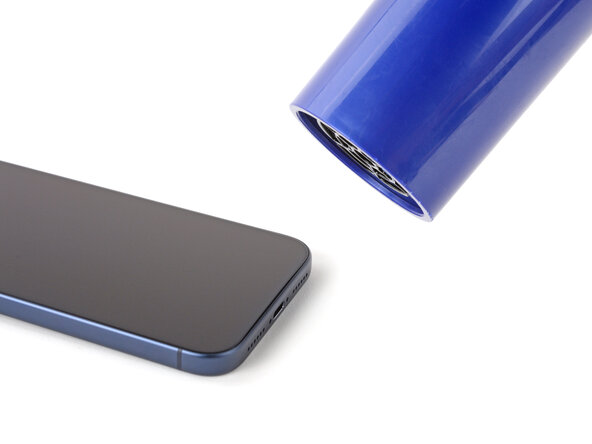
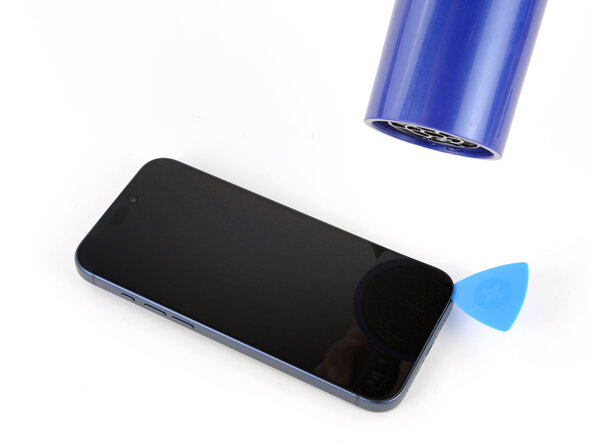
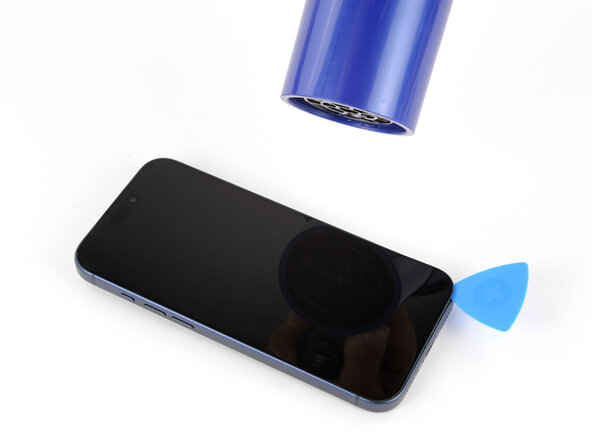
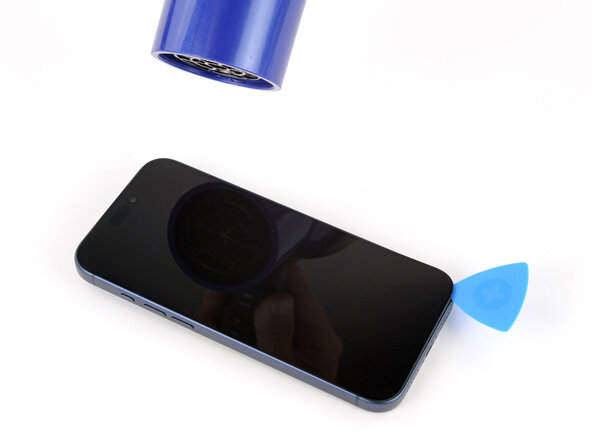
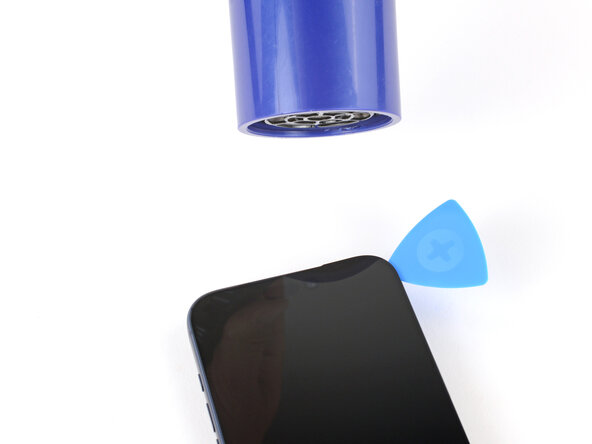
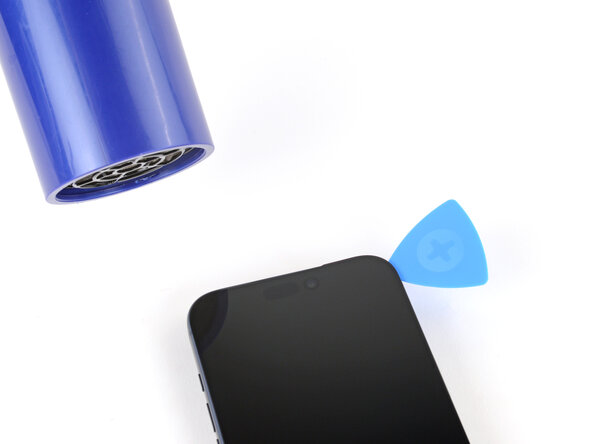
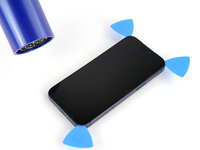
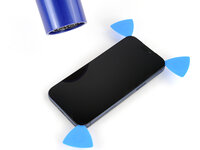
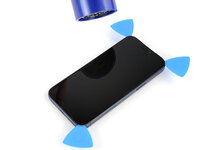
  5. iPhone 17 Pro Battery Replacement, Heat the bottom edge: crwdns2935265:05crwdnd2935265:01crwdnd2935265:01crwdne2935265:0
    • Use a hair dryer or heat gun to heat the bottom edge of the screen until it's slightly too hot to touch.

    • Improper use of a heat gun can destroy the display and/or battery—follow the linked instructions carefully.

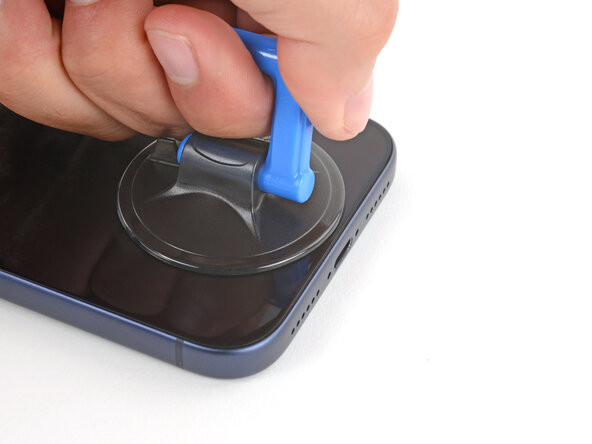
  6. iPhone 17 Pro Battery Replacement, Apply a suction handle: crwdns2935265:06crwdnd2935265:01crwdnd2935265:02crwdne2935265:0 iPhone 17 Pro Battery Replacement, Apply a suction handle: crwdns2935265:06crwdnd2935265:02crwdnd2935265:02crwdne2935265:0
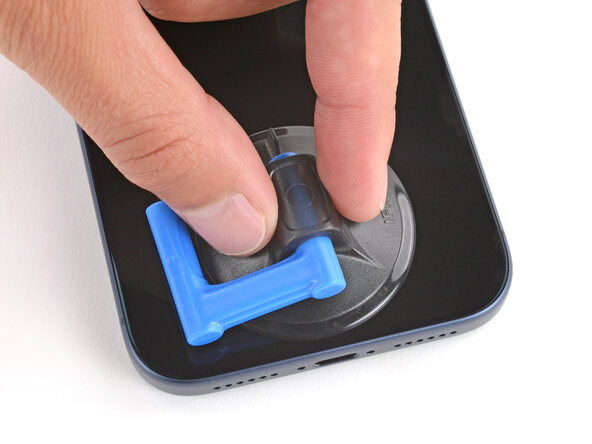
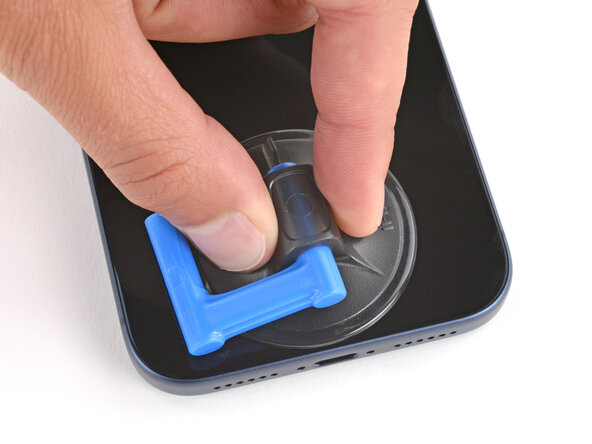
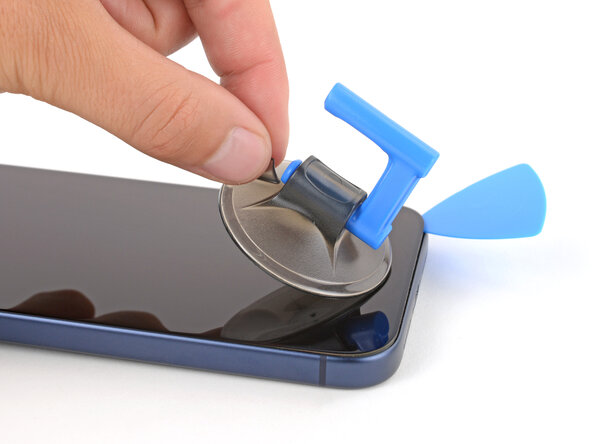
    • Apply a suction handle to the bottom edge of the screen, as close to the edge as possible.

  7. iPhone 17 Pro Battery Replacement, Screen bezel information: crwdns2935265:07crwdnd2935265:01crwdnd2935265:03crwdne2935265:0 iPhone 17 Pro Battery Replacement, Screen bezel information: crwdns2935265:07crwdnd2935265:02crwdnd2935265:03crwdne2935265:0 iPhone 17 Pro Battery Replacement, Screen bezel information: crwdns2935265:07crwdnd2935265:03crwdnd2935265:03crwdne2935265:0
    • During the next step, make sure you're inserting your pick in the correct location:

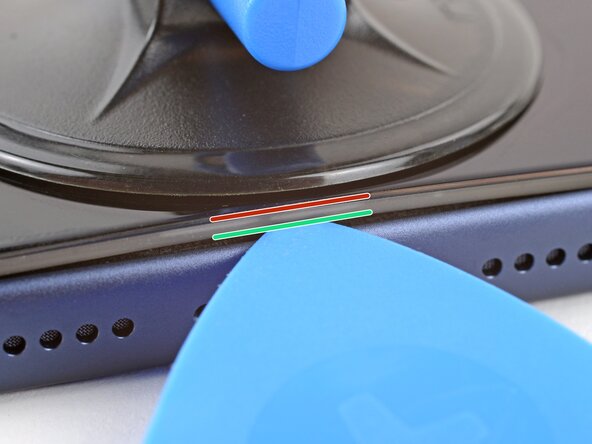
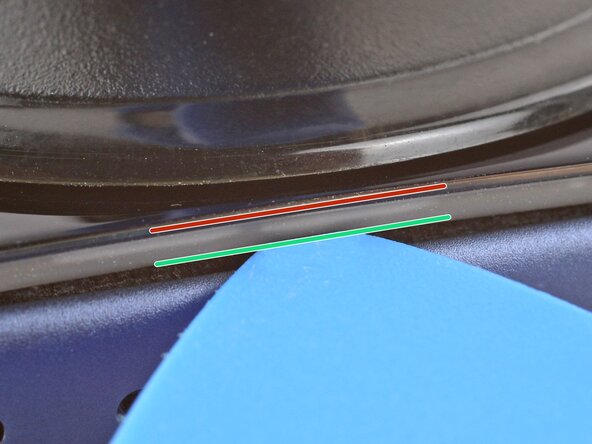
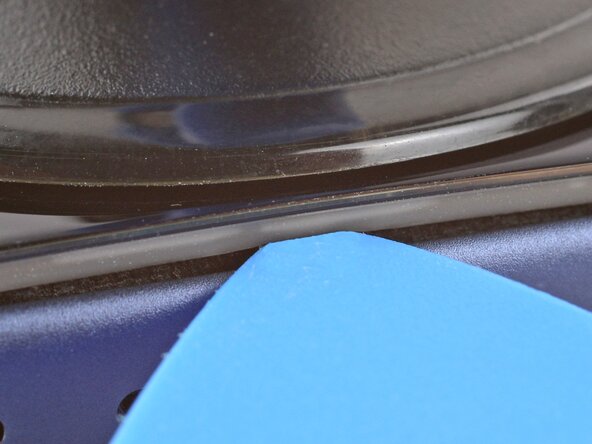
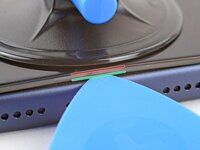
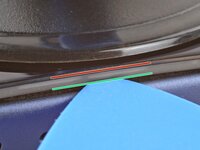
    • There's a plastic bezel on the underside of the screen that sits on the frame. Insert your pick here, making sure it's completely under the bezel.

    • There's a seam between the plastic bezel and the display panel. Don't insert your pick here or you'll separate the two, complicating the repair.

  8. iPhone 17 Pro Battery Replacement, Insert an opening pick: crwdns2935265:08crwdnd2935265:01crwdnd2935265:03crwdne2935265:0 iPhone 17 Pro Battery Replacement, Insert an opening pick: crwdns2935265:08crwdnd2935265:02crwdnd2935265:03crwdne2935265:0 iPhone 17 Pro Battery Replacement, Insert an opening pick: crwdns2935265:08crwdnd2935265:03crwdnd2935265:03crwdne2935265:0
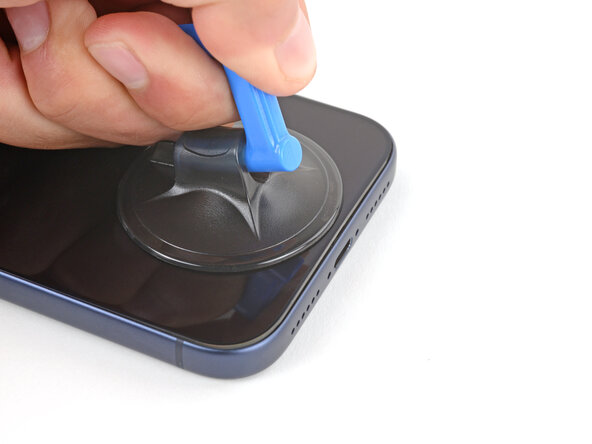
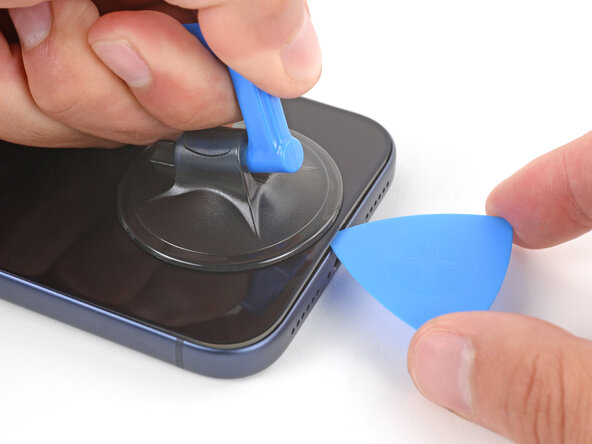
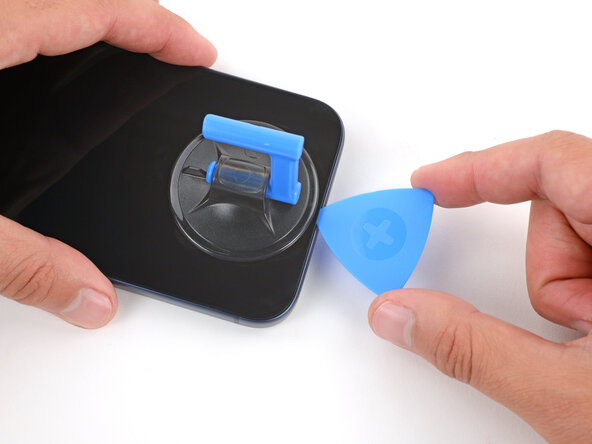
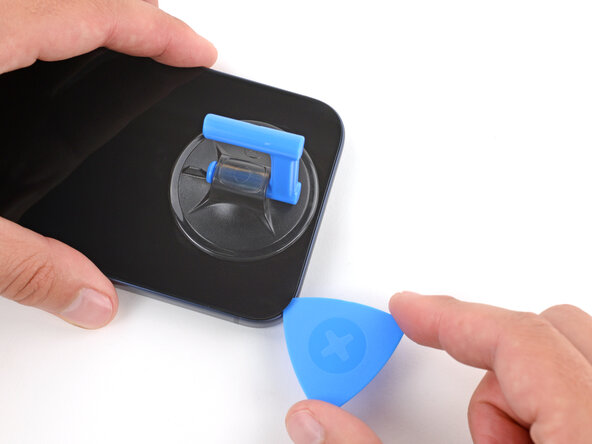
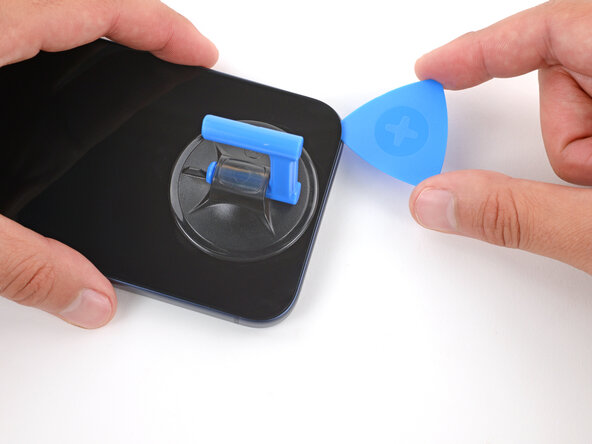
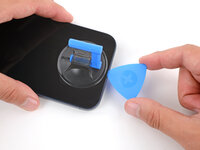
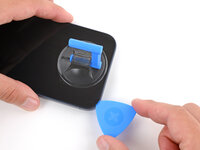
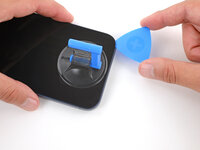
    • Pull up on the suction handle with strong, steady force until a gap forms between the screen and frame.

    • This may take significant force. If you're having trouble, reheat the screen and try again.

    • Insert the tip of an opening pick in the gap you just created.

  9. iPhone 17 Pro Battery Replacement, Screen information: crwdns2935265:09crwdnd2935265:01crwdnd2935265:03crwdne2935265:0 iPhone 17 Pro Battery Replacement, Screen information: crwdns2935265:09crwdnd2935265:02crwdnd2935265:03crwdne2935265:0 iPhone 17 Pro Battery Replacement, Screen information: crwdns2935265:09crwdnd2935265:03crwdnd2935265:03crwdne2935265:0
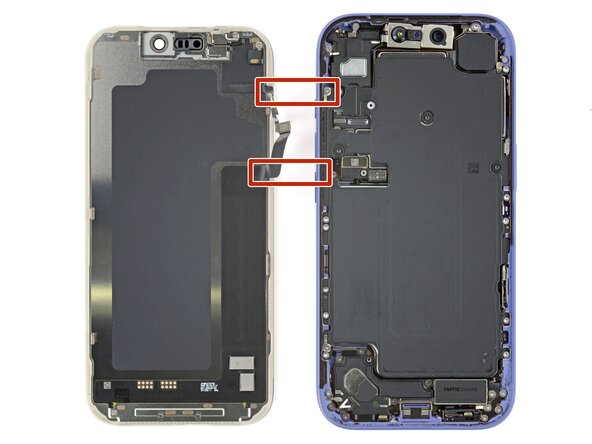
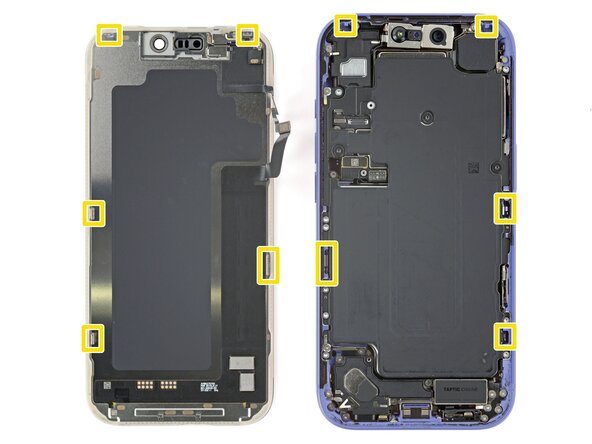
    • Don't insert your pick more than 3 mm under the screen to avoid damaging the following components:

    • The screen and ambient light sensor cables are located near the volume and Action buttons.

    • There are delicate spring contacts around the perimeter of the phone.

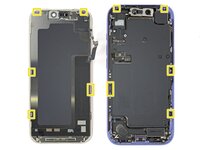
    • The underside of the screen has thin, metal clips that go into corresponding slots on the frame.

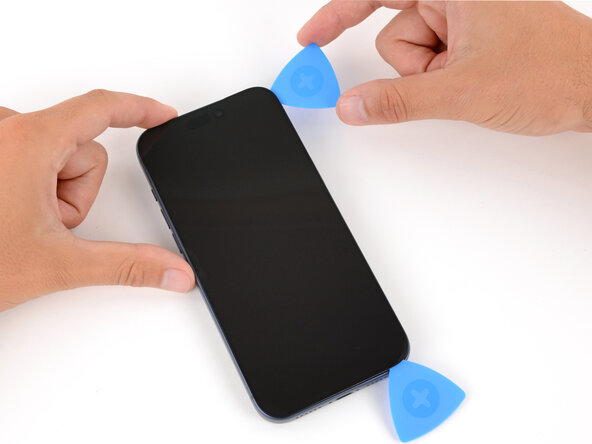
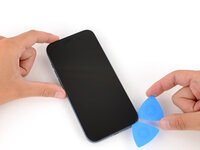
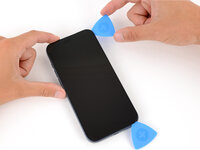
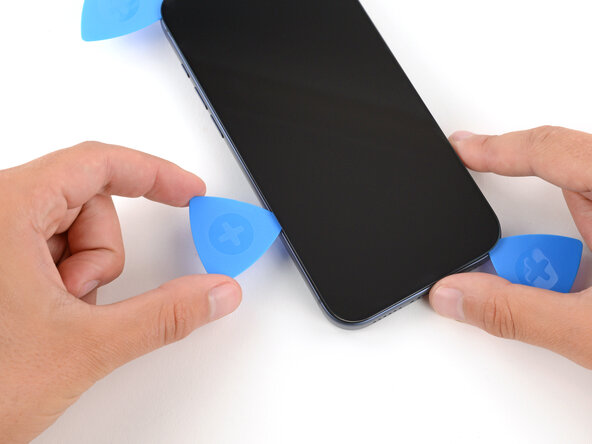
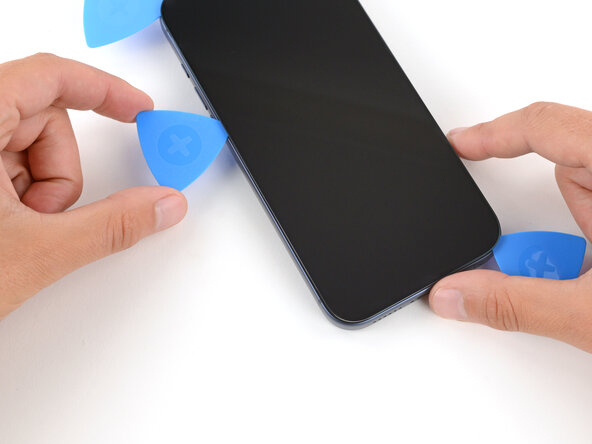
  10. iPhone 17 Pro Battery Replacement, Separate the bottom edge adhesive: crwdns2935265:010crwdnd2935265:01crwdnd2935265:03crwdne2935265:0 iPhone 17 Pro Battery Replacement, Separate the bottom edge adhesive: crwdns2935265:010crwdnd2935265:02crwdnd2935265:03crwdne2935265:0 iPhone 17 Pro Battery Replacement, Separate the bottom edge adhesive: crwdns2935265:010crwdnd2935265:03crwdnd2935265:03crwdne2935265:0
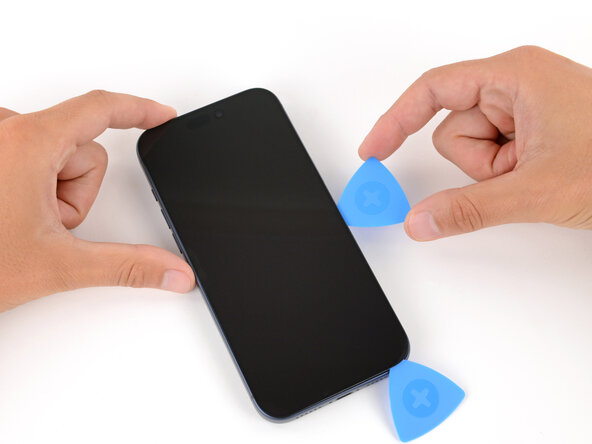
    • Slide the opening pick along the bottom edge to separate the adhesive.

    • Leave the pick inserted under the bottom right corner to prevent the adhesive from re‑sealing.

  11. iPhone 17 Pro Battery Replacement, Remove the suction handle: crwdns2935265:011crwdnd2935265:01crwdnd2935265:01crwdne2935265:0
    • Pull the small nub on the suction cup to remove it from the screen.

  12. iPhone 17 Pro Battery Replacement, Heat the right edge: crwdns2935265:012crwdnd2935265:01crwdnd2935265:03crwdne2935265:0 iPhone 17 Pro Battery Replacement, Heat the right edge: crwdns2935265:012crwdnd2935265:02crwdnd2935265:03crwdne2935265:0 iPhone 17 Pro Battery Replacement, Heat the right edge: crwdns2935265:012crwdnd2935265:03crwdnd2935265:03crwdne2935265:0
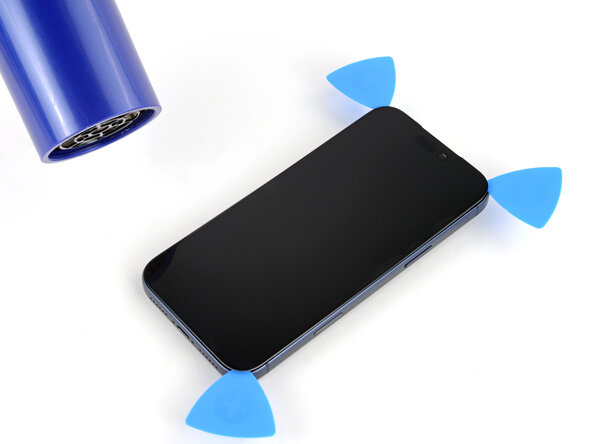
    • Use a hair dryer or heat gun to heat the right edge of the screen.

  13. iPhone 17 Pro Battery Replacement, Separate the right edge adhesive: crwdns2935265:013crwdnd2935265:01crwdnd2935265:03crwdne2935265:0 iPhone 17 Pro Battery Replacement, Separate the right edge adhesive: crwdns2935265:013crwdnd2935265:02crwdnd2935265:03crwdne2935265:0 iPhone 17 Pro Battery Replacement, Separate the right edge adhesive: crwdns2935265:013crwdnd2935265:03crwdnd2935265:03crwdne2935265:0
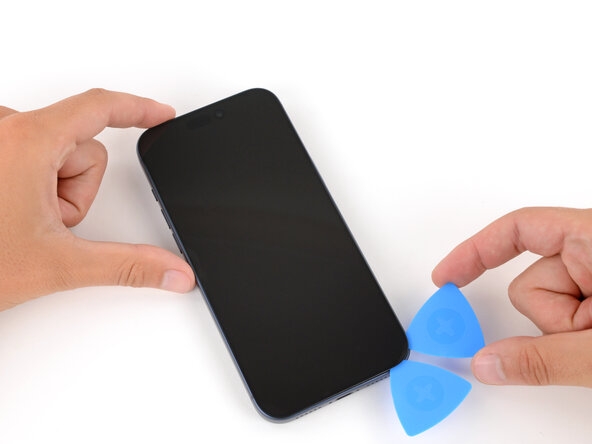
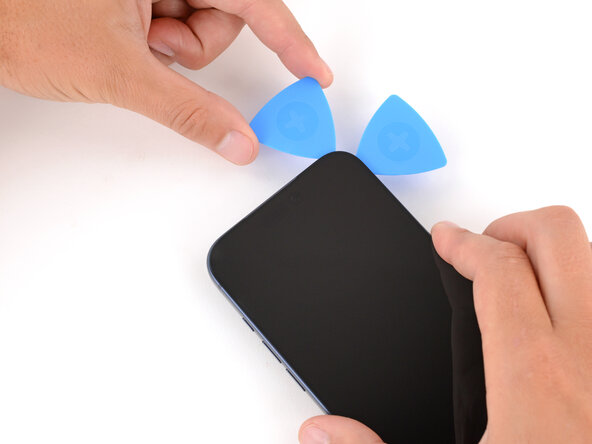
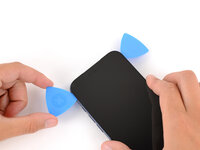
    • Insert a second opening pick under the bottom right corner of the screen.

    • Slide the pick up the right edge to separate the adhesive and release the two clips.

    • You may need to pry the screen up slightly to release the clips

    • Leave the pick inserted under the top right corner to prevent the adhesive from re‑sealing.

  14. iPhone 17 Pro Battery Replacement, Heat the top edge: crwdns2935265:014crwdnd2935265:01crwdnd2935265:02crwdne2935265:0 iPhone 17 Pro Battery Replacement, Heat the top edge: crwdns2935265:014crwdnd2935265:02crwdnd2935265:02crwdne2935265:0
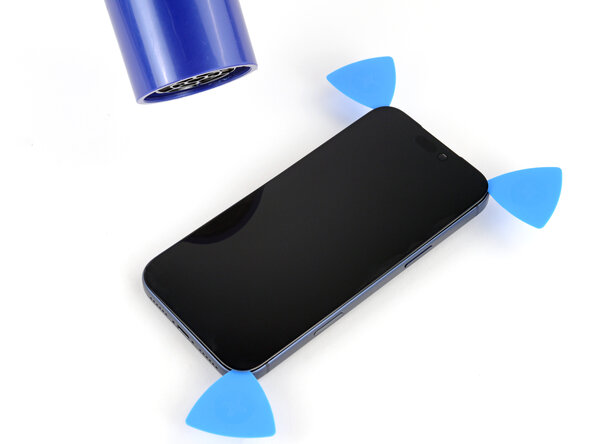
    • Use a hair dryer or heat gun to heat the top edge of the screen.

  15. iPhone 17 Pro Battery Replacement, Separate the top edge adhesive: crwdns2935265:015crwdnd2935265:01crwdnd2935265:03crwdne2935265:0 iPhone 17 Pro Battery Replacement, Separate the top edge adhesive: crwdns2935265:015crwdnd2935265:02crwdnd2935265:03crwdne2935265:0 iPhone 17 Pro Battery Replacement, Separate the top edge adhesive: crwdns2935265:015crwdnd2935265:03crwdnd2935265:03crwdne2935265:0
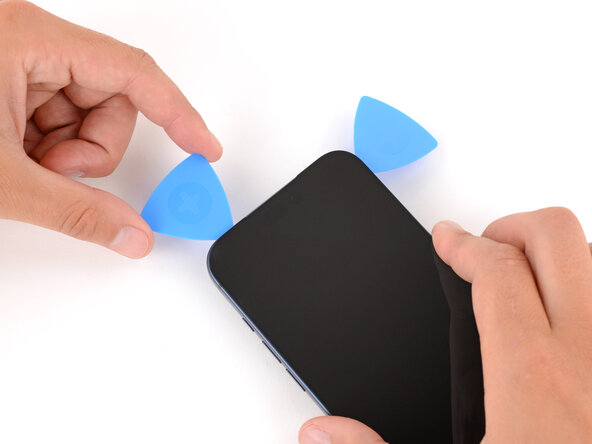
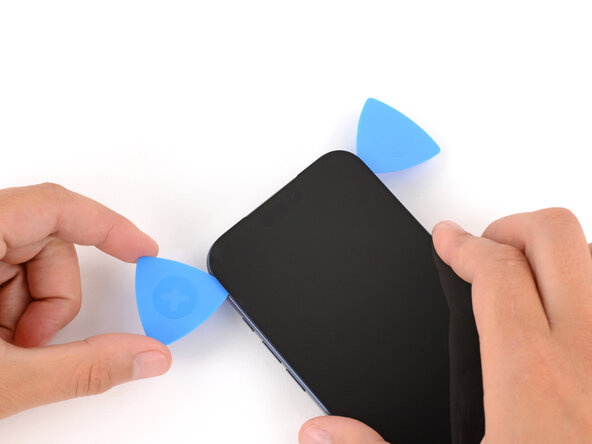
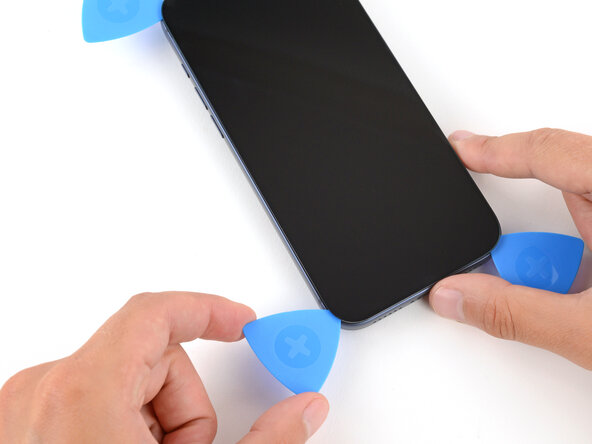
    • Insert a third opening pick under the top right corner of the screen.

    • Slide the pick along the top edge and just barely around the top left corner to separate the adhesive and release the two clips.

    • Don't slide the pick farther, or you may damage the ambient light sensor cable.

    • Leave the pick inserted under the top left corner to prevent the adhesive from re‑sealing.

  16. iPhone 17 Pro Battery Replacement, Heat the left edge: crwdns2935265:016crwdnd2935265:01crwdnd2935265:03crwdne2935265:0 iPhone 17 Pro Battery Replacement, Heat the left edge: crwdns2935265:016crwdnd2935265:02crwdnd2935265:03crwdne2935265:0 iPhone 17 Pro Battery Replacement, Heat the left edge: crwdns2935265:016crwdnd2935265:03crwdnd2935265:03crwdne2935265:0
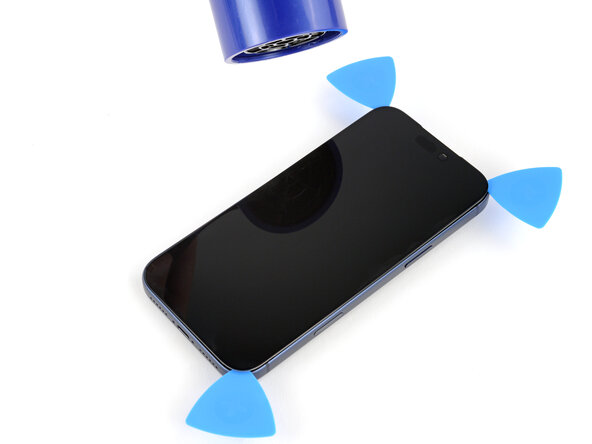
    • Use a hair dryer or heat gun to heat the left edge of the screen.

  17. iPhone 17 Pro Battery Replacement, Separate the left edge adhesive: crwdns2935265:017crwdnd2935265:01crwdnd2935265:03crwdne2935265:0 iPhone 17 Pro Battery Replacement, Separate the left edge adhesive: crwdns2935265:017crwdnd2935265:02crwdnd2935265:03crwdne2935265:0 iPhone 17 Pro Battery Replacement, Separate the left edge adhesive: crwdns2935265:017crwdnd2935265:03crwdnd2935265:03crwdne2935265:0
    • Insert a fourth opening pick under the bottom left corner of the screen.

    • Slide the pick up the right edge to separate the adhesive and release the clip, stopping just before the volume up button.

    • You may need to pry up the screen slightly to release the clip.

    • Don't slide the pick farther, or you may damage the screen cable.

  18. iPhone 17 Pro Battery Replacement, Prop up the screen: crwdns2935265:018crwdnd2935265:01crwdnd2935265:02crwdne2935265:0 iPhone 17 Pro Battery Replacement, Prop up the screen: crwdns2935265:018crwdnd2935265:02crwdnd2935265:02crwdne2935265:0
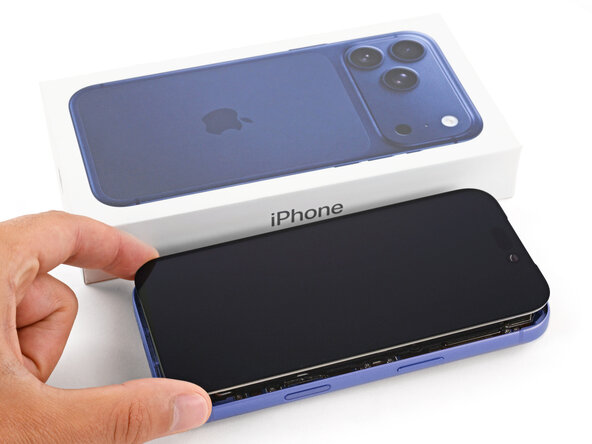
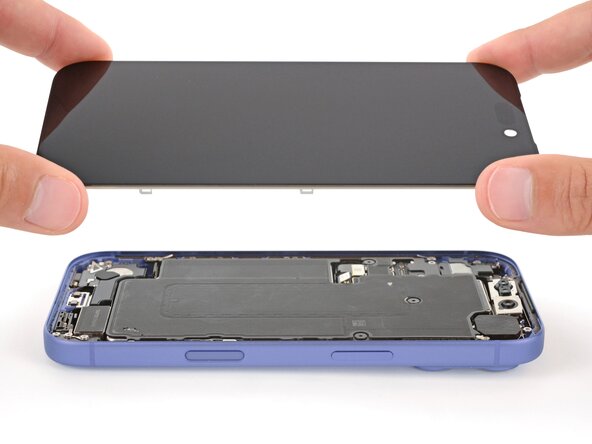
    • At this point, the screen should be completely detached from the frame. If it feels stuck, go back around the perimeter and separate any remaining adhesive or clips.

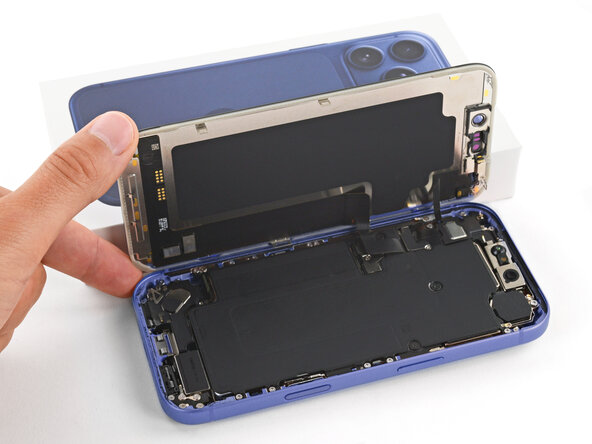
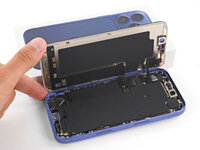
    • Lift the screen straight up and swing it over the left edge, propping it up against a sturdy box or stack of books so the cables aren't strained.

    • Alternatively, you can lay the screen down flat over the left side.

  19. iPhone 17 Pro Battery Replacement, Remove the cover screws: crwdns2935265:019crwdnd2935265:01crwdnd2935265:01crwdne2935265:0
    crwdns2935267:0crwdne2935267:0
    FixMat
    $36.95
    • Throughout this repair, keep track of each screw and make sure it goes back exactly where it came from.

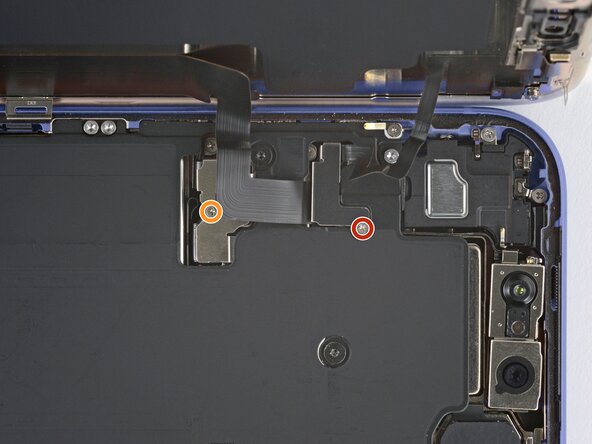
    • Use a JIS 00 screwdriver to remove the two screws securing the cable covers:

    • One 1.4 mm‑long screw for the screen and front sensor cable cover

    • One 1.3 mm‑long screw for the battery cover

    • Small iFixit Phillips bits are designed to work with JIS screws. You can try Phillips drivers from other manufacturers, but you risk stripping the screw.

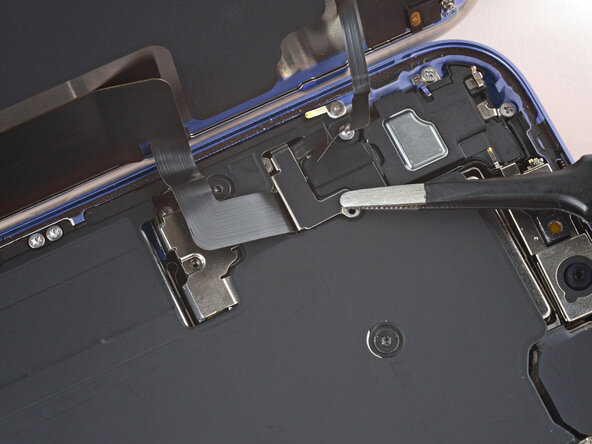
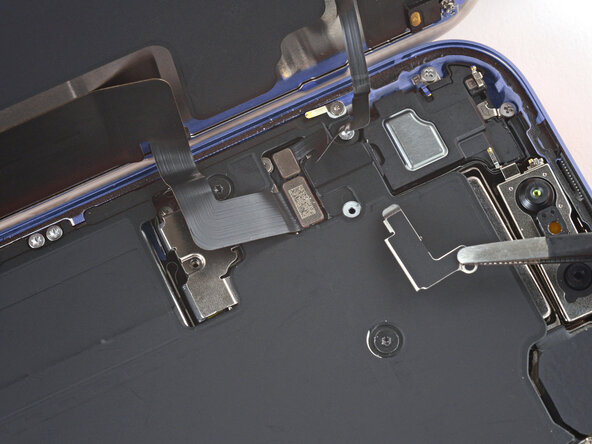
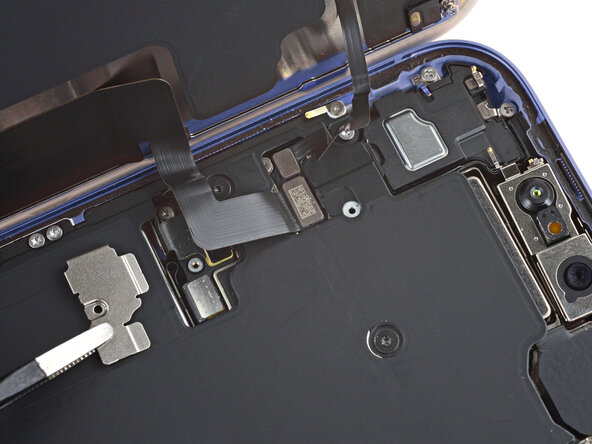
  20. iPhone 17 Pro Battery Replacement, Remove the covers: crwdns2935265:020crwdnd2935265:01crwdnd2935265:03crwdne2935265:0 iPhone 17 Pro Battery Replacement, Remove the covers: crwdns2935265:020crwdnd2935265:02crwdnd2935265:03crwdne2935265:0 iPhone 17 Pro Battery Replacement, Remove the covers: crwdns2935265:020crwdnd2935265:03crwdnd2935265:03crwdne2935265:0
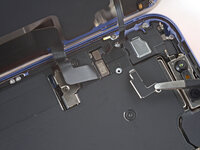
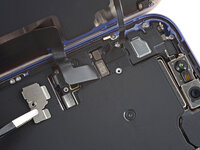
    • Remove the two covers.

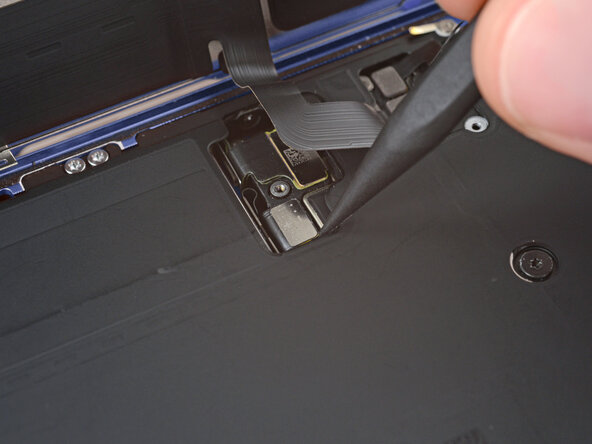
  21. iPhone 17 Pro Battery Replacement, Disconnect the battery: crwdns2935265:021crwdnd2935265:01crwdnd2935265:02crwdne2935265:0 iPhone 17 Pro Battery Replacement, Disconnect the battery: crwdns2935265:021crwdnd2935265:02crwdnd2935265:02crwdne2935265:0
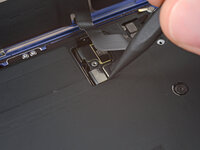
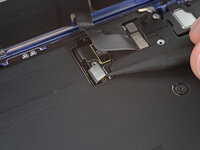
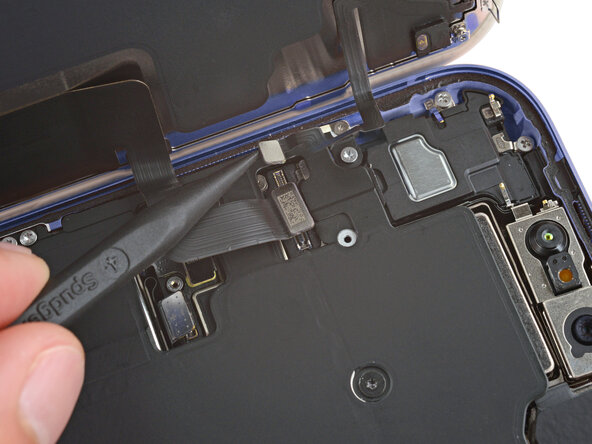
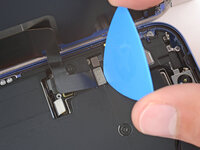
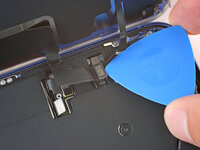
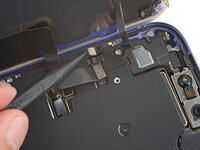
    • Use the point of a spudger to pry up and disconnect the battery press connector.

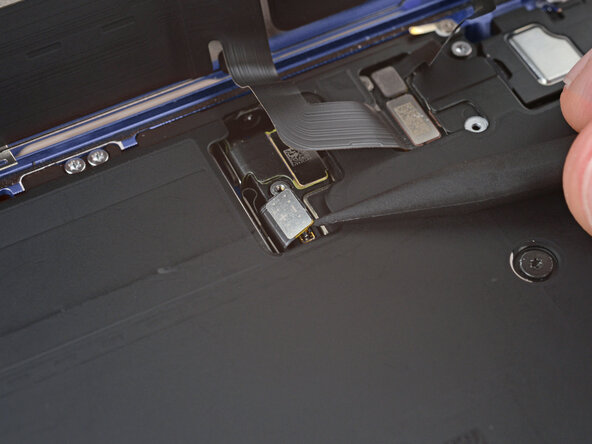
  22. iPhone 17 Pro Battery Replacement, Disconnect the screen: crwdns2935265:022crwdnd2935265:01crwdnd2935265:03crwdne2935265:0 iPhone 17 Pro Battery Replacement, Disconnect the screen: crwdns2935265:022crwdnd2935265:02crwdnd2935265:03crwdne2935265:0 iPhone 17 Pro Battery Replacement, Disconnect the screen: crwdns2935265:022crwdnd2935265:03crwdnd2935265:03crwdne2935265:0
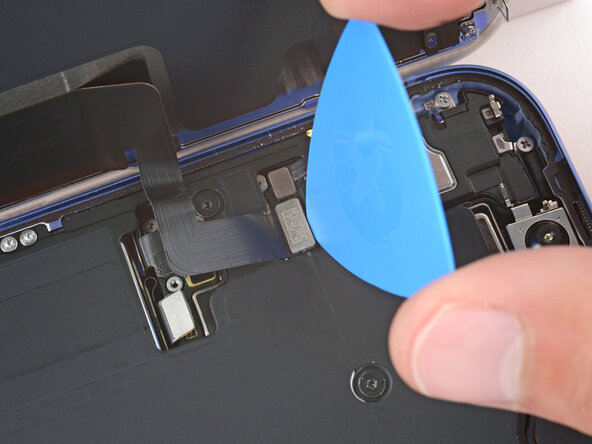
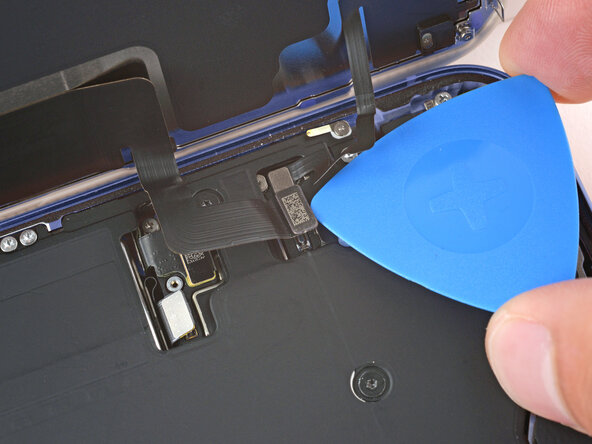
    • Use the tip of an opening pick or the point of a spudger to pry up and disconnect the screen and ambient light sensor press connectors.

  23. iPhone 17 Pro Battery Replacement, Remove the screen: crwdns2935265:023crwdnd2935265:01crwdnd2935265:01crwdne2935265:0
    • Remove the screen.

    • During reassembly, follow this guide to apply adhesive and install your screen.

    • Be careful not to damage any of the spring contacts as you clean the frame.

  24. iPhone 17 Pro Battery Replacement, Remove the battery screws: crwdns2935265:024crwdnd2935265:01crwdnd2935265:02crwdne2935265:0 iPhone 17 Pro Battery Replacement, Remove the battery screws: crwdns2935265:024crwdnd2935265:02crwdnd2935265:02crwdne2935265:0
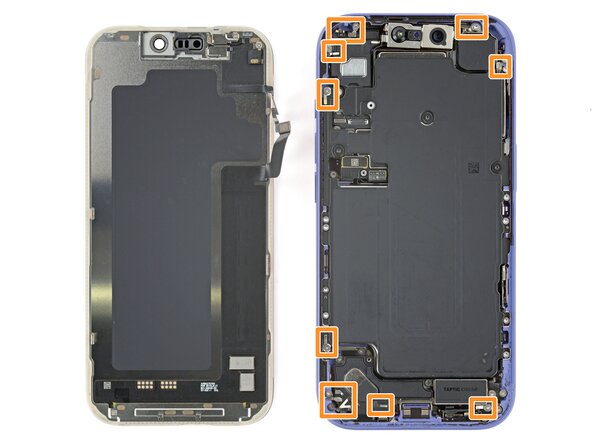
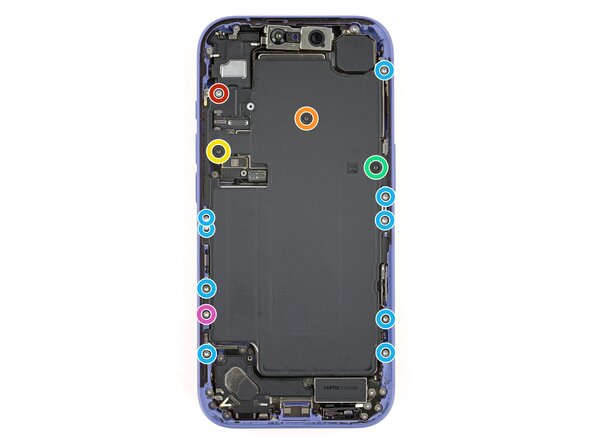
    • Use a Torx Plus 4IP screwdriver to remove the 14 screws securing the battery tray:

    • One 7.5 mm‑long screw

    • One 5.9 mm‑long screw

    • One 3.4 mm‑long screw

    • One 2.3 mm‑long screw

    • Nine 3.7 mm‑long screws

    • One 3.7 mm‑long screw

    • iPhone models with a physical SIM card won't have this screw.

  25. iPhone 17 Pro Battery Replacement, Remove the battery: crwdns2935265:025crwdnd2935265:01crwdnd2935265:03crwdne2935265:0 iPhone 17 Pro Battery Replacement, Remove the battery: crwdns2935265:025crwdnd2935265:02crwdnd2935265:03crwdne2935265:0 iPhone 17 Pro Battery Replacement, Remove the battery: crwdns2935265:025crwdnd2935265:03crwdnd2935265:03crwdne2935265:0
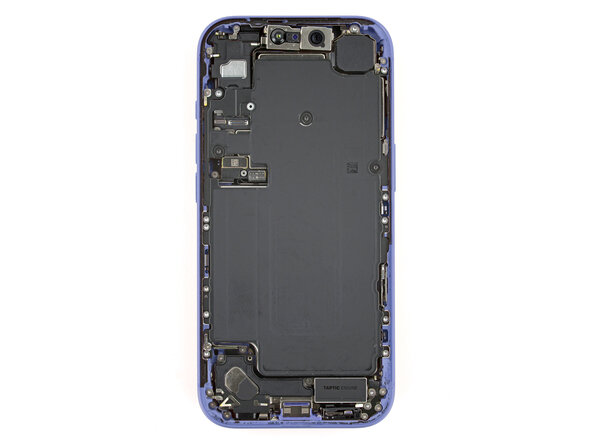
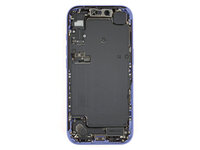
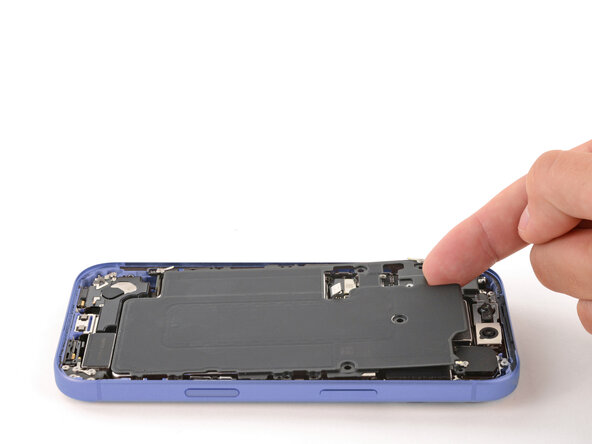
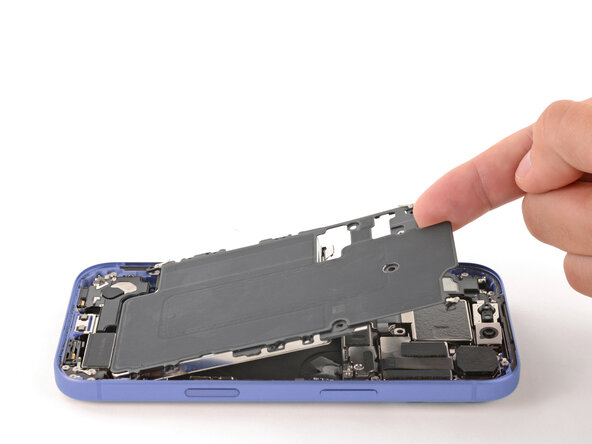
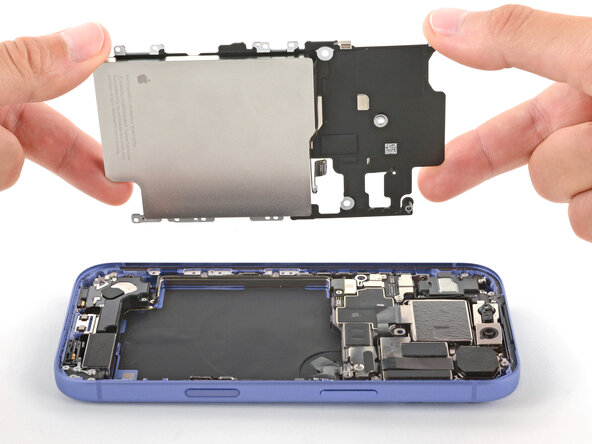
    • Use your finger to lift the top left corner of the battery tray and remove it.

    • Be careful not to smudge the front camera.

crwdns2915888:0crwdne2915888:0

To reassemble your device, follow these instructions in reverse order.

After your repair, run Apple's Repair Assistant. Navigate to Settings General About Parts & Service History, tap Restart & Finish Repair, and follow the onscreen prompts.

Calibrate your newly installed battery after completing this guide.

Take your e-waste to an R2 or e-Stewards certified recycler.

Repair didn’t go as planned? Try some basic troubleshooting, or ask our Answers Community for help.

Spencer Day

crwdns2935283:009/14/22crwdne2935283:0

145,289 crwdns2915208:0crwdne2915208:0

crwdns2935297:0970crwdne2935297:0

crwdns2947410:01crwdne2947410:0

Just what I was looking for. Thank you
Stepfwd - crwdns2934203:0crwdne2934203:0

crwdns2917038:0crwdne2917038:0

crwdns2936625:0crwdne2936625:0:

crwdns2936751:024crwdne2936751:0 91

crwdns2936753:07crwdne2936753:0 499

crwdns2936753:030crwdne2936753:0 950

crwdns2942667:0crwdne2942667:0 950