crwdns2915892:0crwdne2915892:0
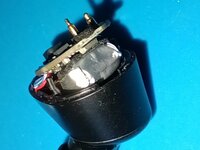
Use this guide to fix the rattling sound that appears with time or if earbuds are dropped to often.
crwdns2942213:0crwdne2942213:0
-
-
Heat up the lid by leaving the earbud upside down on a hotplate at ~80°C for ~1min. A 3d printers hotbed works well for this.
-
A heat gun should also work as well.
-
-
-
The earbuds are glued shut.
-
Put some cloth around the earbud and put it in a vice like shown.
-
Pliers might work too if you don't have a vice but it's not recommended.
-
Slowly close the vice until there is a cracking sound or a gap forms in the seam.
-
-
-
Heat up the lid again before continuing.
-
Separate the 2 halfs using one of the opening picks.
-
Make sure not to press the pick more then ~1mm into the case to avoid damaging anything on the PCB.
-
Slowly lift up the outer half after cracking the seal around the whole earbud. Slowly pull them apart as there is some flexible adhesive on 2 internal pegs that takes a bit of time to "give up".
-
-
-
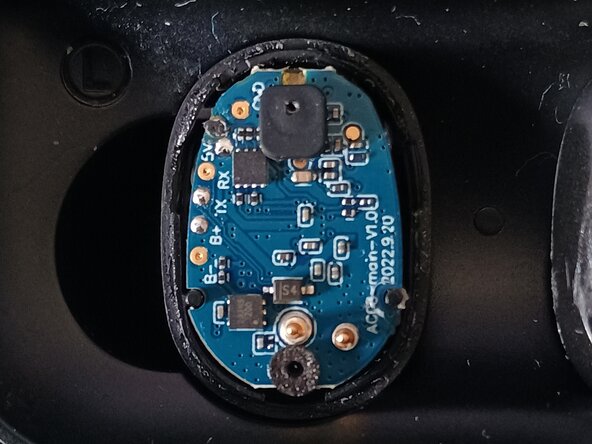
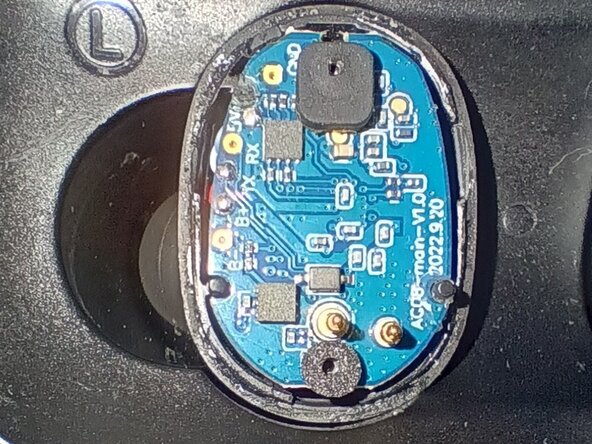
The marked mic cover tends to easily get lost. It's best to take it of and store it with the top half until reassembly.
-
-
-
Try to remove as much of the hard, clear glue on the outside edge to make sure the buds close nicely when reassembling them.
-
A precision rotary tool with a fine abrasive tip and/or a scalpel works best.
-
-
-
-
Try to remove as much of the white glue as possible using a scalpel and/or tweezers.
-
Putting the lid back on the hotplate or a bit of Isopropanol can help softening it.
-
-
-
Jump into any of the other guides showing you how to fix specific problems:
-
-
-
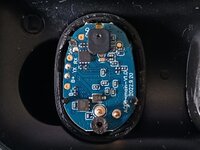
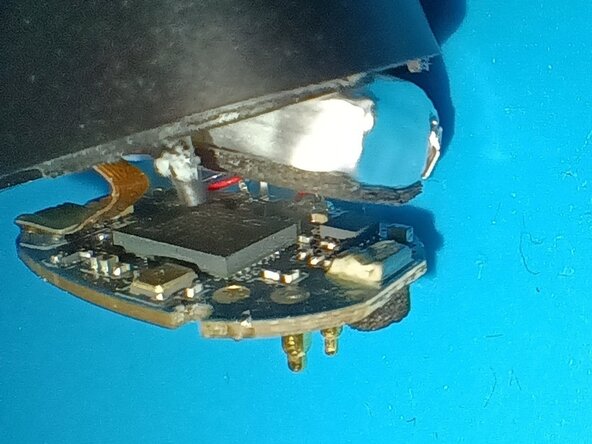
The PCB is being held by 3 pins on of which is heat staked (the marked one).
-
Carefully remove it using flush cutters or scalpel.
-
-
-
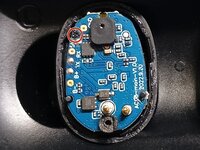
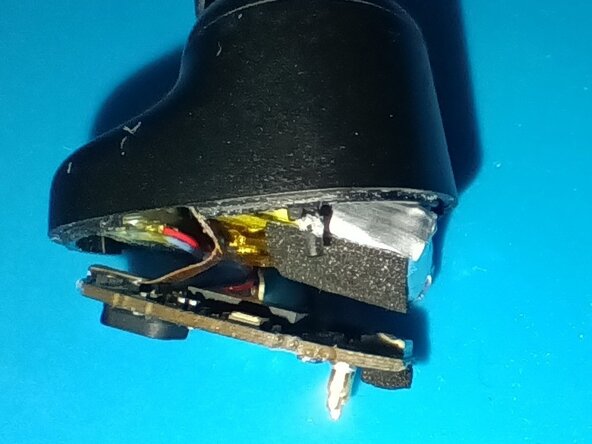
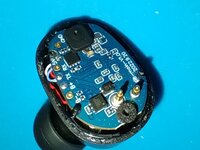
Separate the battery from the PCB.
-
-
-
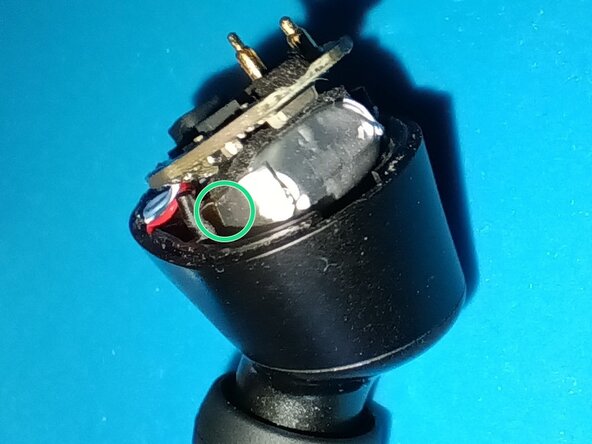
Apply super glue on top of the marked chips to stick down the battery.
-
Put the PCB back in place for a few seconds to give the adhesive time to pin the battery in the right place.
-
Lift it up again and press the battery softly on to the PCB to maximize the area that the glue can stick to.
-
-
-
The battery often rests again the front plastic pin when assembled.
-
For additional stability and protection of the battery a bit of flexible adhesive like B7000 can be applied in the marked area.
-
-
-
Put a bit of super glue on the pin that was cut of at the beginning of this guide (green marker) to secure the PCB again.
-
Optionally put some on the other 2 pins marked in yellow too.
-