crwdns2915892:0crwdne2915892:0
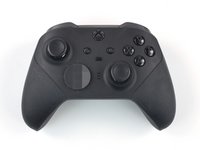
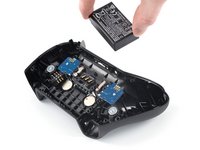
Use this guide to replace a worn out or dead battery in your Xbox Elite Wireless Controller Series 2.
For your safety, discharge the battery below 25% before disassembling your controller. This reduces the risk of fire if the battery is accidentally damaged during the repair. If your battery is swollen, take appropriate precautions.
crwdns2942213:0crwdne2942213:0
-
-
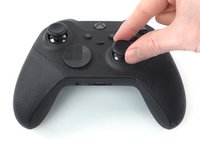
Use your fingers to remove the thumbstick toppers.
-
-
-
Use your fingers to remove the D-pad cover.
-
-
-
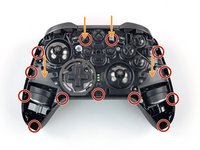
13 tight plastic clips
-
Several strips of adhesive tape
-
-
-
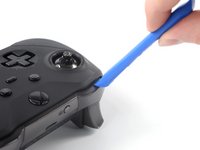
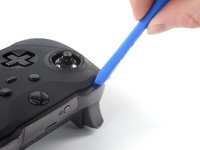
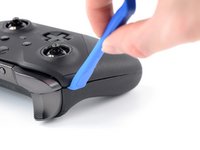
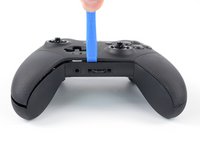
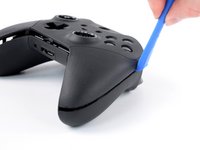
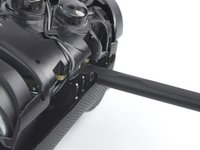
Insert an opening tool between the left bumper and the top housing.
-
Pry up the top housing to release the top left clip.
-
-
-
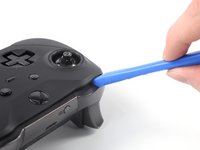
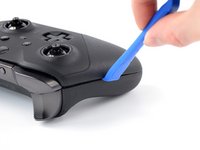
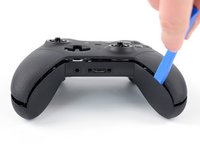
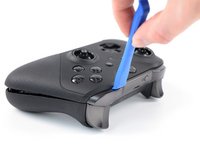
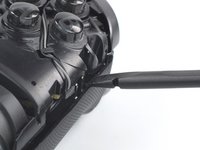
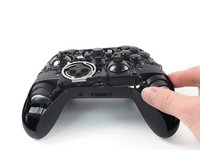
Insert an opening tool into the seam between the two housings on the controller’s left edge.
-
-
-
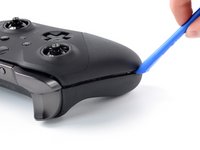
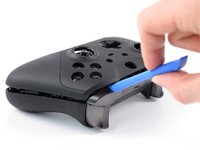
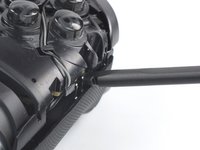
Slide the opening tool along the left edge and pry up intermittently to release the plastic clips.
-
-
-
-
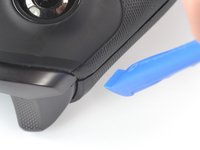
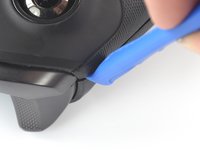
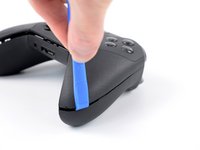
Insert your opening tool into the seam between the two housings on the inner left edge.
-
Slide the opening tool along the bottom edge and pry up intermittently to release the plastic clips.
-
-
-
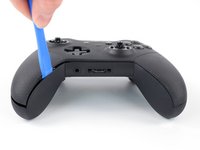
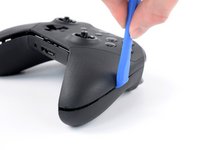
Insert your opening tool into the seam between the two housings on the controller’s right edge.
-
Slide the opening tool along the right edge and pry up intermittently to release the plastic clips.
-
-
-
Insert your opening tool between the right bumper and the top housing.
-
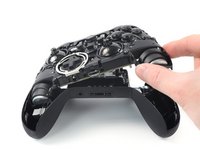
Pry up the top housing to release the remaining plastic clips.
-
-
-
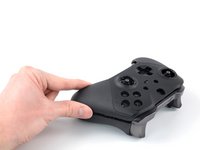
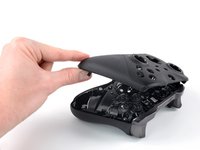
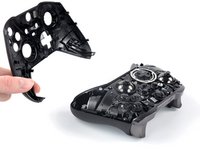
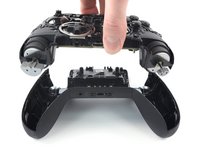
Remove the top housing.
Ein genaueres Bild der Innenseite des Oberteils wäre hilfreich um zu sehen wo die Clips sind die den Controller zusammenhalten !
Hallo MEX, Schritt 3 "Demontageinformationen" beinhaltet Markierungen für die Positionierung der Klebestreifen und Clips, siehe zweites Bild. Ich hoffe, das hilft dir bei der Reparatur weiter!
-
-
crwdns2935267:0crwdne2935267:0Tweezers$4.99
-
Use a Torx T8 Security screwdriver to remove the six 9 mm-long screws securing the midframe assembly.
-
-
-
Insert the flat end of a spudger under the top right edge of the midframe, just above the clip.
-
Pry up the midframe assembly to release the clips securing it.
-
-
-
Remove the midframe assembly.
-
-
-
Use a Torx T6 screwdriver to remove the four 6.9 mm-long screws securing the battery cover.
-
-
-
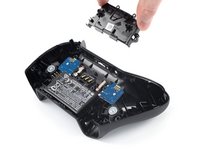
Remove the battery cover.
-
-
-
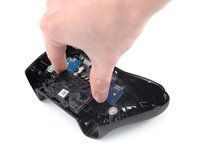
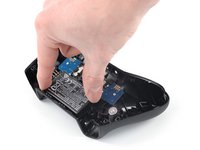
Grab the battery and lift it out of its recess.
-
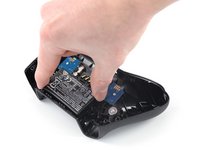
Remove the battery.
-
To reassemble your device, follow these instructions in reverse order.
For optimal performance, calibrate your newly installed battery after completing this guide.
Take your e-waste to an R2 or e-Stewards certified recycler.
Repair didn’t go as planned? Check out our Answers community for troubleshooting help.
crwdns2935221:0crwdne2935221:0
crwdns2935229:018crwdne2935229:0
crwdns2947412:011crwdne2947412:0
Absolutely great tutorial, thank you. Now... any idea where I can get a replacement battery pack for this? Mine is deformed and unusable.
Hi Kraeg Minett, thanks for your comment! Unfortunately, the battery is currently not available at the iFixit Store, but you might have some luck looking for a replacement battery by either using the model code for the Elite Wireless Controller (1797) or the battery itself (DYND01).
Hello.
Great tutorial
But - i cannot find replacement battery pack ( original one )
Please - can you help me with this issue ? Thank u
Stanislav Banas
I got one here - https://kasynparts.com/product/xbox-elit...
Had it shipped to the UK and it arrived today after two weeks. I haven't yet installed it as now waiting for a T6 driver to arrive but might be worth a try.
Update - The repair was a success, the battery from the above website is good and the controller is now working again :)
Thank you so much for showing this. So Easy to follow, perfect instructions. I was really scared to try this but once I got going it was sooooo easy. I changed the battery and it's all working. 10/10
They have packages on EBay that includes everything you need with drivers and pry clips for around $20 US
I found battery and tool on eBay and amazon
I got mine off eBay but a few others came up to ,wen I googled
I can plug the usb c cable into the controller and it works fine. but without the cable the controller won't light up. I have tried replacing the accu, but the same problem. any help?
Hi Wout Dobro, since the controller works with the USB-C cable, it confirms the main components are functioning. It sounds like there's an issue with the power circuit or the battery connection. Make sure that the battery is aligned correctly and the prongs are making contact with the battery. Check for damages or corrosion on the prongs and the board as this might cause problems too. I hope this helps!


