crwdns2915892:0crwdne2915892:0
If you are unsure how to write a Windows 10/11 ISO to a USB flash drive, this guide will show you how to use Rufus and bypass the Microsoft account requirements, such as for cases where you do not want to use a Microsoft account, do not have one, or do not want to create one. It can also be used to create an installer that works on “unsupported” PCs (1). This guide focuses on making a bootable USB drive, which is the currently recommended method with many computers no longer including optical drives.
A 16-32GB USB flash drive is generally the lowest drive I would recommend for such a task (2). This guide outlines the process for Rufus 4.x; 2.x is not covered, as it does not support the Microsoft account bypass option or the other "bypasses" that 3.x and up can detect and enable. 3.x and 4.x use the same steps.
IMPORTANT!!! Windows 11 25H2 images require 4.x because Microsoft made changes in 25H2 to block bypasses. 24H2 works with both 3.x and 4.x versions of Rufus.
TL;DR: When buying a new USB drive, stick with a name-brand 32GB+ drive. For speed, USB 3.0 is recommended unless your machine will not boot from 3.0 drives entirely (this is genuinely rare -- 90% of these crashes come from "junk" private-label 3.0 drives with dubious controllers). (3) IF YOUR BUDGET IS THIN, YOU ARE BETTER OFF USING AN OLD 8-16GB NAME-BRAND DRIVE THAT CAN BE ERASED IF YOU ARE CHOOSING BETWEEN NEW NO-NAME JUNK OR A KNOWN-NAME BRAND!
Footnotes:
(1) YOUR PC IS STILL UNSUPPORTED IN THE EYES OF MICROSOFT. Feature updates must be force-installed through bootable media, which has been bypassed. While I have included proven "safe" guidelines in Step 5, you can disregard this and install it on any CPU with the right instruction set and PopCnt (Population Count), and 4-8GB of RAM.
(2) Older low-capacity drives (minimum 8GB) "work," but leave limited spare space for extras (e.g., application installers and device drivers). These have been out of production for many years, but are sometimes sold in bulk to clear out failed 16GB NAND chips - many drives consider 16GB the minimum floor capacity today, even these "B-Stock" bulk pack drives. In addition, you can find many 32-64GB name-brand drives for $1-2 more than bulk 16GB drives, unless you find a NOS 16GB name-brand drive. As such, the general recommendation is 32-64GB+ if you need to purchase a drive for this purpose (USB3 preferred, USB2 drives work but are slow). Unless the drive is dead stock from a known brand, nobody makes "new" name-brand 16GB drives. MOST 16GB drives available today use B-Stock NAND from a big manufacturer like SanDisk. I do not recommend these, as many have issues being booted from, including many older USB2 Kingston drives.
(3) Used drives should be erased before formatting in Rufus. Rufus also does this, but preformatting it (format, like NTFS/exFAT/FAT32 does not matter) makes detection easier.
crwdns2942213:0crwdne2942213:0
-
-
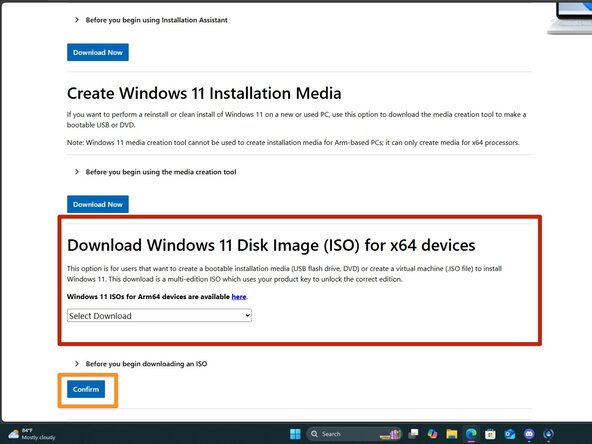
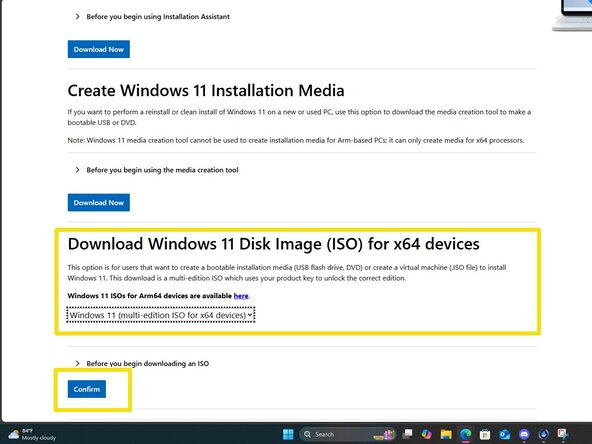
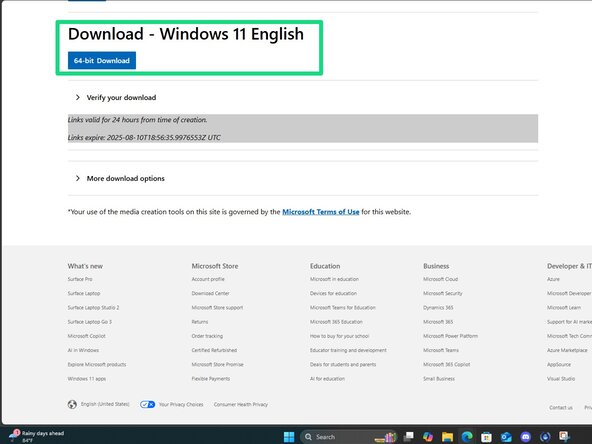
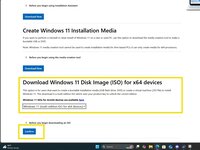
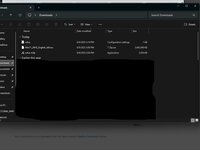
Download a Windows 10 or 11 ISO from Microsoft - do not use other sources unless you trust it.
-
Windows 11: https://www.microsoft.com/en-us/software...
-
Windows 10: https://www.microsoft.com/en-us/software...
-
-
-
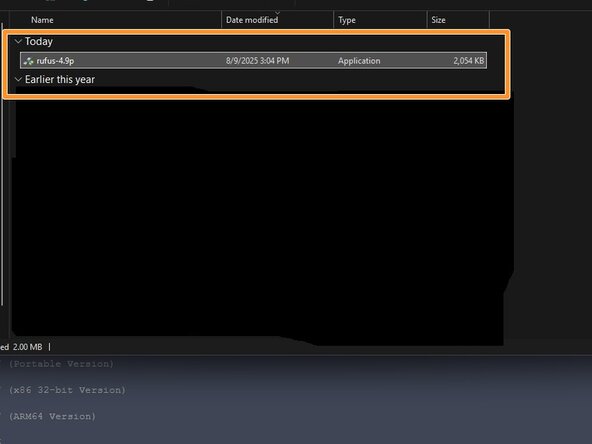
IMPORTANT: make sure to use Rufus 3.x, 4.x or newer — anything older will not work. To write the ISO, download Rufus. Place this somewhere it is easily found.
-
-
-
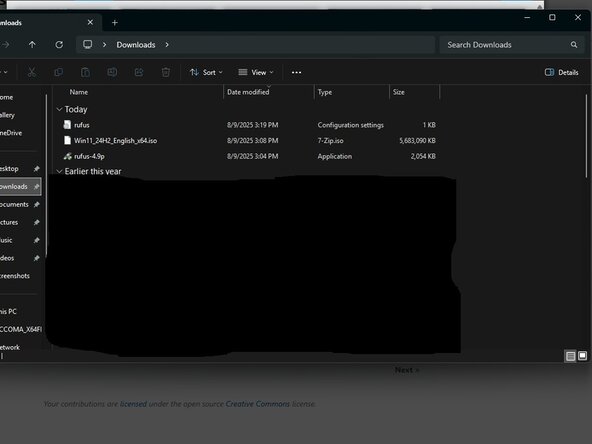
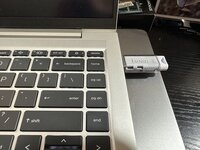
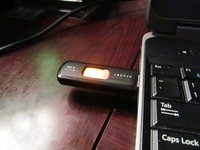
Plug the USB drive in and select the ISO you want to use.
-
-
-
-
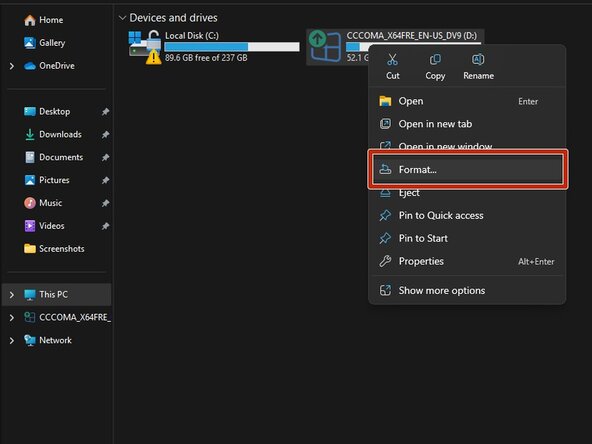
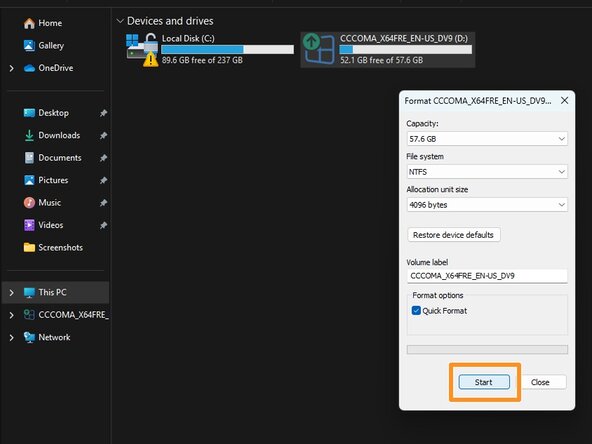
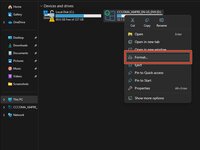
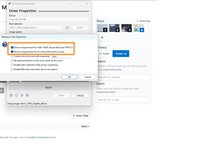
With the USB drive plugged into the computer, go into Windows Explorer, right click Format. For all intents and purposes format type used here does not matter as Rufus does a format before writing the drive image.
-
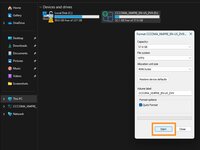
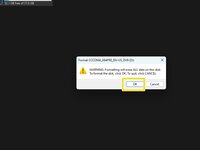
Click on Format and click OK on the data loss warning. Once done the drive is ready to be imaged with Rufus.
-
-
-
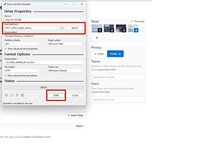
Open Rufus and click SELECT. Find the ISO and click Open.
-
Select the options you want to enable. For most people the defaults are fine, but you can enable and disable options as you desire.
-
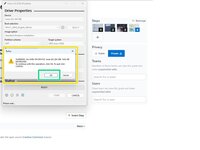
After configuring the writing process, click start. Click OK on the formatting warning.
-
-
-
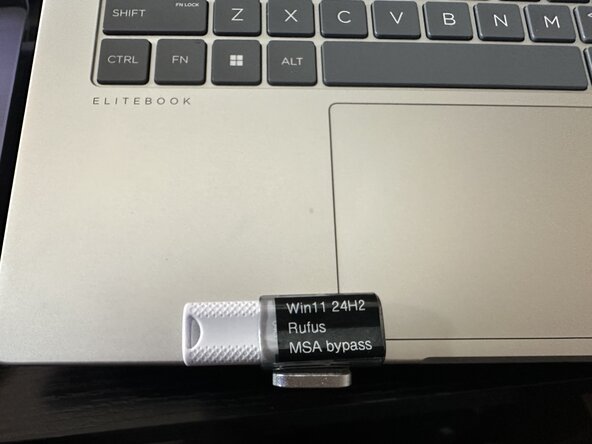
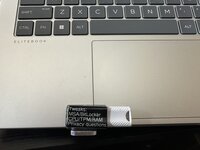
How you do this is up to you, but depending on the drive size -- you might find yourself with little room - in these cases, choose carefully what you put on the drive. If you have a larger drive like this one, you can have a more "full" label.
-
-
-
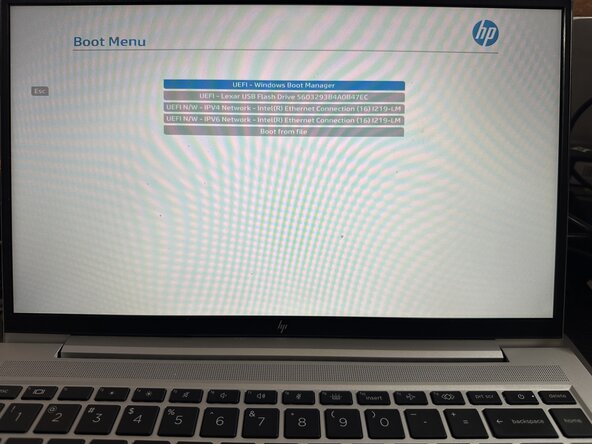
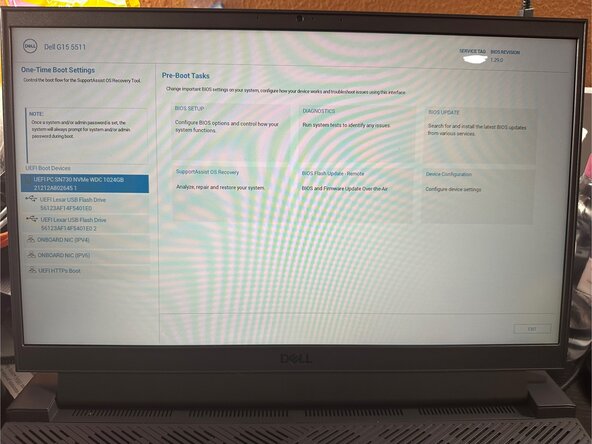
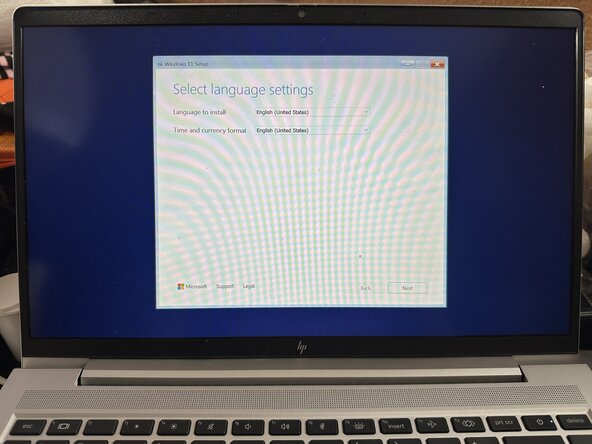
After selecting the drive from the BIOS startup menu, follow the prompts to install Windows 10/11 on your PC.
-


crwdns2935221:0crwdne2935221:0
crwdns2935227:0crwdne2935227:0
