crwdns2915892:0crwdne2915892:0
If the buttons on your Sony SRS-XG300 are not responding or if your speaker is producing distorted or no audio, the button board may have a faulty connection. Use this guide to learn how to access and replace the control board. Any electrical issues will need special attention.
Before using this guide, review the troubleshooting pages for distorted or no audio to ensure the best solution is replacing the button board.
Dirt and debris getting stuck under the buttons or handling the speaker roughly can hinder the electrical connection. While the SRS-XG300 is durable, it is not completely resistant. When particles come into contact with the wires, it can lead to corrosion or disconnection of the wires, affecting the ability the control volume of the speaker. Keeping the button board clean, handling safely, and ensuring wires are connected adequately will ensure the best quality from the speaker, making it last longer and produce sound more effectively.
crwdns2942213:0crwdne2942213:0
-
-
With the Sony label on the left, roll the speaker horizontally to the bottom of the speaker with the rubber stands.
-
Remove four 12 mm screws with a Phillips #1 screwdriver.
-
Remove the loose rubber feet.
-
-
-
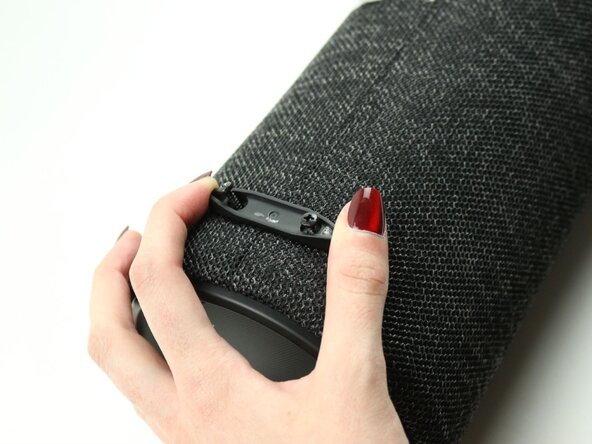
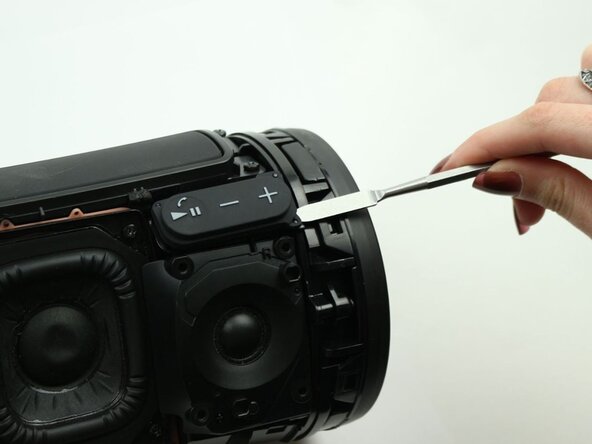
Insert the metal spudger tool at 90-degree angle into the right part of seam.
-
Pry off the top part of the fabric cover using the metal spudger.
-
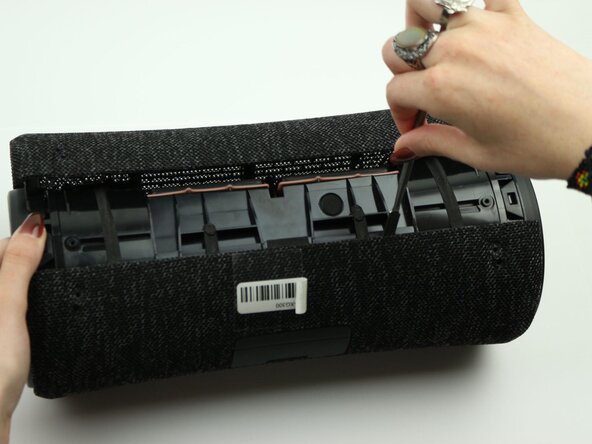
Follow the seam to completely detach the top part of the fabric cover.
-
Repeat to remove the bottom part of the fabric cover.
-
-
-
-
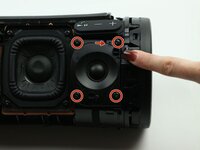
Remove the four 12 mm screws on the corners of the right tweeter using the Phillips #1 screwdriver.
-
-
-
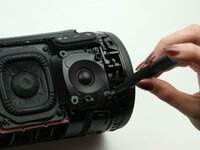
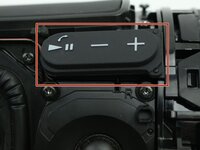
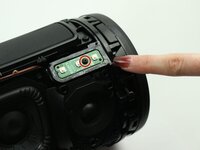
Use the metal spudger to peel off the adhesive button (volume, play/pause button) to access the control panel underneath.
-
-
-
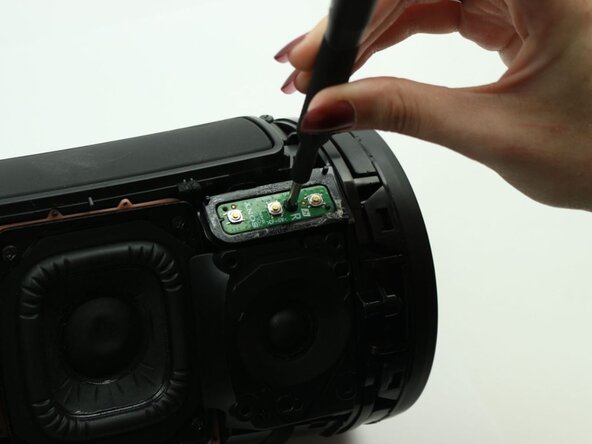
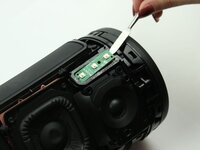
Remove the one 7.5 mm screw in the middle of the control panel using the Phillips #1 screwdriver.
-
-
-
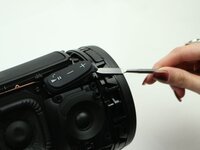
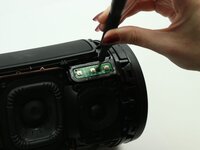
Use the metal spudger to carefully lift up the control panel.
-
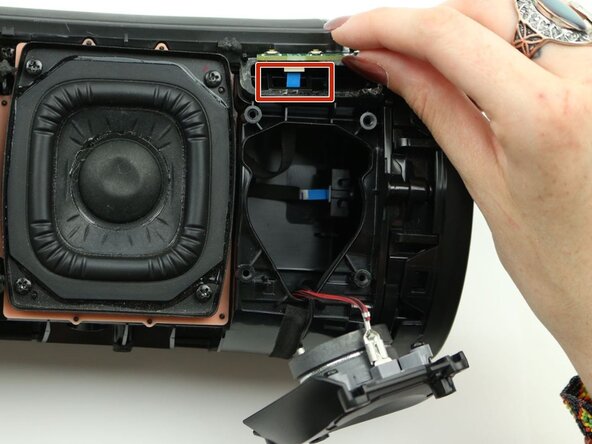
Detach the blue ribbon cable from the button board.
-
Remove the button board from the speaker.
-


To reassemble your device, follow these instructions in reverse order.
To reassemble your device, follow these instructions in reverse order.
crwdns2915084:0crwdne2915084:0

Sam Houston State, Team 7-3, Thornton Spring 2025 crwdns2935289:0Sam Houston State, Team 7-3, Thornton Spring 2025crwdne2935289:0
SHSU-THORNTON-S25S7G3
crwdns2931471:03crwdne2931471:0
crwdns2935297:05crwdne2935297:0