crwdns2915892:0crwdne2915892:0
If your Sonos Roam is unresponsive, having problems turning on, not staying on, and you have already tried replacing the outer circuit board then use this guide to replace the inner circuit board.
This circuit board is responsible for sending signals to the entire device. This means it is in charge of connectivity, charging, and audio for the Sonos Roam.
Before using this guide, try rebooting your Sonos Roam.
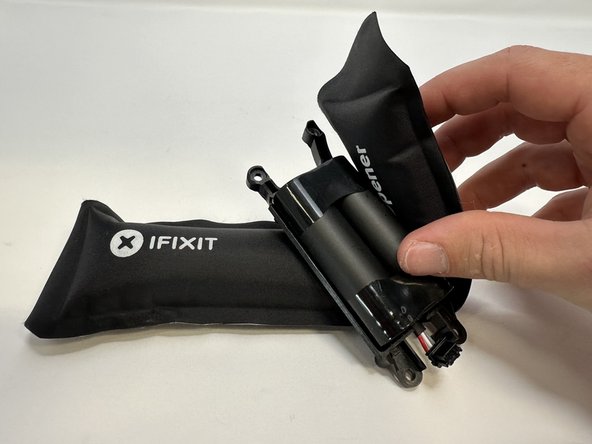
There are steps that recommend (not require) the use of the iOpener. This will help with carefully removing the adhesive used to keep this device together. Refer to this link on how to properly use the iOpener.
crwdns2942213:0crwdne2942213:0
-
-
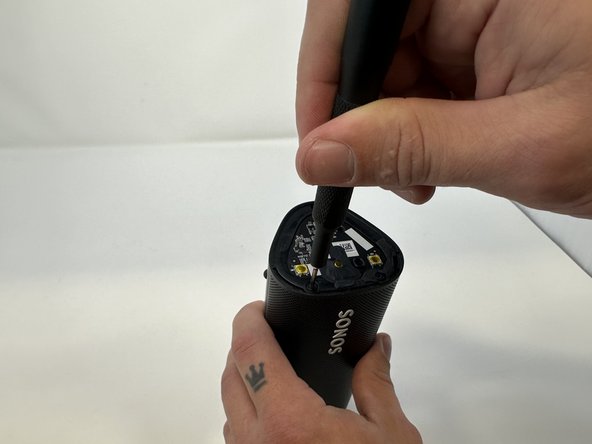
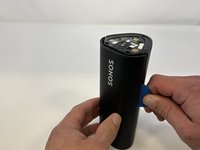
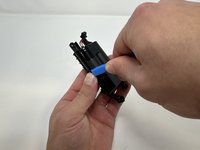
Use the metal spudger to pry the end cap with the buttons.
-
Pry from all sides to loosen the adhesive.
-
-
-
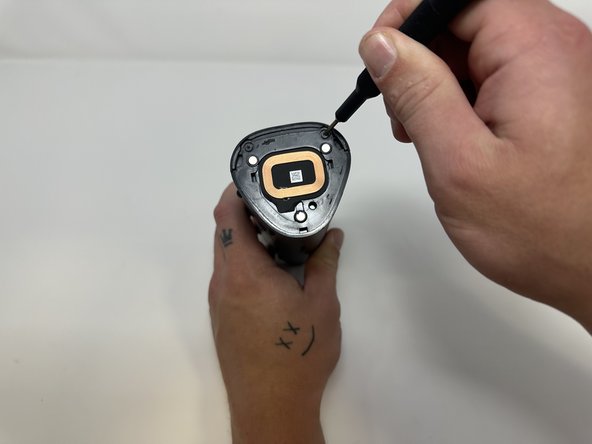
Flip the device to the other end cap.
-
Use the metal spudger to loosen the adhesive.
-
-
-
Flip the device so that the Sonos logo is on the top.
-
Use the Torx T6 screwdriver to remove the two 6 mm screws.
-
-
-
Flip the device.
-
Use the Torx T6 screwdriver to remove the two 6 mm screws.
-
-
-
Flip the device so the Sonos logo is on the top.
-
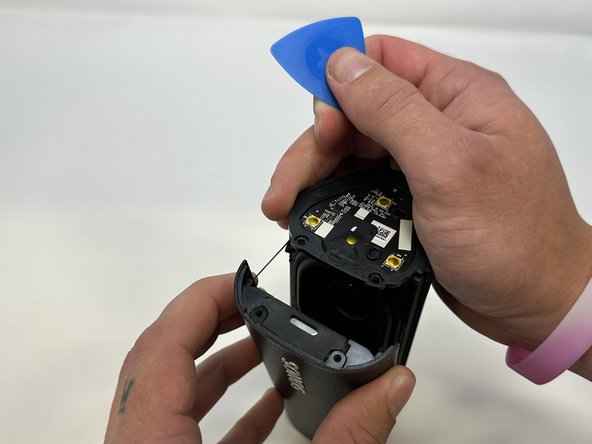
Use the iFixit opening picks to wedge between the split of the grille and the back of the speaker to pry the grille apart.
wichtig darauf zu achten, dass nicht versehentlich nur das dünne 1mm Gitter abgelöst wird sondern das dünne Gitter an dem dicken Gitter (oben und unten jeweils etwa 12mm) bleibt.
-
-
-
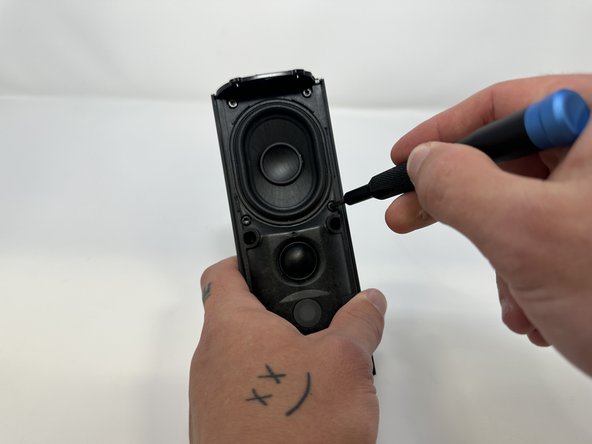
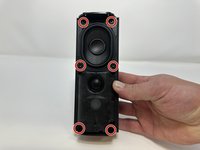
Use the TR10 Torx screwdriver to remove the six 7 mm screws.
-
-
-
crwdns2935267:0crwdne2935267:0Tweezers$4.99
-
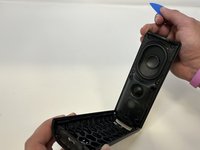
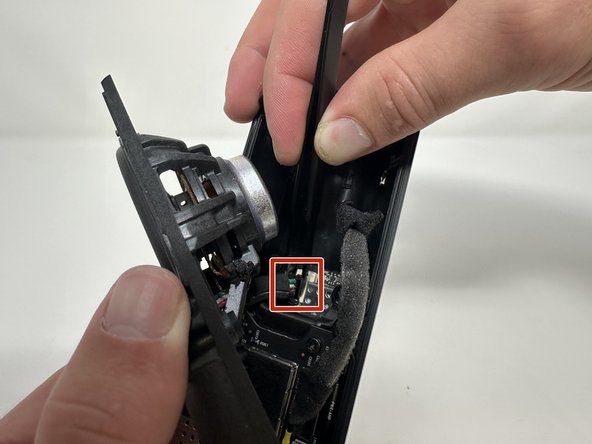
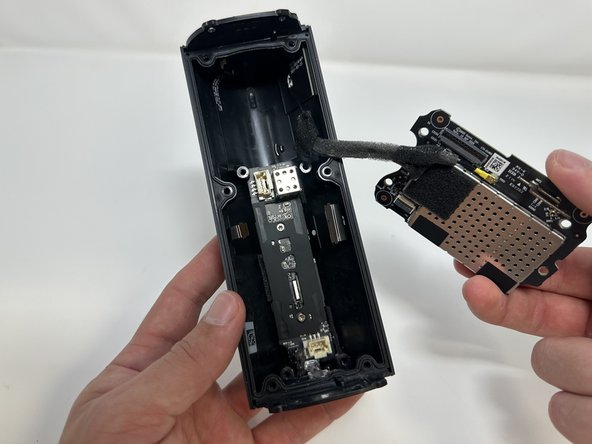
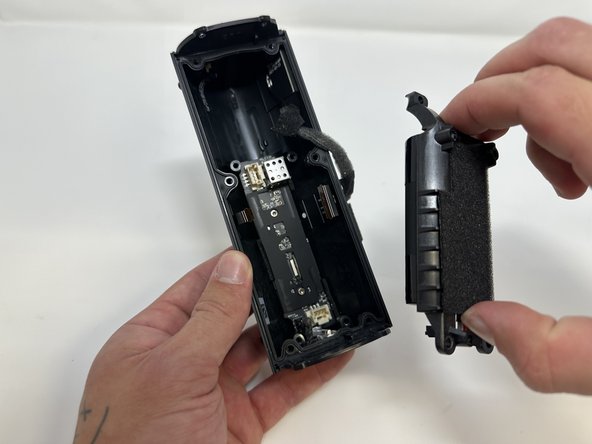
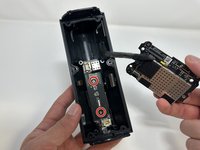
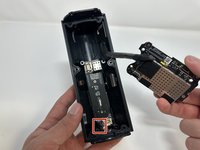
Begin to carefully separate the speaker module from the device.
-
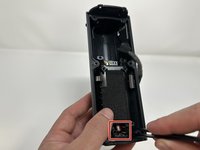
Firmly squeeze the middle of the plug using the tweezers to pull it out of the socket.
-
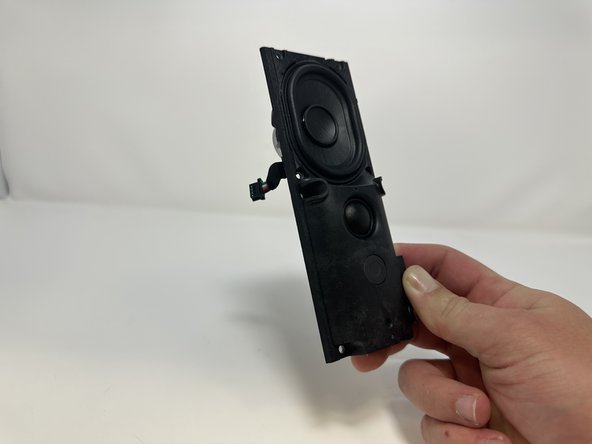
Separate the speaker module from the device.
Should mention there is a latch that holds the connector in place. You need to depress the latch to release the connector, otherwise you may struggle trying to pry it from the edges. Depress the latch instantly releases the connector.
-
-
-
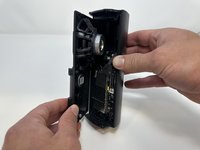
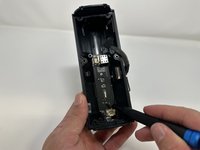
Use the TR10 Torx screwdriver to remove the four 7 mm screws.
-
-
crwdns2935267:0crwdne2935267:0Tweezers$4.99
-
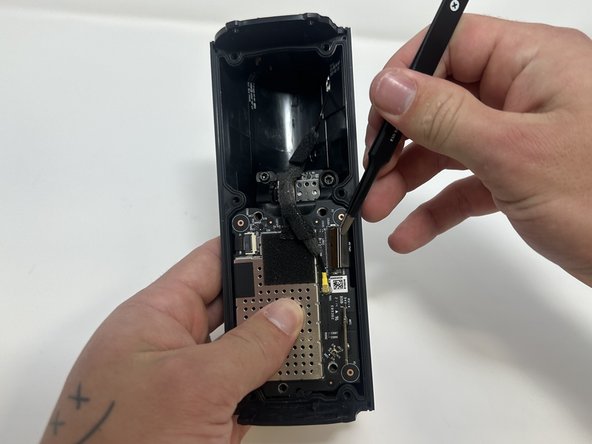
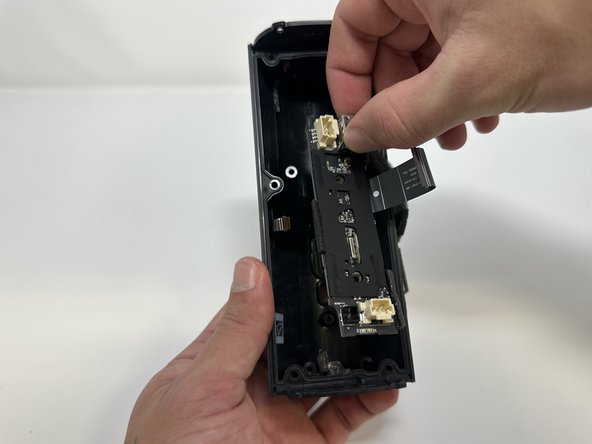
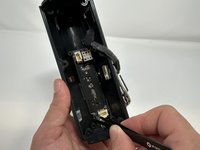
Use the tweezers to flip the latch holding the large ribbon in place.
-
Grab the large ribbon with the tweezers and pull upwards to remove it.
-
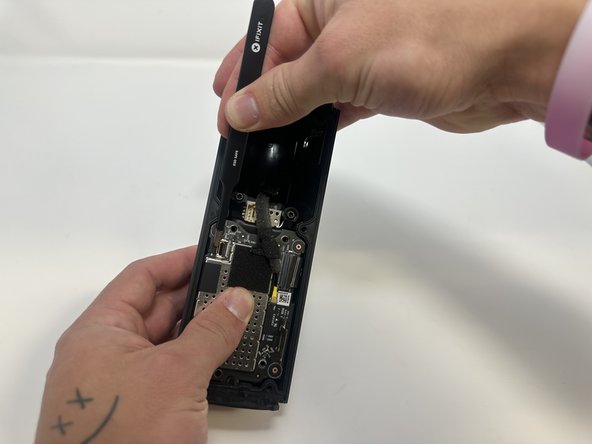
Use the tweezers to flip the latch holding the small ribbon in place.
-
Grab the small ribbon with the tweezers and pull upwards to remove it.
A diagram of how the latch works would be helpful as well as the photo
When re-assembling, I used tweezers to put the ribbons in place. The ribbons have keys that stick out, and the ribbon must be far enough toward the latch for the ribbons' keys to be past the notches on the white-ish mount point. With the ribbon mostly flat, I closed the latch. Everything is working.
-
-
-
Grab the metal piece sticking out of the outer circuit board.
-
Pull upwards to remove the outer circuit board.
-
-
-
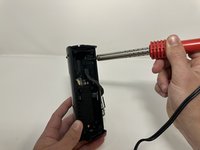
Use a soldering iron to desolder the outer circuit board from the speaker casing.
is it necessary to desolder the board to replace the battery? it appears subsequent steps just push it to the side...
Same here, not sure if that is a necessary step to replace the battery
I made the repair without soldering. Works without any problem
Same here. No need to desolder
-
-
-
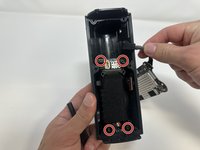
Use the TR10 Torx screwdriver to remove the four 7 mm screws.
-
-
crwdns2935267:0crwdne2935267:0Tweezers$4.99
-
Use the tweezers to firmly squeeze the middle of the plug.
-
Pull the plug out to remove it from its socket.
-
Remove the battery from the device.
-
-
-
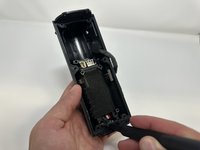
Use the iFixit opening tool to pry the battery out of its casing.
I used the iOpener plastic cards to shove between the battery and the case on both sides to break the adhesive.
-
-
-
Remove the battery from its casing.
Step 11 is optional. There is no need to unsolder the circuit board to get the battery out, you can pry the cable off and move the board out of the way while it is still attached to the case.
Agree with prior comment, did not unsolder wire and still completed successful battery change.
FYI, my Sonos battery most probably failed as the charger was not sufficient power. This was not in any literature but Sonos help line stated minimum power needed.
I also agree that step 11 is unnecessary. No need to unsolder anything, just carefully flip the board out of the way. This lead is going to one of the antennas, so I would not want to deal with resoldering this micro-coax. Hardest part is dealing with all the adhesive.
Bravo pour les explications très claires, précise et bien illustrées !! Il est vrai que dessouder le fil n'est pas nécessaire .. de si quelqu'un peut dire à SONOS qu'un petit interrupteur à pression serait bien utile pour un hard reset des enceintes plutot que de devoir démonter les batteries :-)
-
-
-
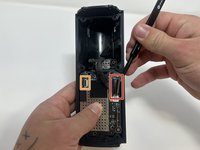
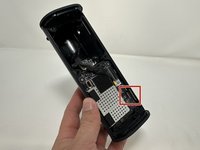
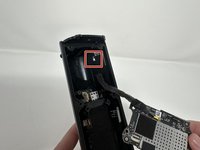
Use the TR9 Torx screwdriver to remove the two 5 mm screws.
-
-
crwdns2935267:0crwdne2935267:0Tweezers$4.99
-
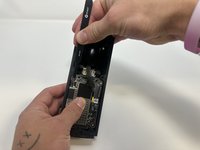
Use the tweezers to firmly squeeze the center of the plug.
-
Pull the plug out to remove it from its socket.
-
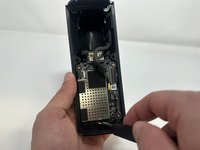
Grab the metal box to remove the inner circuit board.
-


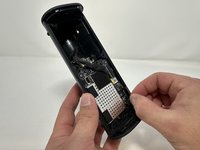


To reassemble your device, follow these instructions in reverse order.
To reassemble your device, follow these instructions in reverse order.

crwdns2915084:0crwdne2915084:0

Utah Tech University, Team 1-2, McMurrin Fall 2023 crwdns2935289:0Utah Tech University, Team 1-2, McMurrin Fall 2023crwdne2935289:0
UTAHTECH-MCMURRIN-F23S1G2
crwdns2931471:03crwdne2931471:0
crwdns2935297:013crwdne2935297:0
crwdns2947412:03crwdne2947412:0
Danke für die Anleitung.
Ich müsste die Leiterplatte auch tauschen. Weiß jemand, wo es noch passenden Ersatz gibt?
Danke aber das hatte ich schon versucht. Bietet man nicht an. Ich kann den Fehler eingrenzen aber den Chip bekomme ich leider auch nirgends.
What about IP67 rating? Am I going to lose the water resistance rating if I do not reapply some glue or additional adhesive when reassembling things back?
Askar - crwdns2934203:0crwdne2934203:0