crwdns2933423:0crwdne2933423:0

Sew a Button onto Heavy Fabric

crwdns2942213:0crwdne2942213:0

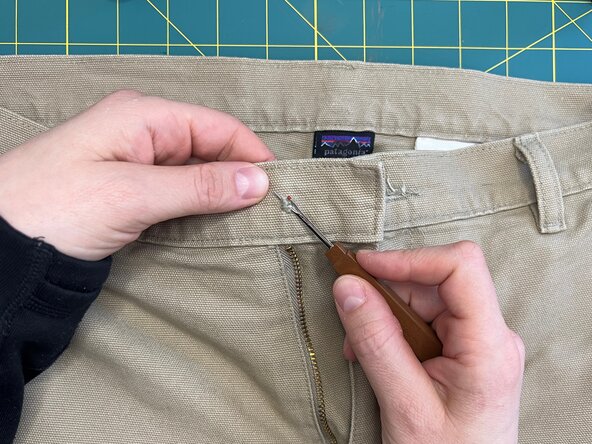
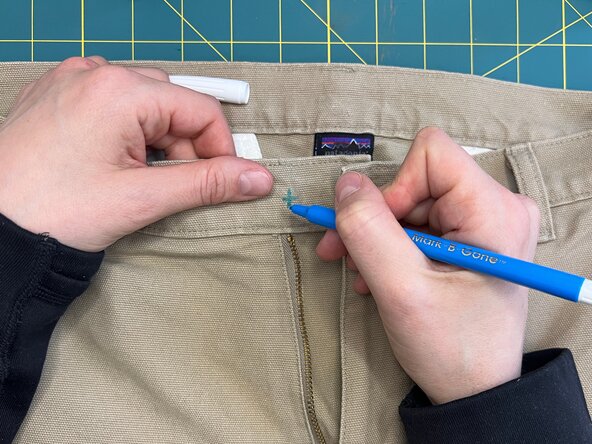
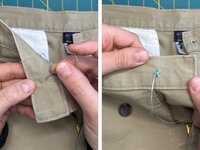
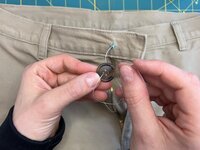
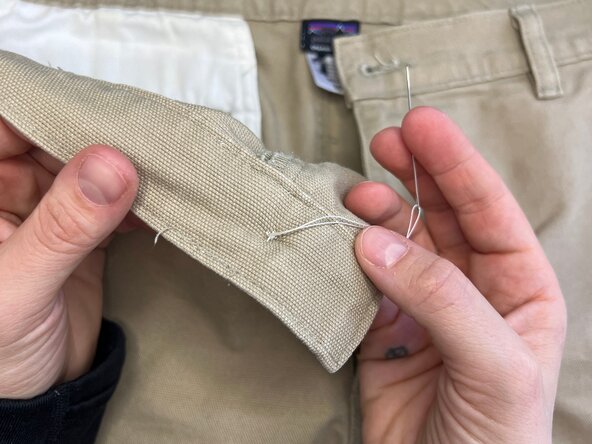
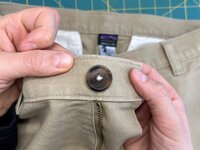
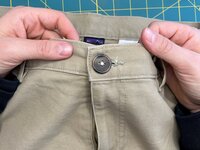
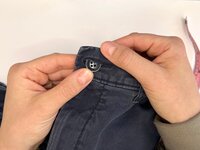
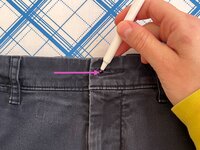
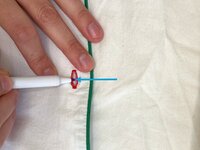
  1. Sew a Button onto Heavy Fabric, Assess the damage: crwdns2935265:01crwdnd2935265:01crwdnd2935265:03crwdne2935265:0 Sew a Button onto Heavy Fabric, Assess the damage: crwdns2935265:01crwdnd2935265:02crwdnd2935265:03crwdne2935265:0 Sew a Button onto Heavy Fabric, Assess the damage: crwdns2935265:01crwdnd2935265:03crwdnd2935265:03crwdne2935265:0
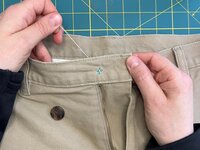
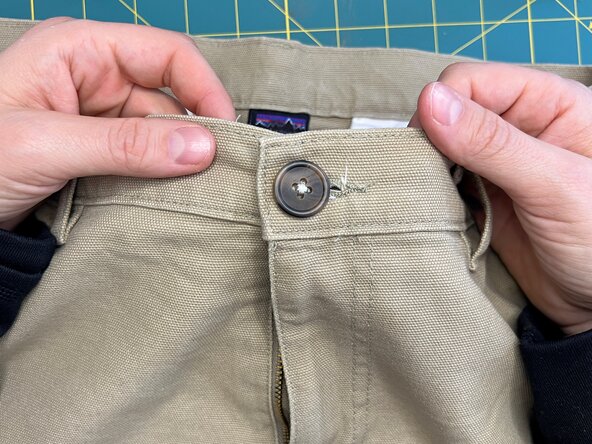
    • Locate the damaged area and remove any remaining thread.

    • Mark the placement for the button using chalk or a heat-erasable pen.

    • If you're sewing on a new button or if you're not sure where to mark the place for the button, see the final step in this guide.

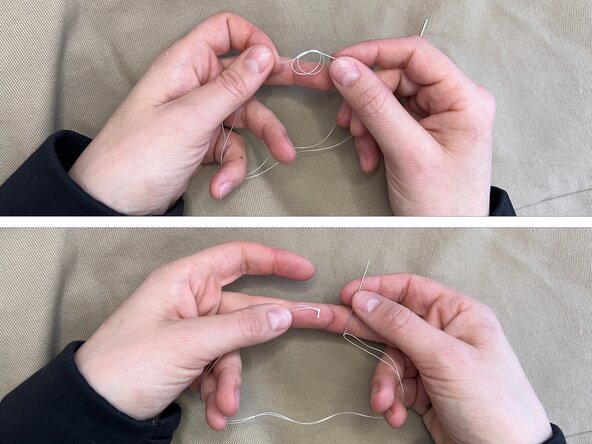
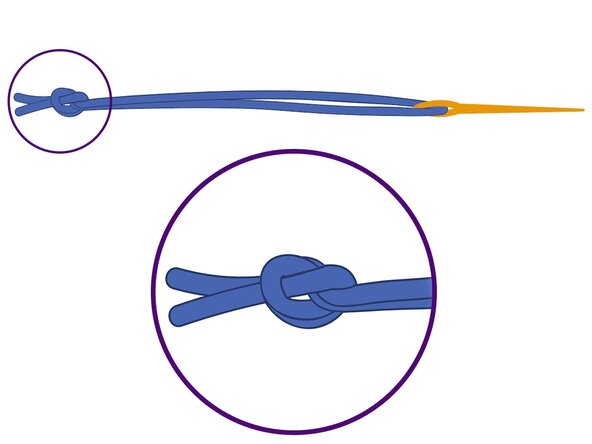
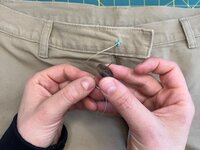
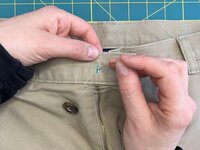
  2. Sew a Button onto Heavy Fabric, Prepare the needle and thread: crwdns2935265:02crwdnd2935265:01crwdnd2935265:03crwdne2935265:0 Sew a Button onto Heavy Fabric, Prepare the needle and thread: crwdns2935265:02crwdnd2935265:02crwdnd2935265:03crwdne2935265:0 Sew a Button onto Heavy Fabric, Prepare the needle and thread: crwdns2935265:02crwdnd2935265:03crwdnd2935265:03crwdne2935265:0
    • Thread the needle with a length of thread approximately 24 inches (~61 cm) long and tie an overhand knot with both ends of the thread to create a doubled thread.

    • Doubled thread is the most efficient for sewing on buttons but it's also prone to tangling. Keep a look out!

    • For more details see Needles and Thread.

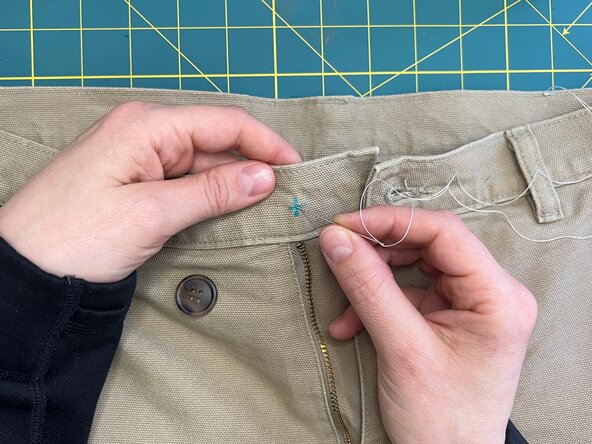
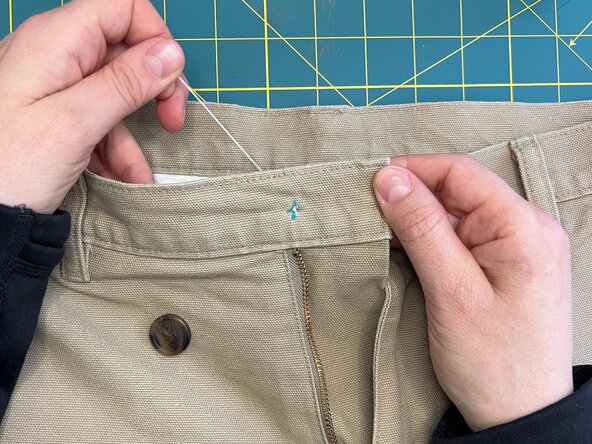
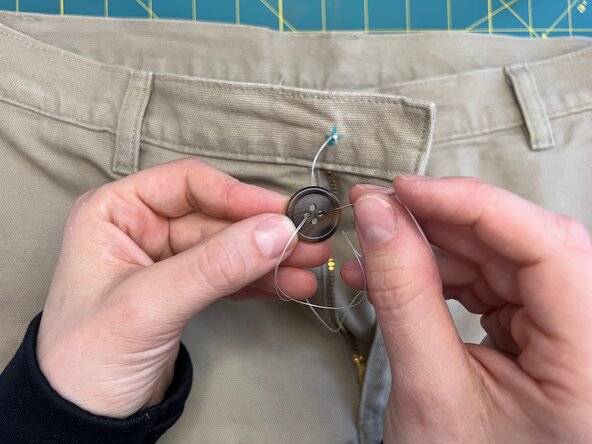
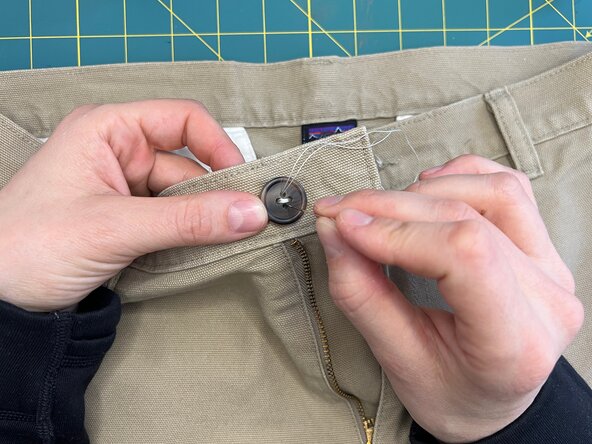
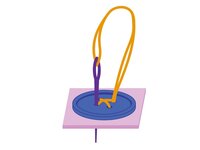
  3. Sew a Button onto Heavy Fabric, Start the stitch: crwdns2935265:03crwdnd2935265:01crwdnd2935265:03crwdne2935265:0 Sew a Button onto Heavy Fabric, Start the stitch: crwdns2935265:03crwdnd2935265:02crwdnd2935265:03crwdne2935265:0 Sew a Button onto Heavy Fabric, Start the stitch: crwdns2935265:03crwdnd2935265:03crwdnd2935265:03crwdne2935265:0
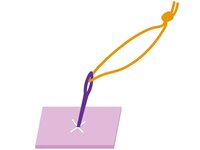
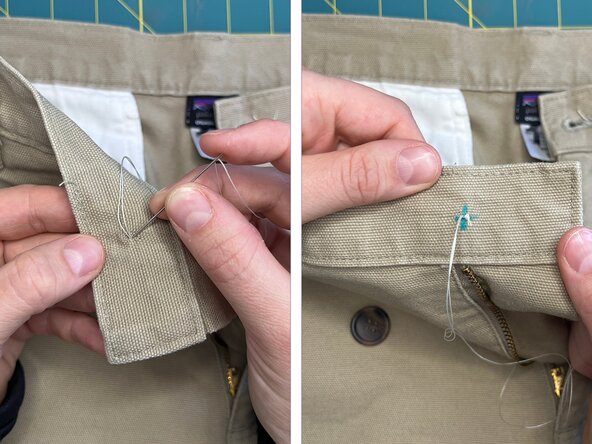
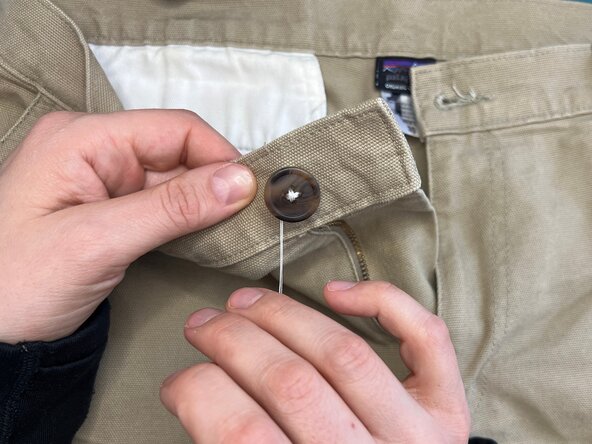
    • Pierce the needle into the marked spot from the front side and pull through so the knot rests flush against the outside fabric.

    • With this technique, the knot doesn't rub against the wearer from the inside, and it will eventually be covered by the button.

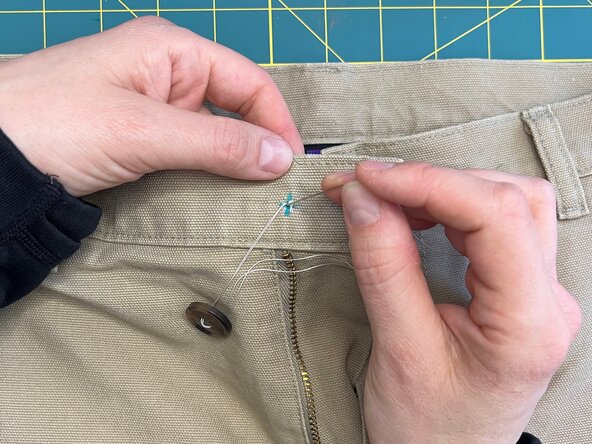
  4. Sew a Button onto Heavy Fabric, Attach the button: crwdns2935265:04crwdnd2935265:01crwdnd2935265:03crwdne2935265:0 Sew a Button onto Heavy Fabric, Attach the button: crwdns2935265:04crwdnd2935265:02crwdnd2935265:03crwdne2935265:0 Sew a Button onto Heavy Fabric, Attach the button: crwdns2935265:04crwdnd2935265:03crwdnd2935265:03crwdne2935265:0
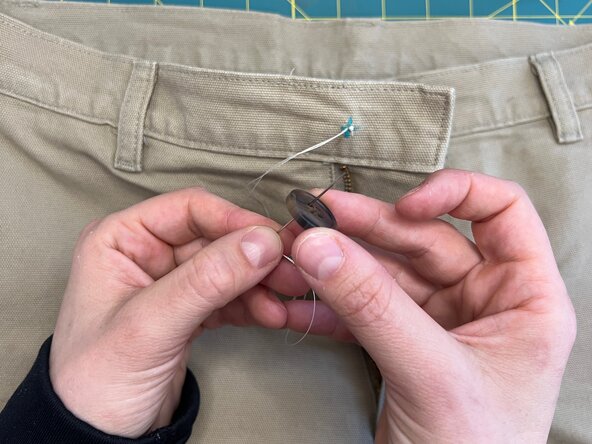
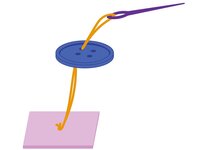
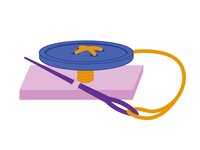
    • Bring the needle back up through (approximately) the same spot and thread it through one hole of the button.

  5. Sew a Button onto Heavy Fabric, Make the first stitches: crwdns2935265:05crwdnd2935265:01crwdnd2935265:03crwdne2935265:0 Sew a Button onto Heavy Fabric, Make the first stitches: crwdns2935265:05crwdnd2935265:02crwdnd2935265:03crwdne2935265:0 Sew a Button onto Heavy Fabric, Make the first stitches: crwdns2935265:05crwdnd2935265:03crwdnd2935265:03crwdne2935265:0
    • Pass the needle down through the buttonhole that's diagonal to the first hole.

    • Without pulling the thread tight, pierce into the fabric in the same marked spot and pull through.

  6. Sew a Button onto Heavy Fabric, Get the ideal tension: crwdns2935265:06crwdnd2935265:01crwdnd2935265:01crwdne2935265:0
    • Pull the thread through to maintain a slightly loose tension. There should be enough space under the button to make a shank. Don't pull so tight that the button is flush with the fabric.

  7. Sew a Button onto Heavy Fabric, Continue stitching the button: crwdns2935265:07crwdnd2935265:01crwdnd2935265:03crwdne2935265:0 Sew a Button onto Heavy Fabric, Continue stitching the button: crwdns2935265:07crwdnd2935265:02crwdnd2935265:03crwdne2935265:0 Sew a Button onto Heavy Fabric, Continue stitching the button: crwdns2935265:07crwdnd2935265:03crwdnd2935265:03crwdne2935265:0
    • Loop the needle and thread up and down through the fabric and the first diagonal pair of holes two to three times, ending on the backside.

    • Keep the tension consistent, avoiding tight stitches and maintaining some slack.

    • Repeat the process with the remaining two holes, creating an "X" pattern on the top of the button.

    • Finish by pulling the needle through to the backside of the fabric.

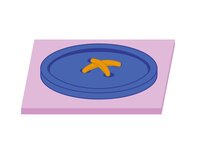
    • The backside will look like a small collection of stitches, often making an "X" or an asterisk shape.

  8. Sew a Button onto Heavy Fabric, Prepare for the shank: crwdns2935265:08crwdnd2935265:01crwdnd2935265:03crwdne2935265:0 Sew a Button onto Heavy Fabric, Prepare for the shank: crwdns2935265:08crwdnd2935265:02crwdnd2935265:03crwdne2935265:0 Sew a Button onto Heavy Fabric, Prepare for the shank: crwdns2935265:08crwdnd2935265:03crwdnd2935265:03crwdne2935265:0
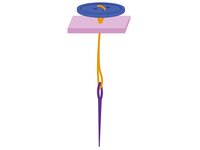
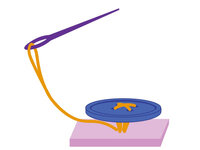
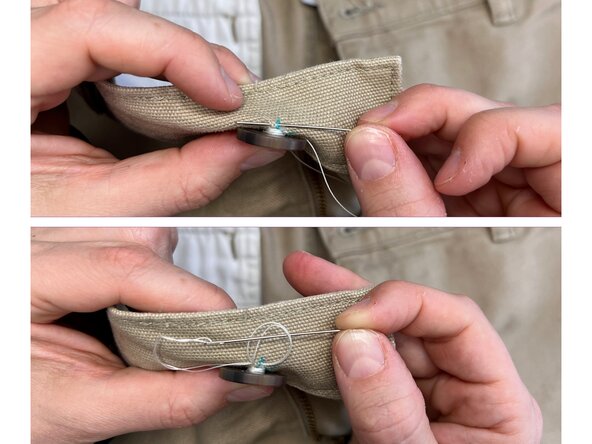
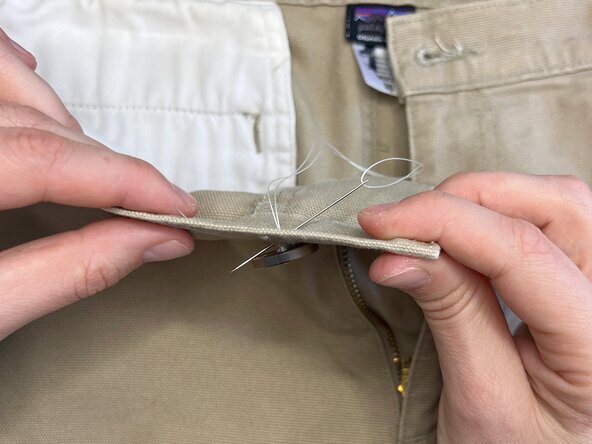
    • Bring the needle up through the fabric but not through the button so that the thread is emerging between the back of the button and the face of the fabric.

    • Pull the needle and thread through.

  9. Sew a Button onto Heavy Fabric, Create the shank: crwdns2935265:09crwdnd2935265:01crwdnd2935265:01crwdne2935265:0
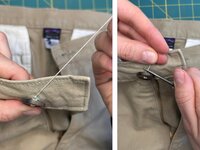
    • Wrap the thread around the loose stitches at least three to four times to bind the stitches together and create a shank. See the next step for video instructions.

    • The shank acts as a sturdy post that elevates the button so that when it's fastened, the fabric around the buttonhole will fit underneath the button. The ideal shank is the same height as the thickness of the fabric around the buttonhole.

    • This video shows how to create a shank by following the instructions in the previous step.

  10. Sew a Button onto Heavy Fabric, Tie off the thread: crwdns2935265:011crwdnd2935265:01crwdnd2935265:03crwdne2935265:0 Sew a Button onto Heavy Fabric, Tie off the thread: crwdns2935265:011crwdnd2935265:02crwdnd2935265:03crwdne2935265:0 Sew a Button onto Heavy Fabric, Tie off the thread: crwdns2935265:011crwdnd2935265:03crwdnd2935265:03crwdne2935265:0
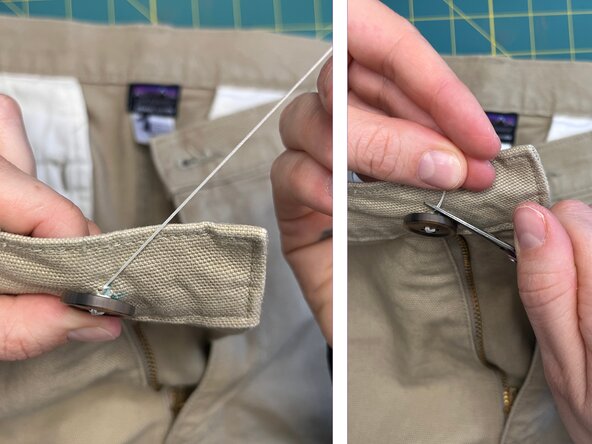
    • Make a small stitch in the fabric near the shank.

    • Choose a spot hidden beneath the button so that the finishing knot will be concealed by the button.

    • Make a secure knot using one of the techniques from Knot Thread to the Fabric (2 Ways).

    • Pull the knot tight and trim the thread.

  11. Sew a Button onto Heavy Fabric, Quality check: crwdns2935265:012crwdnd2935265:01crwdnd2935265:03crwdne2935265:0 Sew a Button onto Heavy Fabric, Quality check: crwdns2935265:012crwdnd2935265:02crwdnd2935265:03crwdne2935265:0 Sew a Button onto Heavy Fabric, Quality check: crwdns2935265:012crwdnd2935265:03crwdnd2935265:03crwdne2935265:0
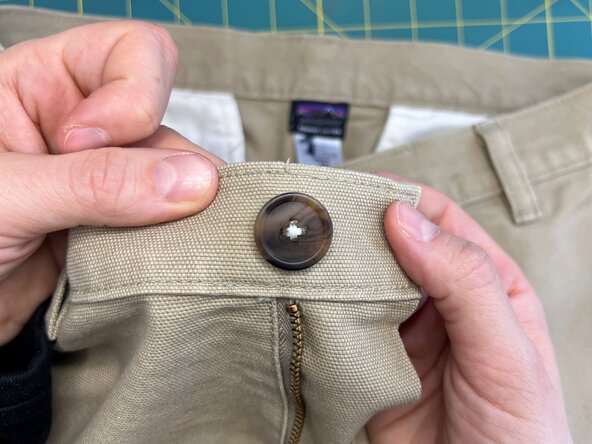
    • Ensure the button is securely attached, the shank is sturdy, and all knots are hidden between the button and the fabric.

    • Then check that the button passes smoothly through the buttonhole and that the shank is long enough to accommodate the thickness of the fabric around the buttonhole.

  12. Sew a Button onto Heavy Fabric, Troubleshooting: crwdns2935265:013crwdnd2935265:01crwdnd2935265:03crwdne2935265:0 Sew a Button onto Heavy Fabric, Troubleshooting: crwdns2935265:013crwdnd2935265:02crwdnd2935265:03crwdne2935265:0 Sew a Button onto Heavy Fabric, Troubleshooting: crwdns2935265:013crwdnd2935265:03crwdnd2935265:03crwdne2935265:0
    • NEW BUTTON SIZE: If attaching a new button, test that it fits through the buttonhole before attaching it. The perfect sized button has a diameter that's 1/8 inch (~3 mm) smaller than the length of the buttonhole.

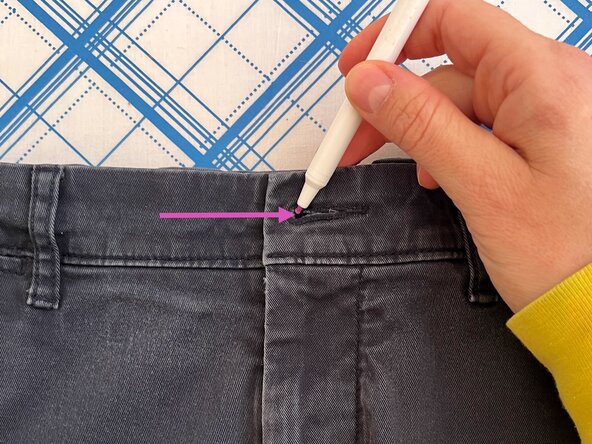
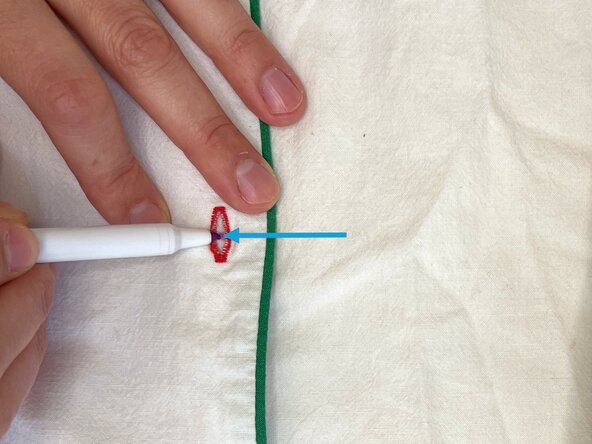
    • PLACING BUTTON: To mark the placement of a button without a guide or remnant stitches to follow, position the fabric pieces as they would sit if the button was fastened, then:

    • Horizontal Buttonhole - Slide the heat-erasable pen through the buttonhole at the end closer to the fabric edge and make a mark onto the fabric underneath. This will be the placement for the the new button.

    • Vertical Buttonhole - Slide the heat-erasable pen through the buttonhole at the exact center and make a mark onto the fabric underneath. This will be the placement for the the new button.
crwdns2935217:0crwdne2935217:0

Clara Redwood

crwdns2935283:011/12/24crwdne2935283:0

1,887 crwdns2915208:0crwdne2915208:0

crwdns2935297:010crwdne2935297:0

crwdns2915084:0crwdne2915084:0

Patagonia crwdns2935289:0Patagoniacrwdne2935289:0

Community

crwdns2931471:018crwdne2931471:0

crwdns2935297:0148crwdne2935297:0

crwdns2947412:00crwdne2947412:0

crwdns2917038:0crwdne2917038:0

crwdns2936625:0crwdne2936625:0:

crwdns2936751:024crwdne2936751:0 4

crwdns2936753:07crwdne2936753:0 9

crwdns2936753:030crwdne2936753:0 34

crwdns2942667:0crwdne2942667:0 34