crwdns2933423:0crwdne2933423:0

Samsung Galaxy S25 Edge Back Cover Replacement

crwdns2942213:0crwdne2942213:0

  1. Samsung Galaxy S25 Edge Back Cover Replacement, Prepare your phone for disassembly: crwdns2935265:01crwdnd2935265:01crwdnd2935265:02crwdne2935265:0 Samsung Galaxy S25 Edge Back Cover Replacement, Prepare your phone for disassembly: crwdns2935265:01crwdnd2935265:02crwdnd2935265:02crwdne2935265:0
    • Let your phone's battery drain below 25% before starting this repair. A charged lithium-ion battery may catch fire if accidentally damaged.

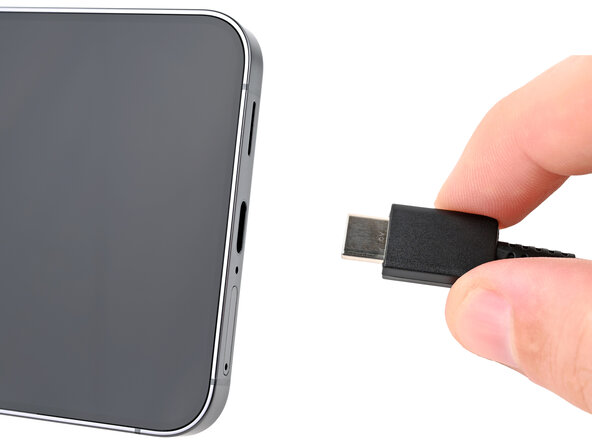
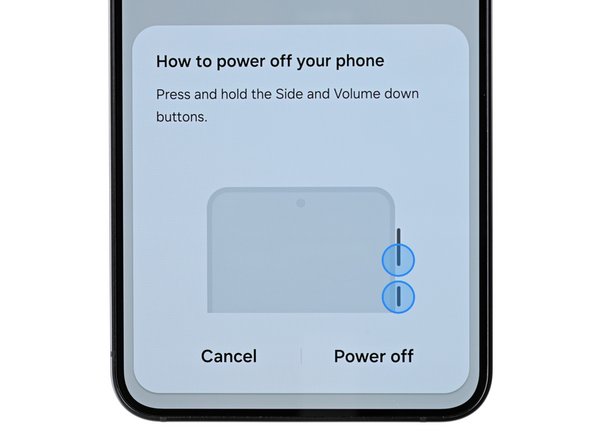
    • Completely power off your phone and unplug all cables.

  2. Samsung Galaxy S25 Edge Back Cover Replacement, Heat the bottom edge: crwdns2935265:02crwdnd2935265:01crwdnd2935265:01crwdne2935265:0
    • Mild adhesive secures the back cover. Heating it will soften the adhesive, making it easier to separate.

    • Heat an iOpener and lay it on the bottom edge of the back cover for two minutes to soften the adhesive.

    • Alternatively, you can use a hair dryer, heat gun, or hot plate to heat the cover.

  3. Samsung Galaxy S25 Edge Back Cover Replacement, Apply a suction handle: crwdns2935265:03crwdnd2935265:01crwdnd2935265:02crwdne2935265:0 Samsung Galaxy S25 Edge Back Cover Replacement, Apply a suction handle: crwdns2935265:03crwdnd2935265:02crwdnd2935265:02crwdne2935265:0
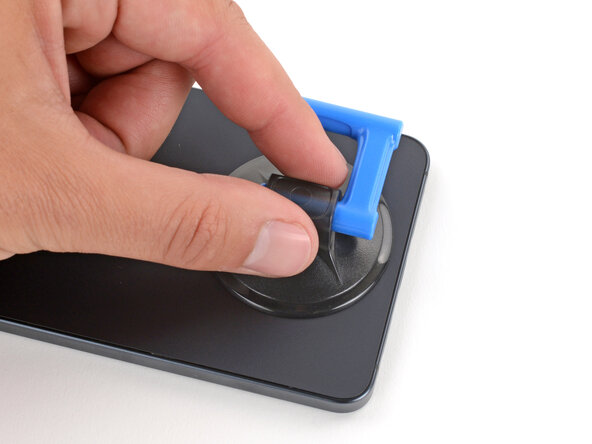
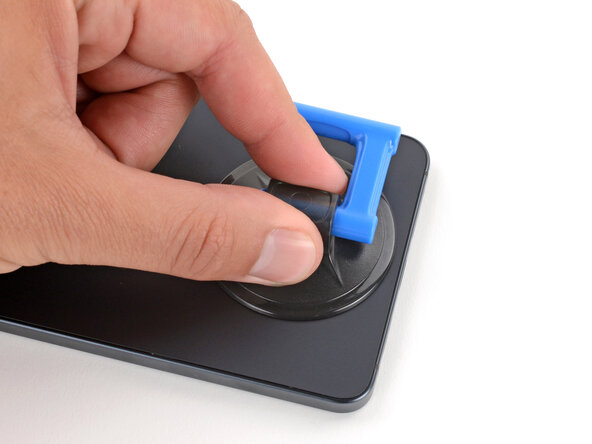
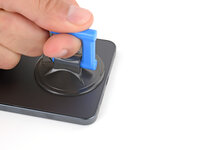
    • Apply a suction handle near the center of the back cover's bottom edge, as close to the edge as possible.

  4. Samsung Galaxy S25 Edge Back Cover Replacement, Insert an opening pick: crwdns2935265:04crwdnd2935265:01crwdnd2935265:03crwdne2935265:0 Samsung Galaxy S25 Edge Back Cover Replacement, Insert an opening pick: crwdns2935265:04crwdnd2935265:02crwdnd2935265:03crwdne2935265:0 Samsung Galaxy S25 Edge Back Cover Replacement, Insert an opening pick: crwdns2935265:04crwdnd2935265:03crwdnd2935265:03crwdne2935265:0
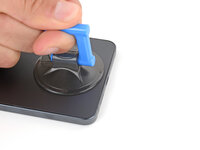
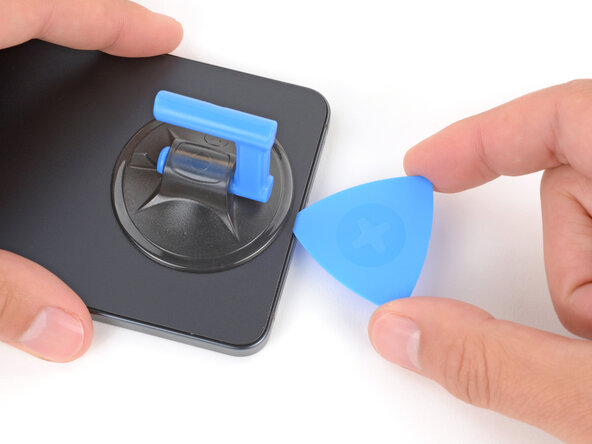
    • Pull up on the suction handle with strong, steady force until a gap forms between the cover and frame.

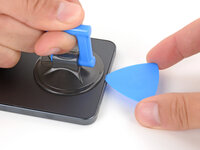
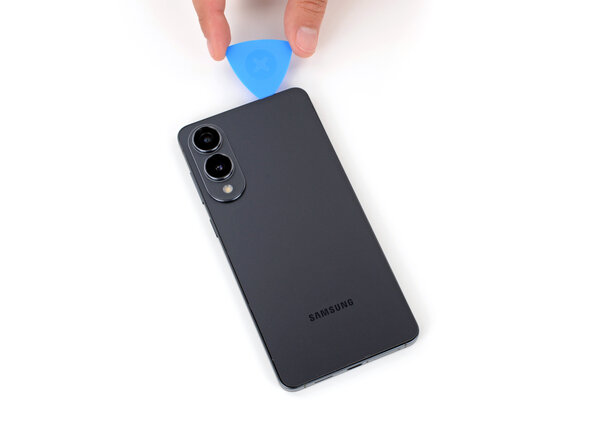
    • Insert the tip of an opening pick into the gap.

  5. Samsung Galaxy S25 Edge Back Cover Replacement, Adhesive information: crwdns2935265:05crwdnd2935265:01crwdnd2935265:03crwdne2935265:0 Samsung Galaxy S25 Edge Back Cover Replacement, Adhesive information: crwdns2935265:05crwdnd2935265:02crwdnd2935265:03crwdne2935265:0 Samsung Galaxy S25 Edge Back Cover Replacement, Adhesive information: crwdns2935265:05crwdnd2935265:03crwdnd2935265:03crwdne2935265:0
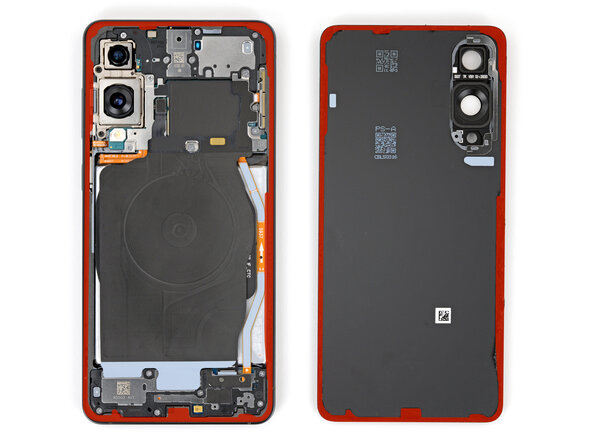
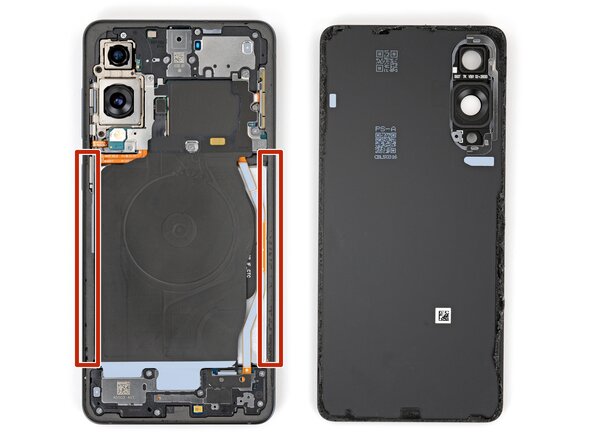
    • The back cover is secured with adhesive around the perimeter of the frame. Use this picture as a reference while you separate the adhesive.

    • When separating the left and right edge adhesive, don't insert your pick more than 3 mm to avoid damaging the wireless charging coil and interconnect cable.

  6. Samsung Galaxy S25 Edge Back Cover Replacement, Separate the adhesive: crwdns2935265:06crwdnd2935265:01crwdnd2935265:03crwdne2935265:0 Samsung Galaxy S25 Edge Back Cover Replacement, Separate the adhesive: crwdns2935265:06crwdnd2935265:02crwdnd2935265:03crwdne2935265:0 Samsung Galaxy S25 Edge Back Cover Replacement, Separate the adhesive: crwdns2935265:06crwdnd2935265:03crwdnd2935265:03crwdne2935265:0
    • If you have trouble separating the adhesive, apply more heat and try again.

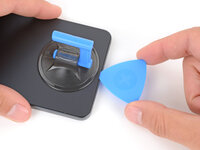
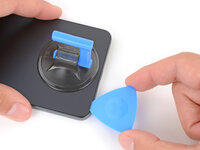
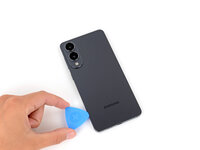
    • Slide your opening pick along the bottom edge to separate the adhesive securing the back cover.

  7. Samsung Galaxy S25 Edge Back Cover Replacement: crwdns2935265:07crwdnd2935265:01crwdnd2935265:03crwdne2935265:0 Samsung Galaxy S25 Edge Back Cover Replacement: crwdns2935265:07crwdnd2935265:02crwdnd2935265:03crwdne2935265:0 Samsung Galaxy S25 Edge Back Cover Replacement: crwdns2935265:07crwdnd2935265:03crwdnd2935265:03crwdne2935265:0
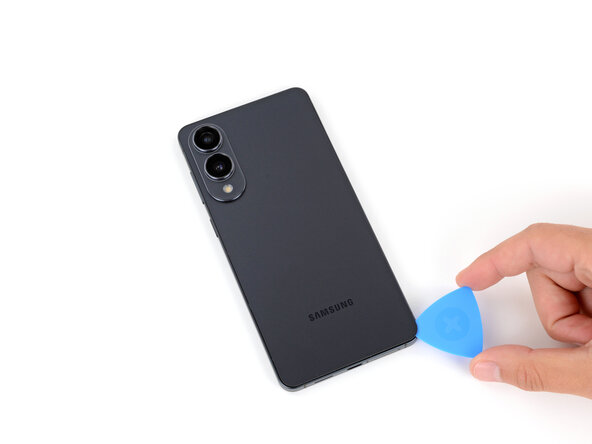
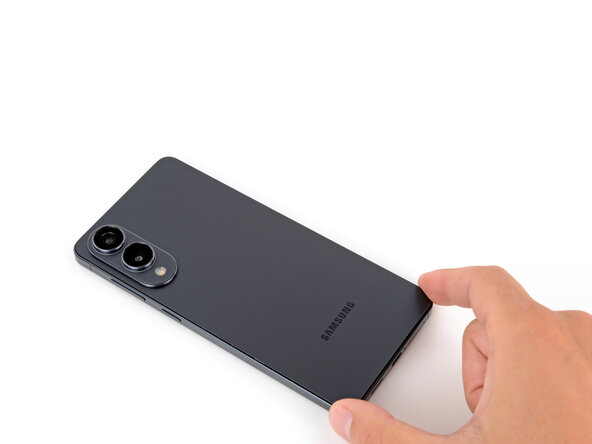
    • Continue sliding your pick around the entire perimeter of the back cover to separate all the remaining adhesive.

    • Remember not to insert your pick too far under the long left and right edges.

  8. Samsung Galaxy S25 Edge Back Cover Replacement, Remove the back cover: crwdns2935265:08crwdnd2935265:01crwdnd2935265:02crwdne2935265:0 Samsung Galaxy S25 Edge Back Cover Replacement, Remove the back cover: crwdns2935265:08crwdnd2935265:02crwdnd2935265:02crwdne2935265:0
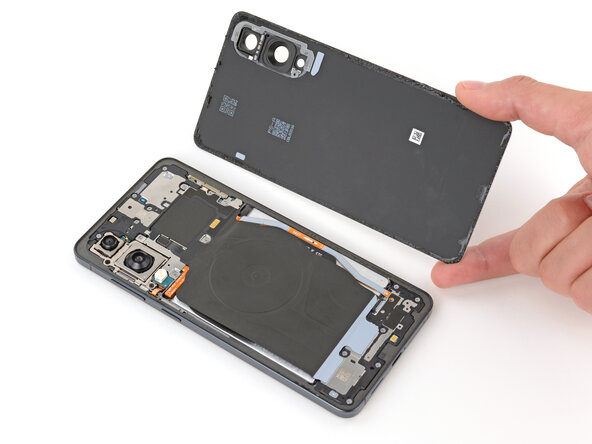
    • Remove the back cover.

    • If you're having trouble, check the perimeter for any remaining adhesive and use your opening pick to separate it.

    • During reassembly:

    • This is a good point to power on your phone and test all functions before sealing it up. Be sure to power your phone back down completely before you continue working.

    • Check your rear cameras for any smudges and gently wipe them with a clean lint–free cloth if necessary.

    • Your replacement back cover adhesive will be applied to either the frame or the back cover. Use cutouts and contours to see where it lines up best. If it matches the back cover, follow this guide. If it matches the frame, use this guide.

crwdns2915888:0crwdne2915888:0

Repair didn’t go as planned? Try some basic troubleshooting, or ask our Answers Community for troubleshooting help.

Spencer Day

crwdns2935283:009/14/22crwdne2935283:0

123.093 crwdns2915208:0crwdne2915208:0

crwdns2935297:0857crwdne2935297:0

crwdns2947412:00crwdne2947412:0

crwdns2917038:0crwdne2917038:0

crwdns2936625:0crwdne2936625:0:

crwdns2936751:024crwdne2936751:0 3

crwdns2936753:07crwdne2936753:0 19

crwdns2936753:030crwdne2936753:0 61

crwdns2942667:0crwdne2942667:0 78