crwdns2915892:0crwdne2915892:0
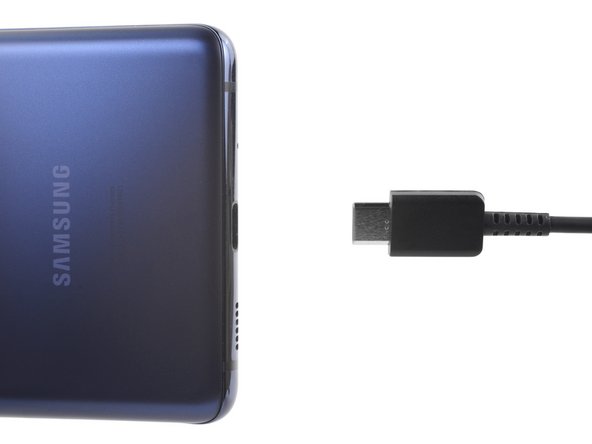
Use this guide to replace the wide-angle camera in your Samsung Galaxy S20 FE 5G.
The camera may need to be replaced if it doesn't focus, won't take pictures, or is taking pictures with bad, grainy quality.
Before starting this repair, make sure the problem is with the camera and not the rear lens cover. If the lens cover needs to be replaced, follow this guide.
You’ll need replacement back cover adhesive to reassemble your device.
crwdns2942213:0crwdne2942213:0
-
-
Power off your phone and unplug any cables.
-
-
-
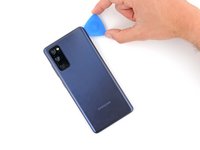
Heat an iOpener and apply it to the bottom edge of the back cover for two minutes.
-
-
-
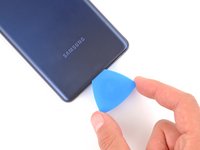
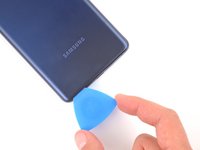
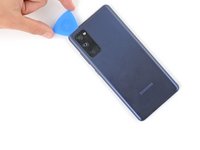
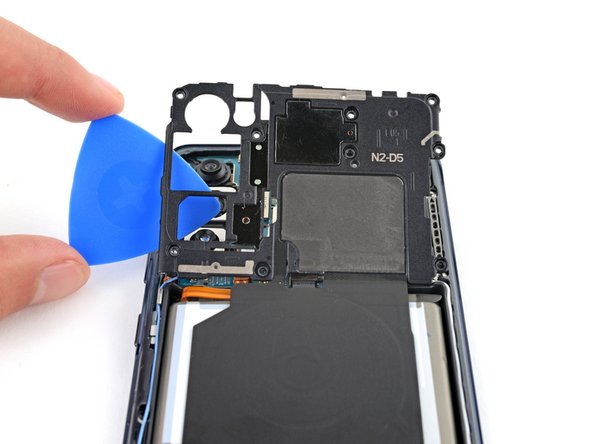
Apply a suction cup to the center of the back cover's bottom edge, as close to the edge as possible.
-
Pull up on the suction handle with strong, steady force to create a gap between the cover and frame.
-
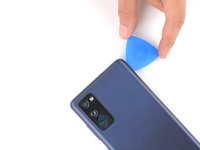
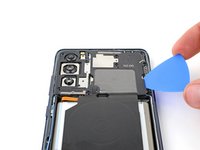
Insert an opening pick in the gap.
-
-
-
Slide the opening pick along the bottom edge to slice the adhesive securing the back cover.
-
Leave the opening pick inserted in the bottom right corner to prevent the adhesive from resealing.
-
-
-
Apply a heated iOpener to the right edge of the back cover for two minutes.
-
-
-
Slide the opening pick around the bottom right corner and all the way up the right edge to slice the adhesive.
-
Leave the opening pick inserted in the top right corner.
-
-
-
-
Apply a heated iOpener to the top edge of the back cover for two minutes.
-
-
-
Slide the opening pick around the top right corner and along the top edge to slice the adhesive.
-
Leave the pick inserted in the top left corner.
-
-
-
Apply a heated iOpener to the left edge of the back cover for two minutes.
-
-
-
Slide the opening pick around the top left corner and all the way down the left edge to slice the remaining adhesive.
-
-
-
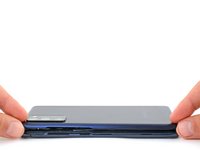
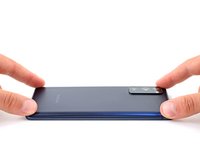
Remove the back cover.
-
-
-
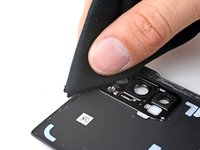
Use tweezers or your fingers to peel off the old adhesive from the back cover and frame.
-
Use highly-concentrated isopropyl alcohol (over 90%) and a microfiber cloth to remove any remaining adhesive residue.
-
Follow this guide to apply new custom-cut adhesive.
-
-
-
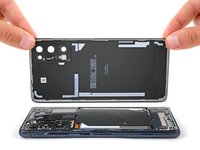
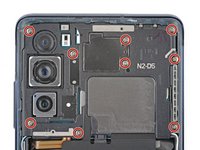
Use a Phillips screwdriver to remove the nine 4 mm-long screws securing the motherboard cover.
-
-
-
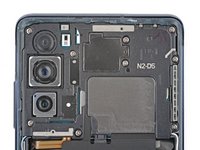
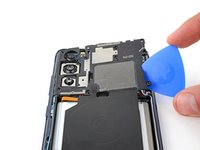
Insert a pick under the bottom right edge of the motherboard cover.
-
Twist the pick to release the clips securing the cover.
-
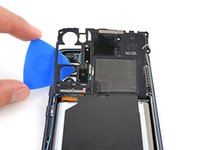
Insert and twist the opening pick on the bottom left edge of the cover to release the remaining clips.
-
-
-
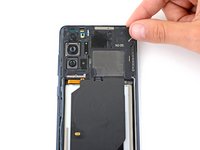
Reposition the motherboard cover so you can access the battery press connector on the bottom edge of the motherboard.
-
-
-
Use the flat end of a spudger to pry up and disconnect the battery press connector from the motherboard.
-
-
-
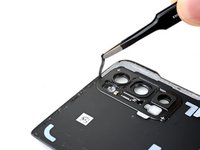
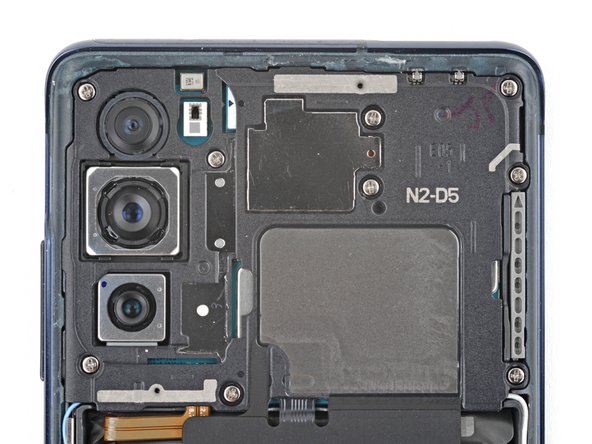
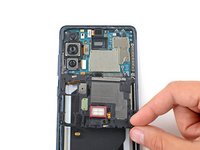
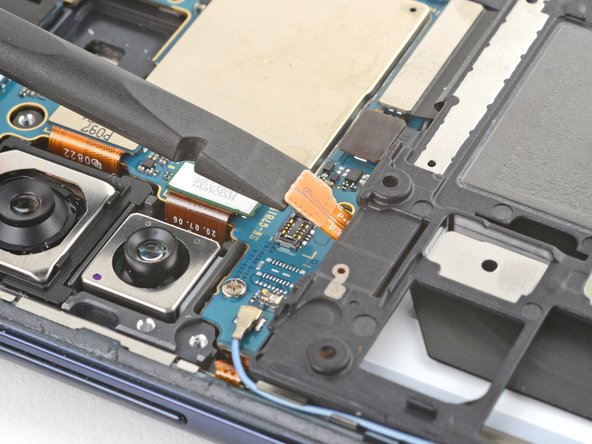
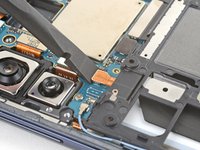
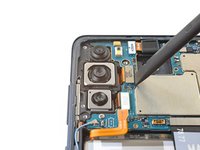
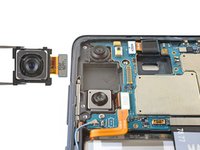
Use the flat end of a spudger to pry up and disconnect the wide-angle camera press connector.
-
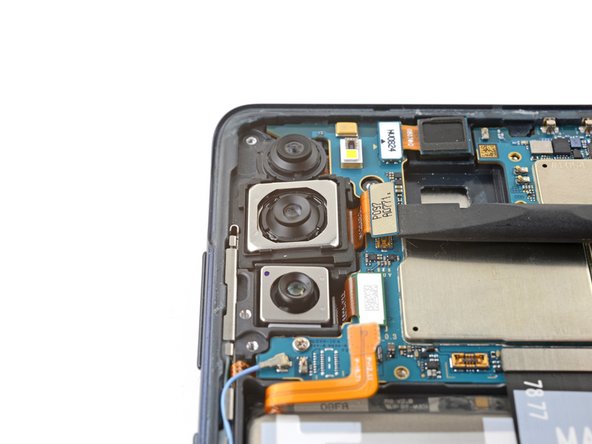
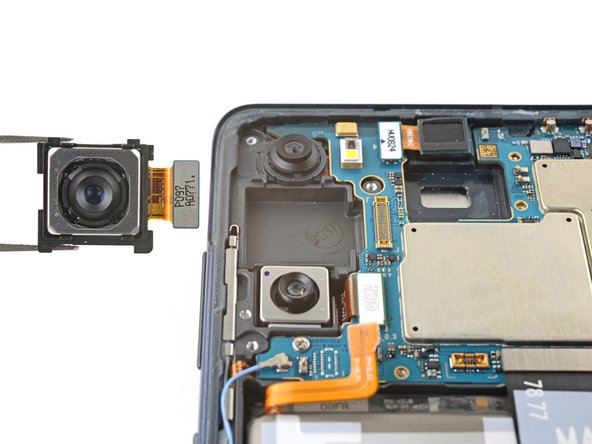
Remove the wide-angle camera.
-


To reassemble your device, follow these instructions in reverse order.
Take your e-waste to an R2 or e-Stewards certified recycler.
Repair didn’t go as planned? Try some basic troubleshooting, or ask our Answers community for help.
To reassemble your device, follow these instructions in reverse order.
Take your e-waste to an R2 or e-Stewards certified recycler.
Repair didn’t go as planned? Try some basic troubleshooting, or ask our Answers community for help.
crwdns2935221:0crwdne2935221:0
crwdns2935227:0crwdne2935227:0

