crwdns2915892:0crwdne2915892:0
Use this guide to replace a cracked or broken screen on your Galaxy A70.
If the frame is deformed, it's important to replace it to make sure the new screen will mount correctly and won’t suffer damage from uneven pressure.
Before disassembling your phone, discharge the battery below 25%. The battery can catch fire and/or explode if accidentally punctured, but the chances of that happening are much lower if discharged.
Note: This guide instructs you to replace only the screen while leaving the original frame and motherboard in place. However, some replacement screens for this phone come pre-installed in a new frame (a.k.a. chassis), which requires a very different procedure. Make sure you have the correct part before starting this guide.
You’ll need replacement adhesive to reattach components when reassembling the device.
crwdns2942213:0crwdne2942213:0
-
-
Insert a SIM card eject tool, a SIM eject bit, or a straightened paper clip into the hole on the SIM tray located at the left edge of the phone.
-
Press firmly to eject the tray and remove it.
-
-
-
Switch off your Galaxy A70.
-
Heat an iOpener and use it to soften the adhesive beneath the back cover. Apply the iOpener for at least two minutes. You might want to repeat this step several times during the back cover removal.
Kann man im Falle dass man kein spezielles Gerät hat auch ein Fön benutzen?
Hallo Derzocker39,
auch einen Föhn kannst du zur Not benutzen. Die Zeit kann dabei variieren. Taste dich am besten langsam heran und überprüfen immer wieder ob sich das Backcover schon anheben lässt. Wenn es schwer werden sollte den Klebstoff zu durchtrennen, kannst du auch zwischenzeitlich immer wieder föhnen. Achte darauf, dass dein Gerät nicht zu heiß wird.
-
-
-
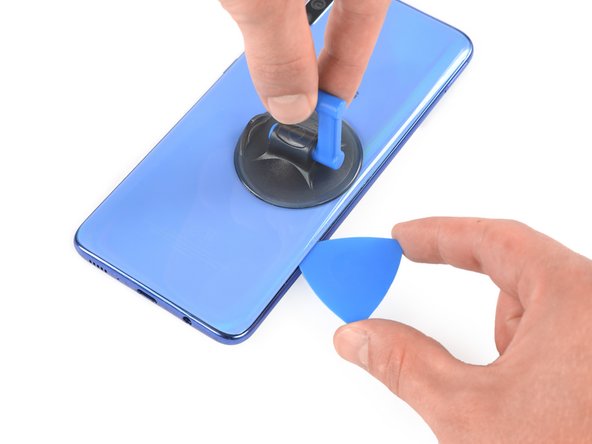
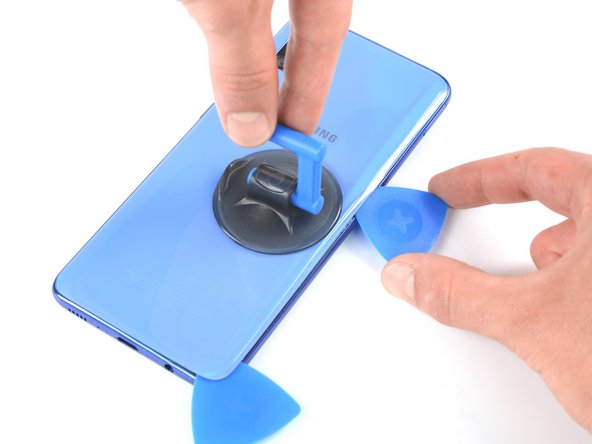
Apply a suction cup to the back of the phone, as close as possible to the center of the right edge.
-
Pull on the suction cup to create a gap between the back cover and the frame.
-
Insert an opening pick into the gap.
-
-
-
Slide the opening pick along the edge to the bottom right corner.
-
Leave the opening pick in its place to prevent the adhesive from resealing.
-
-
-
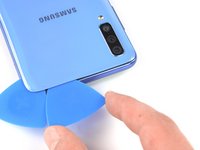
Insert a second opening pick underneath the bottom right corner of the back cover.
-
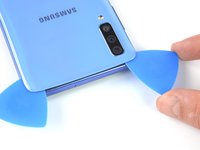
Slide the opening pick along the edge to the top right corner.
-
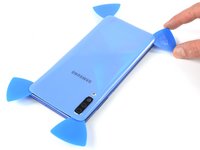
Leave the opening picks in place to prevent the adhesive from resealing.
-
-
-
Insert a third opening pick underneath the top right corner of the back cover.
-
Slide the tip of the opening pick along the top edge of the phone to cut the adhesive.
-
Leave the opening pick in the top left corner to prevent the adhesive from resealing.
-
-
-
Insert a fourth opening pick underneath the top left corner.
-
Slide the opening pick along the left edge of your phone to cut the adhesive.
-
Leave the opening pick in its place to prevent the adhesive from resealing.
-
-
-
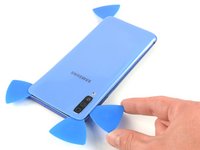
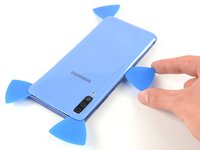
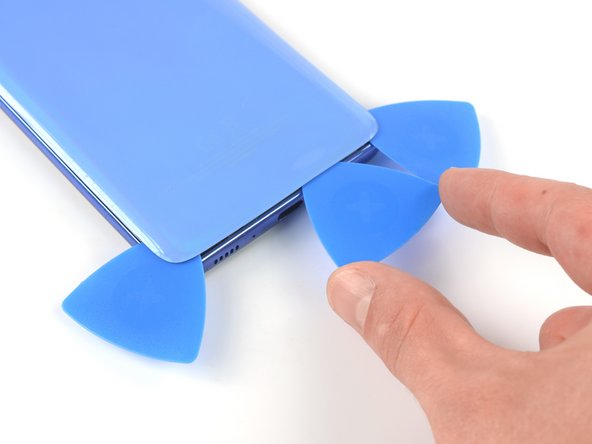
Insert a fifth opening pick underneath the bottom left corner.
-
Slide it along the the bottom edge to cut the remaining adhesive.
Someone must have already worked on the A70 that I got. It had a clear very sticky stringy glue all over the place. They even applied it to that little copper strip (seen near the top of the phone in the pic below, opposite the camera). So when I pulled off the back, that strip came with it. Is that an antenna or something? Guess I will find out...
-
-
-
Remove the back cover.
What if the sub part of the black thing at the back has remove
-
-
-
Use a Phillips screwdriver to remove the fourteen 4.0 mm-long screws that secure the midframe.
-
-
-
-
Insert an opening pick between the midframe and front panel assembly on the right edge of the phone near the volume button.
-
-
-
Slide the opening pick to the bottom right corner to detach the plastic clips.
-
-
-
Continue sliding the opening around the bottom right corner to the bottom left corner to detach the plastic clips.
-
-
-
Slide the opening pick along the left edge to detach the plastic clips.
-
-
-
Remove the midframe.
-
-
-
Use a spudger to disconnect the battery by prying the connector straight up from its socket.
-
-
-
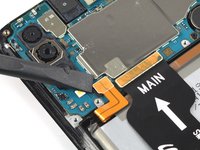
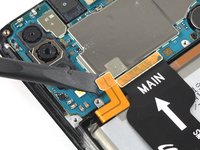
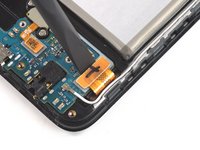
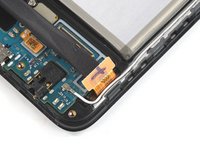
Use the flat edge of a spudger to pry up and disconnect the display connector from its daughterboard socket.
-
-
-
Apply an heated iOpener to the screen for two minutes.
-
-
-
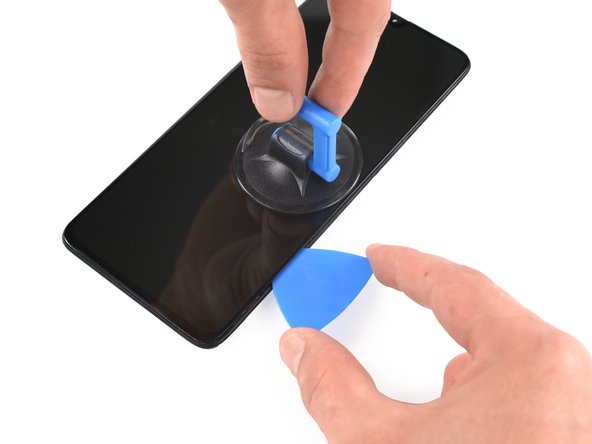
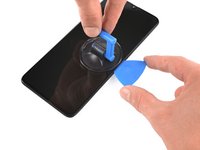
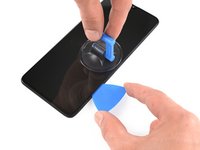
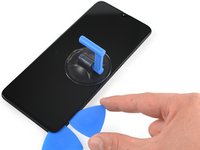
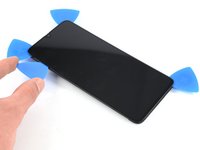
Apply a suction cup to the right edge of the display.
-
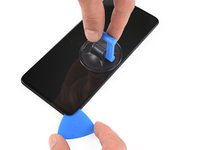
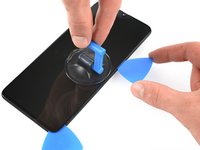
Pull up the suction cup with strong, steady force to create a gap.
-
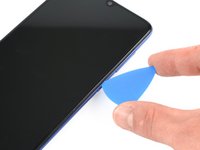
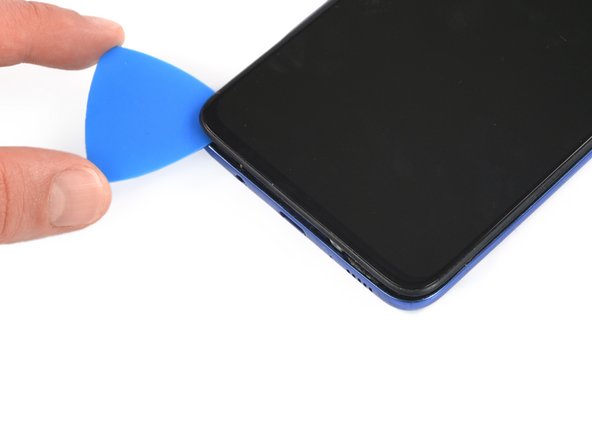
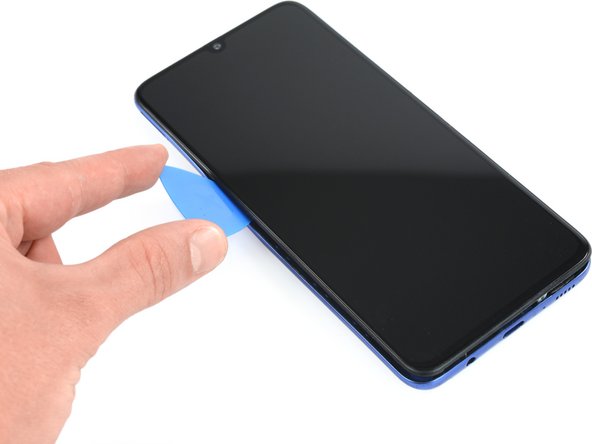
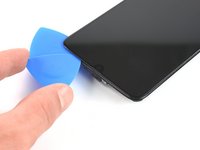
Insert the tip of an opening pick into the gap.
-
-
-
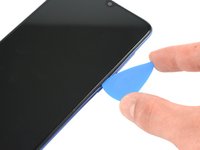
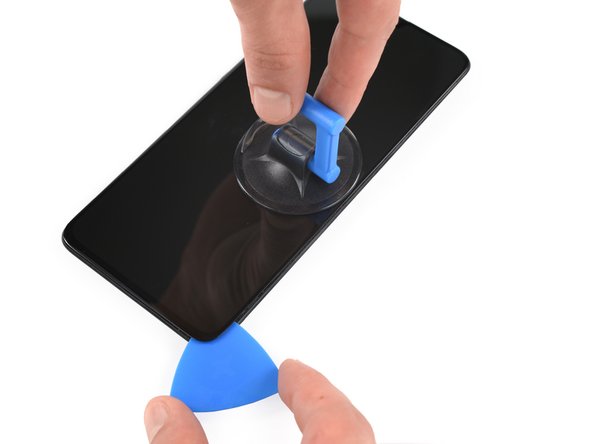
Slide the opening pick to the bottom right corner to slice the adhesive.
-
Leave the opening pick in its place to prevent the adhesive from resealing.
seems to me it should state “ slide the opening pick to the bottom “right” corner to slice the adhesive”. , since in step 19 you are starting at the right edge of the display.
Hi @docmuench, thank you for your comment! You’re absolutely right, I’ve changed the text. Feel free to change the text directly next time, iFixit is a Wiki and we appreciate every correction and useful hint.
-
-
-
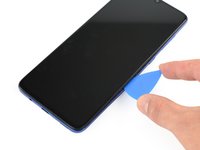
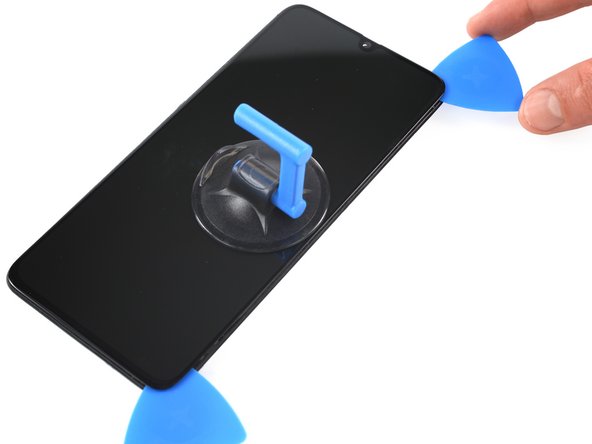
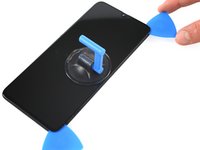
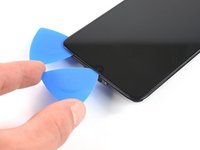
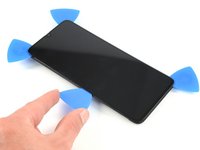
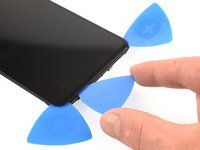
Insert a second opening pick underneath the bottom right corner.
-
Slide the opening pick along the right edge of your phone. Leave the opening pick in the top right corner.
-
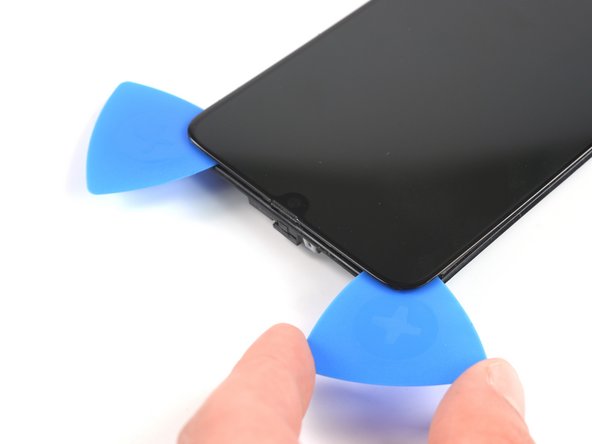
Leave both opening picks in their place to prevent the adhesive from resealing.
-
-
-
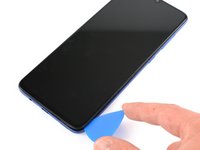
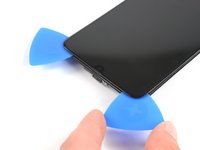
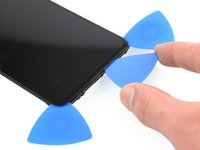
Insert a third opening pick underneath the top right corner.
-
Slide the opening pick along the top edge to slice the adhesive.
-
Leave the opening pick in the top left corner to prevent the adhesive from resealing.
-
-
-
Insert a fourth opening pick underneath the top left corner.
-
Slide the opening pick along the left edge to cut the adhesive.
-
Leave the opening pick in the bottom left corner to prevent the adhesive from resealing.
-
-
-
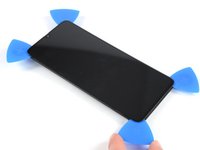
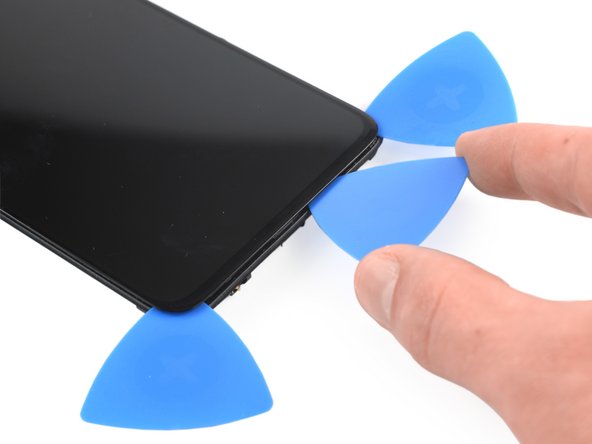
Insert a fifth opening pick underneath the bottom left corner.
-
Slide the opening pick along the bottom edge to cut the remaining adhesive.
-
-
-
Reapply a heated iOpener to the screen to loosen the adhesive underneath.
-
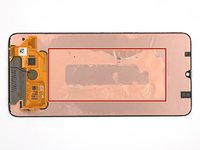
The remaining adhesive holding the screen to the midframe is located in the center.
-
-
crwdns2935267:0crwdne2935267:0Plastic Cards$2.99
-
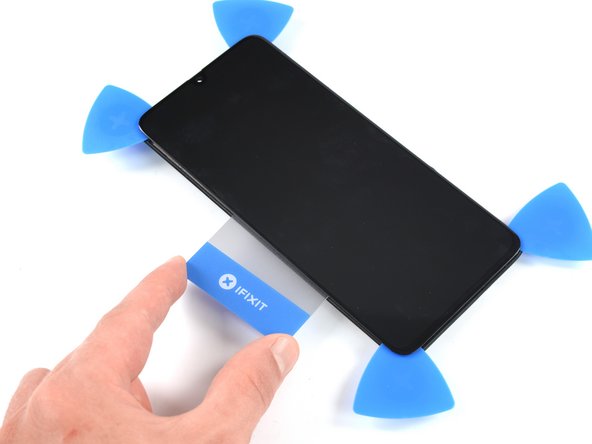
Insert a plastic card on the left edge into the gap between display and the phone assembly.
-
Press the plastic card in and slide it back and forth until you cut through the entire adhesive.
-
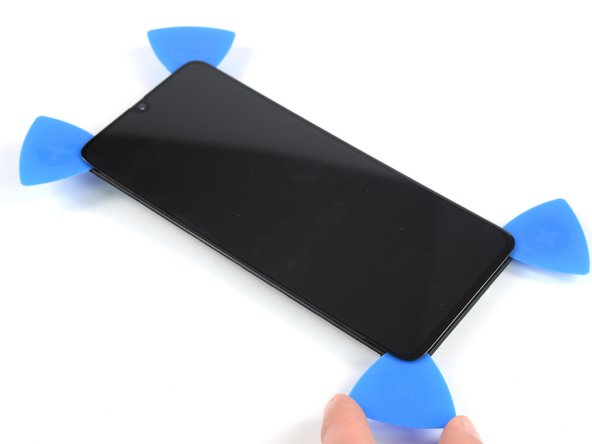
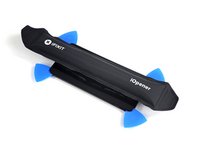
Once you are sure you cut through the adhesive, remove the four opening picks from the corners.
-
-
-
Carefully thread the display cable through the frame.
-
-
-
Remove the screen.
-
If possible, turn on your device and test your repair before installing new adhesive and resealing.
Compare your new replacement part to the original part—you may need to transfer remaining components or remove adhesive backings from the new part before installing.
To reassemble your device, follow these instructions in reverse order. Apply new adhesive where necessary after cleaning the relevant areas with isopropyl alcohol (>90%).
The best way to secure the new screen is to apply a sheet of custom-cut double-sided tape to the back of the screen.
Take your e-waste to an R2 or e-Stewards certified recycler.
Repair didn’t go as planned? Try some basic troubleshooting, or ask our Answers community for help.
crwdns2935221:0crwdne2935221:0
crwdns2935229:040crwdne2935229:0
crwdns2947412:08crwdne2947412:0
Guide is very useful and changed display is working. I think it will be good to order new display with the frame, I damaged one side of the displays frame. The display has strong adhesive or I had not enough patience :-). I thought that the display will meltdown - I have to warm it 4 times.
Hello! Can I apply this procedure to my Samsung A21s too? The touchscreen of my Samsung A21s is unresponsive or responding incorrectly. I tried touching a certain part of the screen but ends up selecting something else instead.
Very useful 👌
Very useful and well explanatory
This devices could be easy to service, however it is not in intrerest of the manufacturer.... it should be more advantageous for the user to get a new product than to pay for service if he cannot replace it himself. I have an Volvo 850 year 1995. Complete guide from service manual for the engine head general overhaul and timing belt job is much shorter than this, and everything you need is T45, 10 and 13mm socket with wranch....
Hello guys, anyone here?
I have problem with charging my A70, When i take down the frame then it charges, when I put it back, then it wont charge. I also tried with another frame that i have but same problem. Anyone know the solution? Thanks a lot.
My Samsung Galaxy A70 blacked out all of a sudden. What could be the problem and how will I be able to fix it ?
Make video also please







































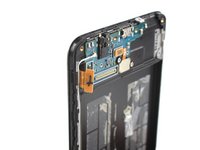
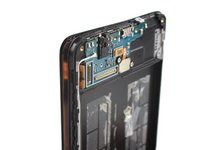
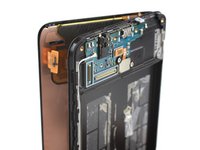


My phone has turned itself off.
Silent Man - crwdns2934203:0crwdne2934203:0