crwdns2915892:0crwdne2915892:0
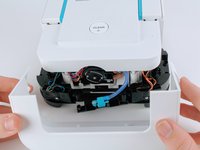
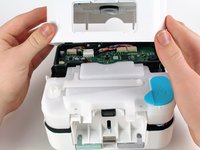
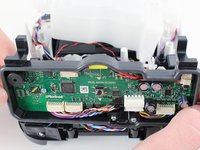
Remove the motherboard case to expose the free-floating platform, motors, and tubing beneath.
crwdns2942213:0crwdne2942213:0
-
-
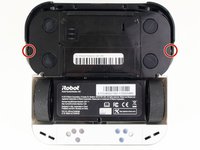
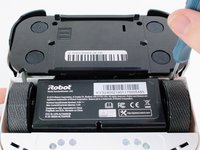
Use your fingers to gently pop out the battery.
-
-
-
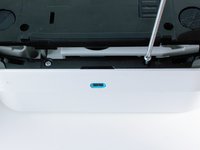
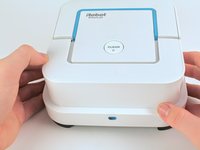
Lift up the handle to reveal the eject button.
-
-
-
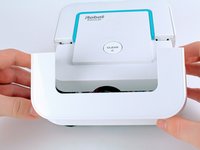
Use your finger to push the eject button forward.
-
-
-
Tilt the robot on its side and let the mop pad slide out.
-
-
-
-
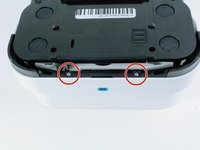
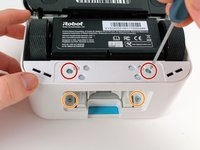
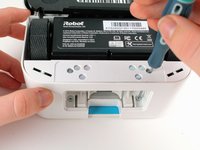
Remove the two 22.0 mm screws on the bottom-front of the robot using a Phillips #1 screwdriver.
These screws have a non-threaded top. So they’ll move after unscrewing but not come out.
At this stage it’s best to lift them and continue to unscrew until they’re removed as this makes removing the cover easier.
Same for the other two 15mm screws.
-
-
-
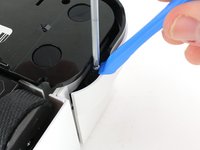
Use a Phillips #1 screwdriver and an iFixit opening tool to remove the two 15.0 mm screws on the front sides of the robot.
-
-
-
Carefully pull back on the front shell to remove it from the robot.
-
-
-
Insert a Phillips #1 screwdriver through the screw holes.
-
Unscrew the two 9.7 mm screws.
-
-
-
Unscrew the four 9.7 mm screws using a long neck #1 Phillips screwdriver.
-
-
-
Pull up on the back shell to remove it from the robot.
-
-
-
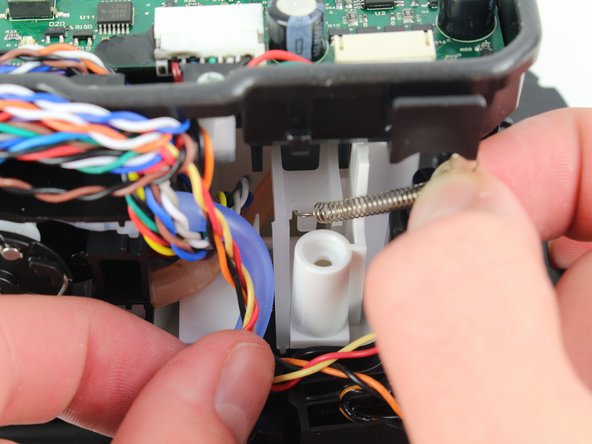
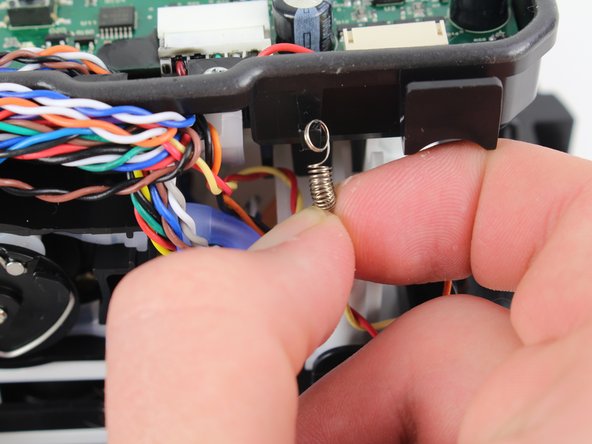
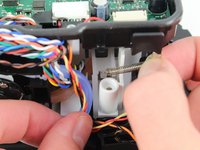
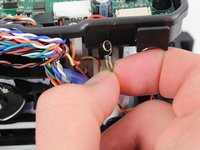
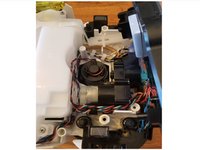
First pull up, then pull down on the spring to detach it from the hooks.
-
-
-
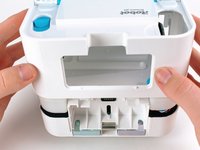
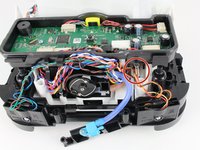
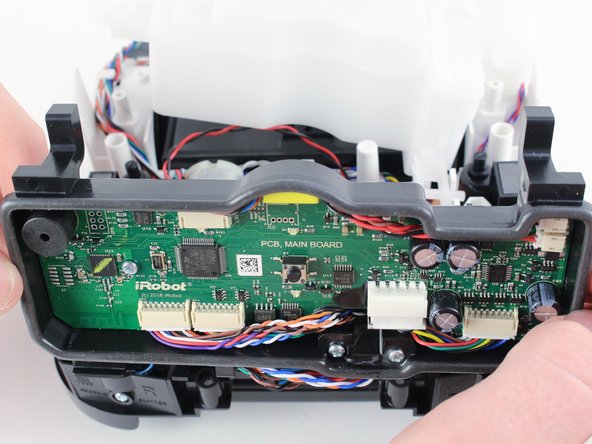
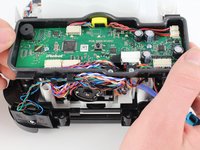
Lift up on the motherboard case and pull it forward to remove it from the device. This will expose the free-floating platform, as well as motors, water tubing, and the magnetic sensor pads.
-


To reassemble your device, follow these instructions in reverse order.
To reassemble your device, follow these instructions in reverse order.
crwdns2947412:03crwdne2947412:0
Etape 14 ...... poubelle !
Etape 12 .................................. Poubelle !
Can you add more detail? We have disconnected and reconnected the spring multiple times. What was the tricky part?