crwdns2915892:0crwdne2915892:0
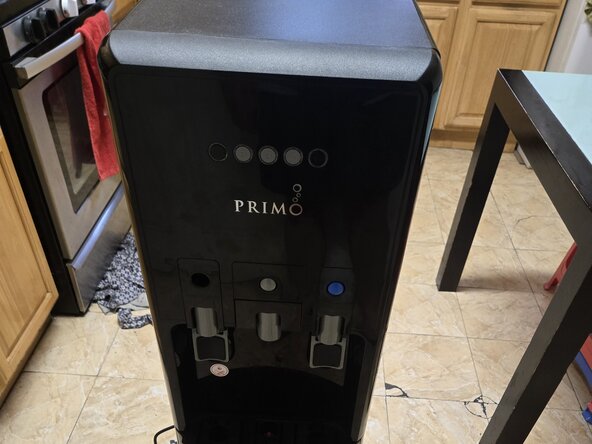
If your Primo water dispenser (model 601258-C) is not dispensing cold water because it is freezing the cold water reservoir, use this guide to replace the temperature sensor.
The temperature sensor helps regulate the cooling system to ensure the water stays at the correct temperature. A faulty sensor may cause excessive cooling, leading to freezing.
Before using this guide, inspect the dispenser’s cooling settings and ensure there are no external factors affecting temperature regulation. If the sensor is indeed the issue, follow the steps carefully to replace it.
Before you begin the repair, completely disconnect the dispenser from its power source.
crwdns2942213:0crwdne2942213:0
-
-
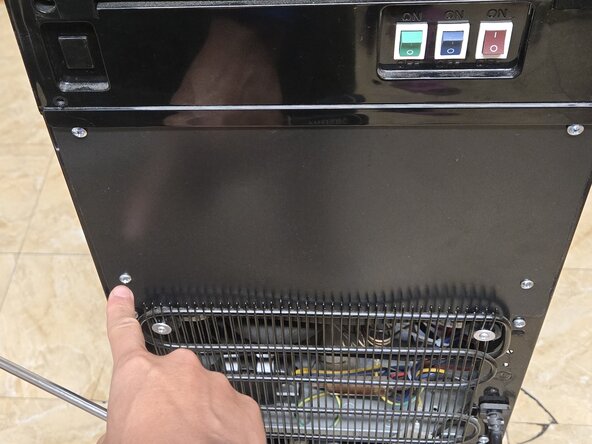
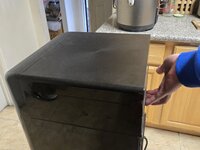
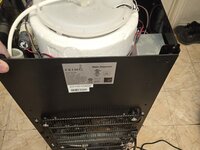
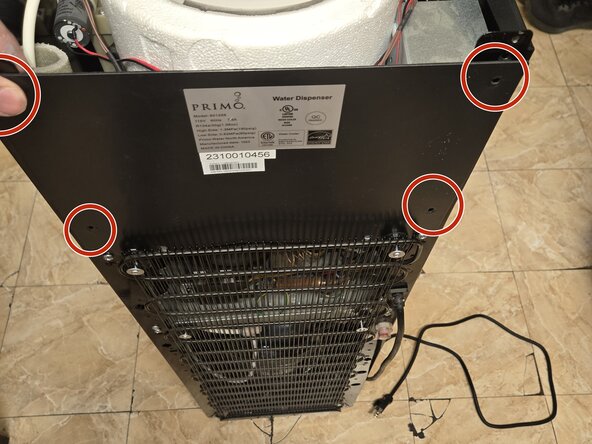
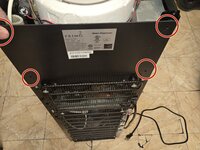
Remove six 9 mm Phillips screws from the back of the water cooler to detach the back panels.
-
-
-
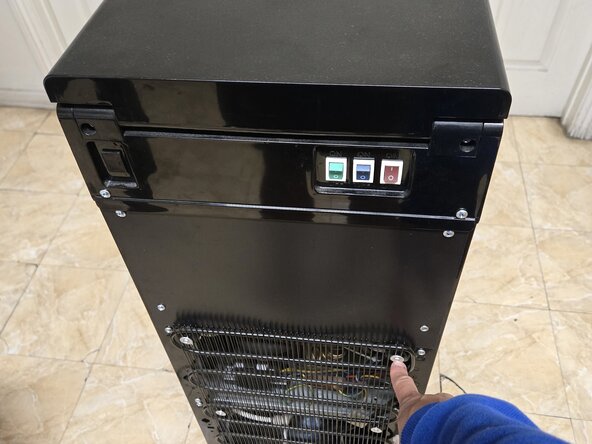
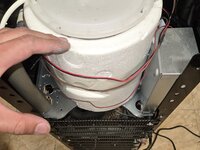
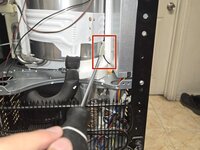
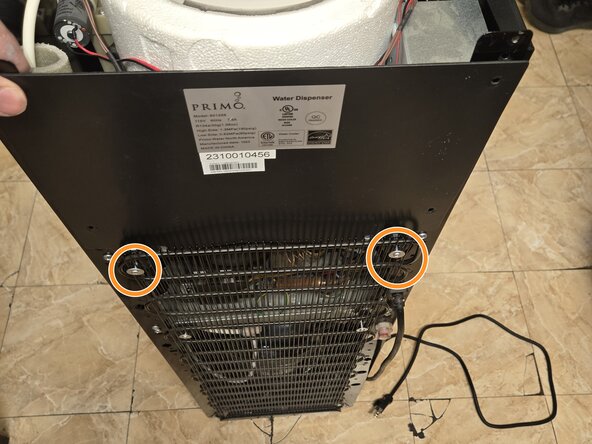
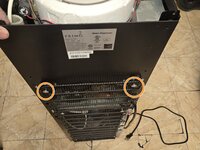
Loosen the two 25 mm Phillips screws securing the radiator, allowing you to remove the backing.
-
-
-
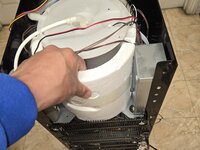
Remove the top of the cooler.
-
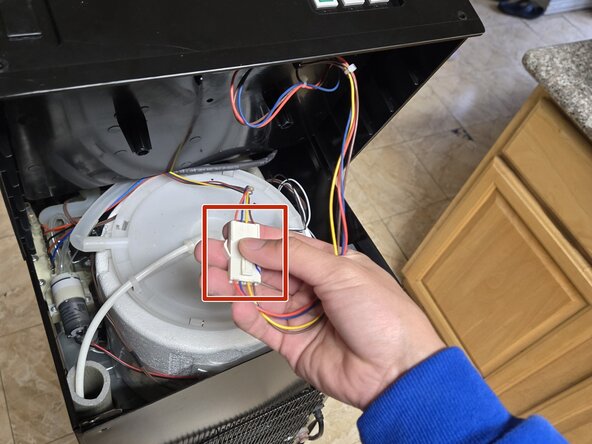
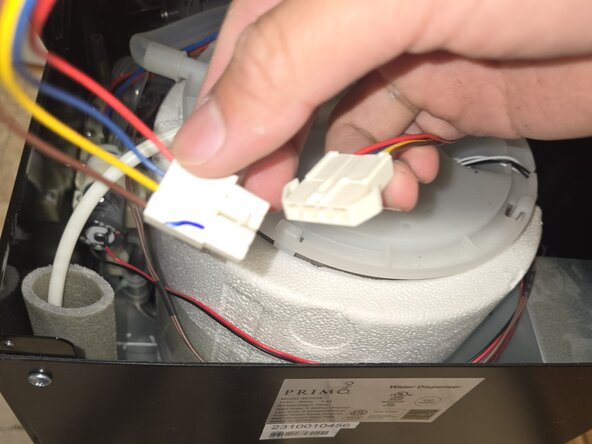
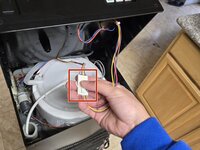
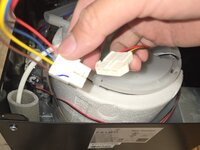
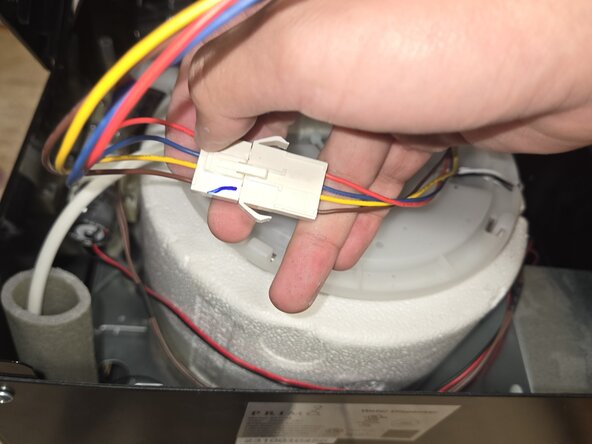
Press the tab and unplug the temperature switch from the lid.
-
-
-
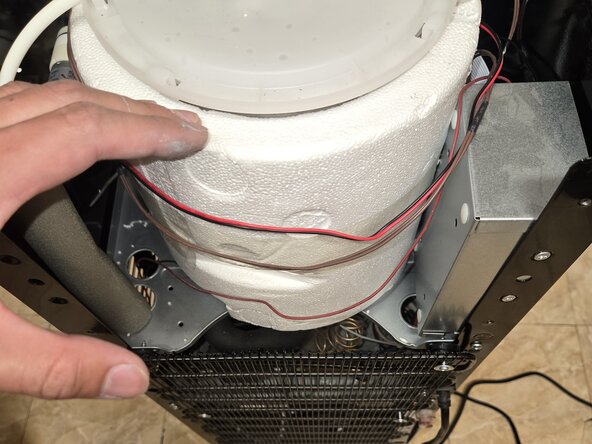
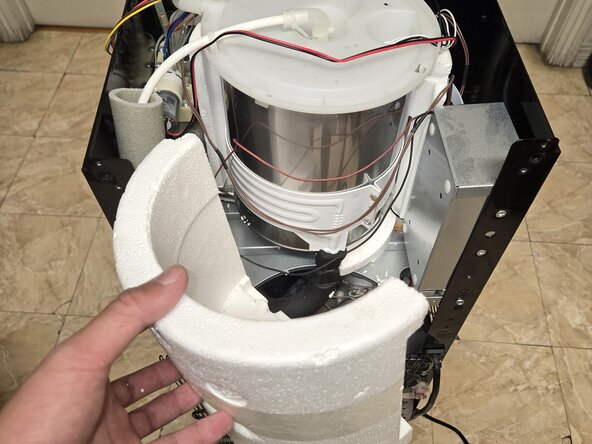
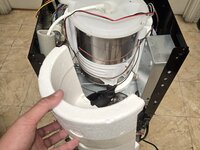
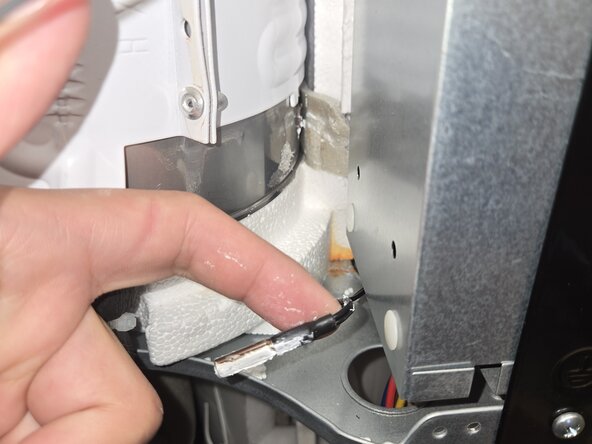
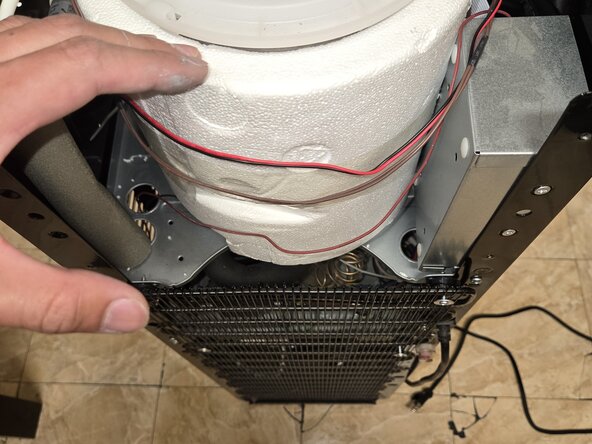
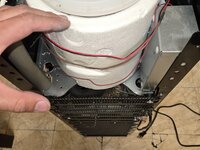
Carefully remove the insulating foam.
-
-
-
-
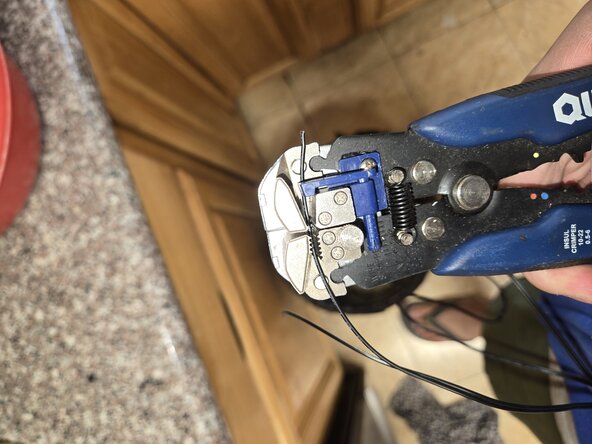
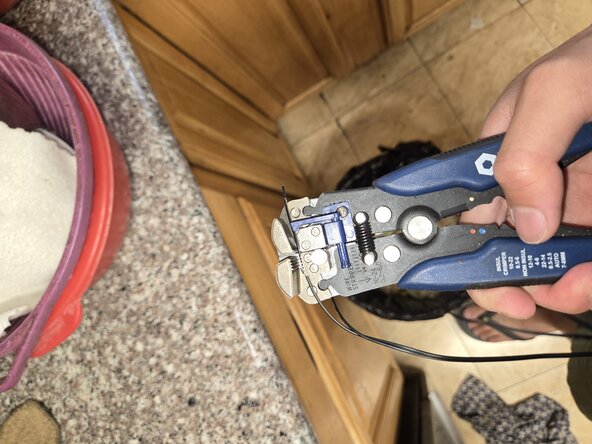
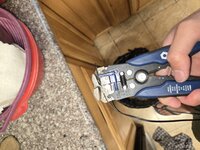
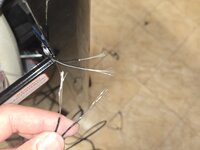
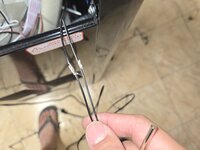
Use a wire stripper to strip the wire on both the old and new temperature sensors.
-
-
-
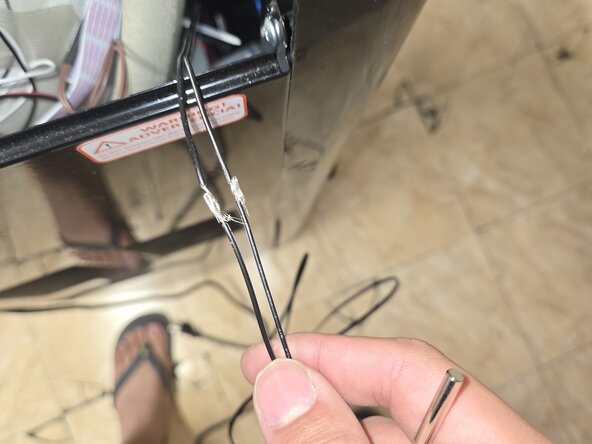
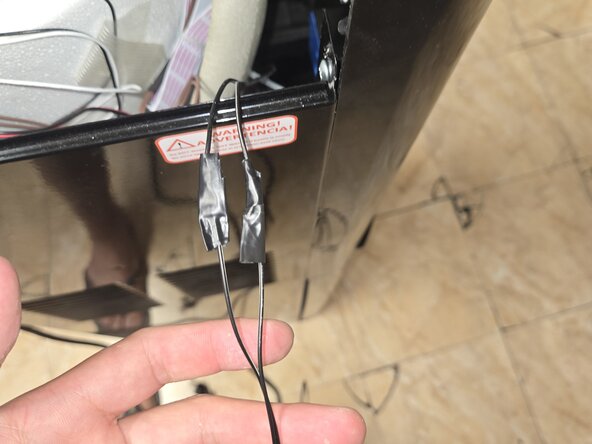
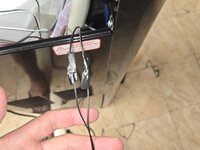
Twist the ends of the wires stripped wires together and wrap them with electrical tape.
-
-
-
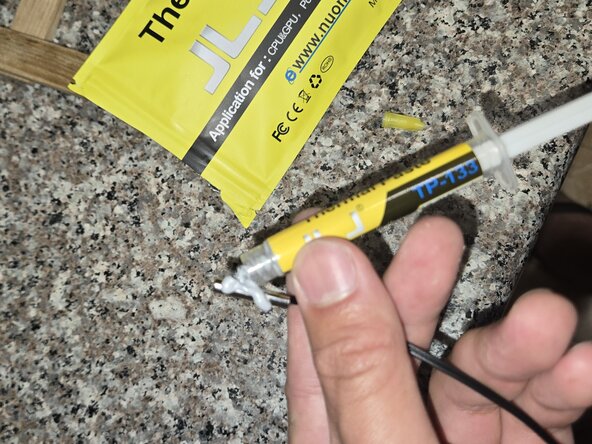
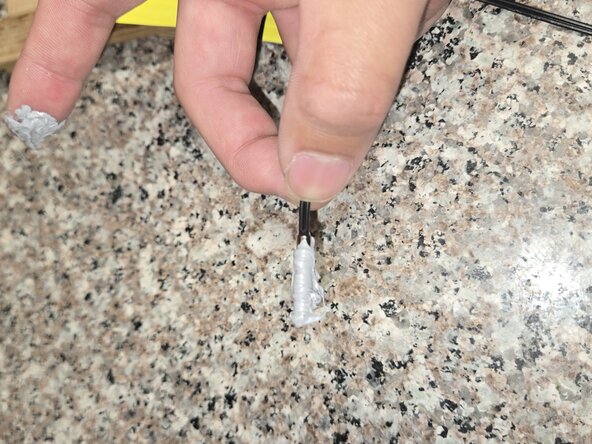
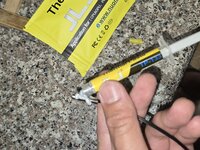
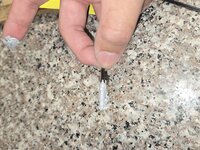
Apply thermal paste to the new temperature sensor.
-
-
-
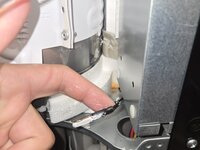
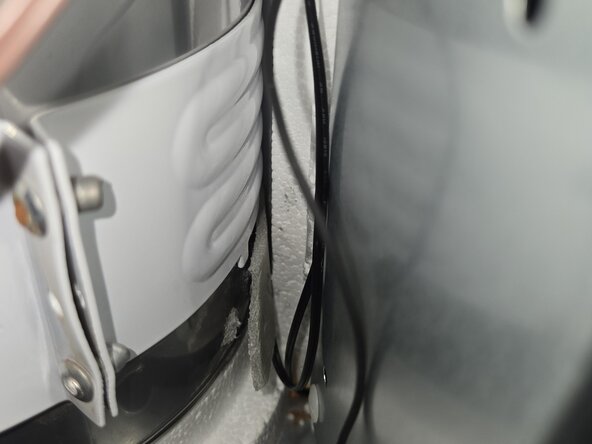
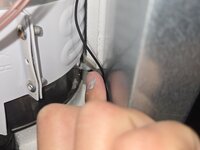
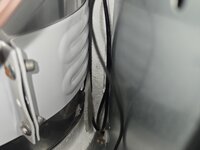
Insert the newly connected thermal paste-covered sensor into the slot where the old sensor was.
-
Place the old insulation back.
-
-
-
Reattach the backing and secure it with four 9 mm Phillips screws.
-
Tighten the two 25 mm Phillips screws.
-
-
-
Reconnect the temperature control.
-
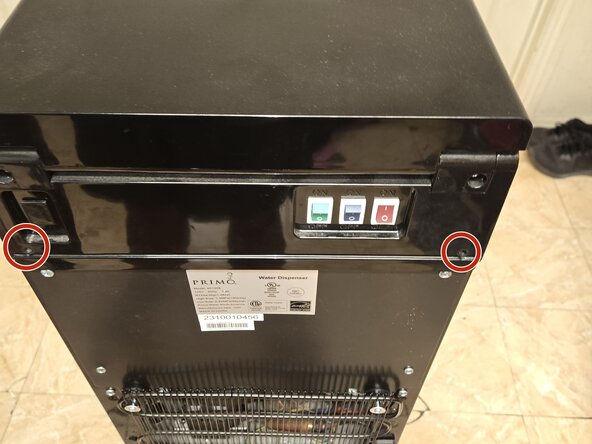
Secure the top panel with two 9 mm Phillips screws.
-
-
-
You have replaced the temperature sensor.
-
To reassemble your device, follow the instructions in the guide. Take your e-waste to an R2 or e-Stewards certified recycler.
crwdns2935221:0crwdne2935221:0
crwdns2935227:0crwdne2935227:0
crwdns2947410:01crwdne2947410:0
Thank you for the great guide, the replacement thermostat and paste you recommended worked perfect.

