crwdns2942213:0crwdne2942213:0
-
-
Remove the water container, the brew group and the drip tray with pomace container.
-
Using a spoon, remove as much of the coffee beans as possible from the coffee bean container.
-
-
-
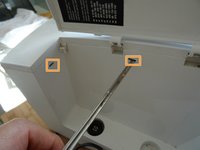
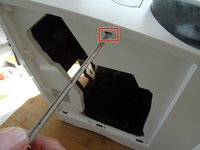
Remove the two Torx T10 screws on the top.
-
-
-
-
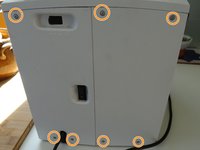
Remove seven T10 Torx screws on the back.
-
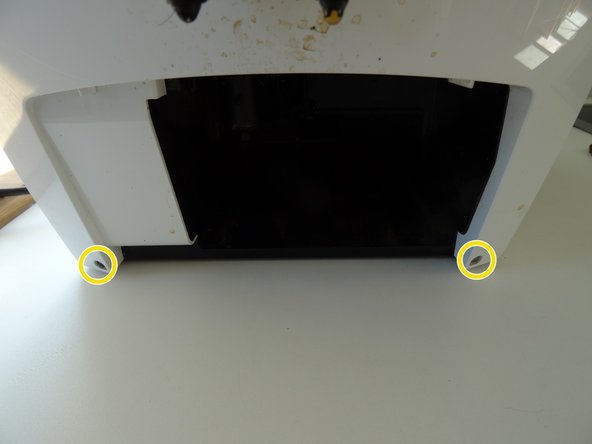
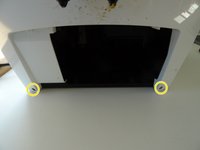
The two screws at the bottom of the front can remain.
-
-
-
Press with a flat-head screwdriver into the openings on the side with the water tank. This releases the latches on the top.
-
Press the flat-head screwdriver into the opening on the side with the brew group. This will release the last notch on the top.
-
Lift the top off.
-
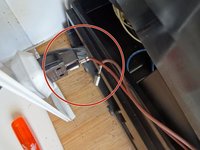
On some models, a cable leads to the sensor on the powder tray. Unplug the connector on this cable first.
-
-
-
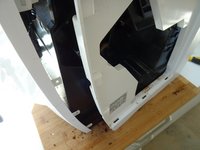
Slide the side section of the brewing unit about 2 cm to the rear. This sometimes gets stuck and may require some force to remove.
-
Remove the two tabs from the power switch.
-
Take off the side panel with the brew group.
-
-
-
Do the same with the panel on the other side.
-
To remove the water tank hose simply pull it of the pump.
-
Remove the side panel.
Hallo, das ja ganz tolĺ erklärt. Ich brauchte ein Bild von dem Elektronicteil wo man die Kabel sieht in welcher Buchsen Sie stecken.Danke.
Bei den anderen Anleitungen vielleicht, z.B. der hier: Siemens Surpresso Compact Mikroschalter am Antrieb austauschen, Schritt 10 ?
-


To reassemble your device, follow the steps in reverse order.
To reassemble your device, follow the steps in reverse order.
crwdns2935221:0crwdne2935221:0
crwdns2935229:016crwdne2935229:0
crwdns2934873:0crwdne2934873:0
100%


crwdns2934885:0crwdne2934885:0 crwdns2934875:0crwdne2934875:0
crwdns2934877:0crwdne2934877:0 ›
crwdns2947412:04crwdne2947412:0
Sehr gut beschrieben und bebildert, danach kann man gut arbeiten, Danke.
Wie bekomme ich den vorderen Gehäusedeckel ab? Ich muss den Dampfschalter tauschen.
Hab ich noch nie gemacht. Sicher muss der Auslauf weg: Siemens Surpresso Compact Kaffeeauslaufverteiler austauschen, suche dann die Schrauben und Rasten. Gutes Gelingen, wir würden uns freuen, wenn du das für iFixit dokumentierst!
VauWeh -
Super Anleitung! Danach war es ein Leichtes, die Maschine zu zerlegen.