crwdns2915892:0crwdne2915892:0
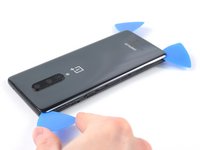
If your OnePlus 8 smartphone isn’t turning on, use this guide to replace the Motherboard.
Before using this guide, inspect the smartphone to see if the battery or the CPU is faulty. Be sure to test by connecting a computer with your device to confirm that the faulty part is coming from the OnePLus 8's Motherboard (If the CPU is defective, it won't be detected by the device manager).
The Motherboard is the main circuit board that connects and powers all of the internal components, allowing them to communicate. A shorted Motherboard won't allow the phone to be turned on.
Before you begin, please make sure to power off the phone completely and disconnect it from any external power source.
crwdns2942213:0crwdne2942213:0
-
-
Power off your phone and unplug any cables.
-
Heat an iOpener and apply it to the rear glass for two minutes.
-
-
-
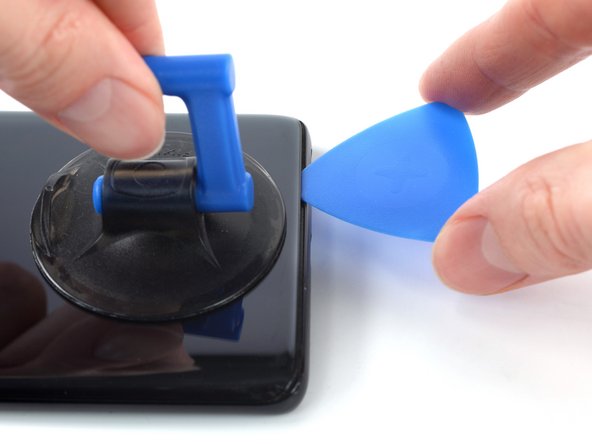
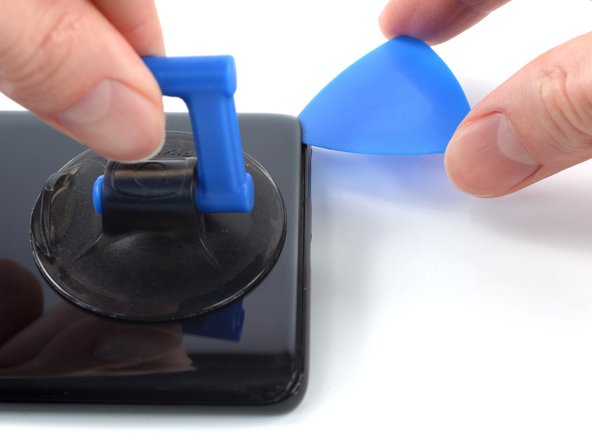
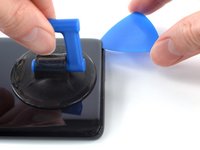
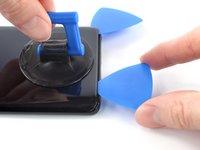
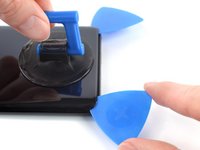
Apply a suction handle to the center of the bottom edge of the rear glass, as close to the edge as possible.
-
Pull up on the suction handle with strong, steady force to create a gap between the rear glass and frame.
-
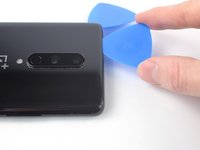
Insert an opening pick into the gap.
-
-
-
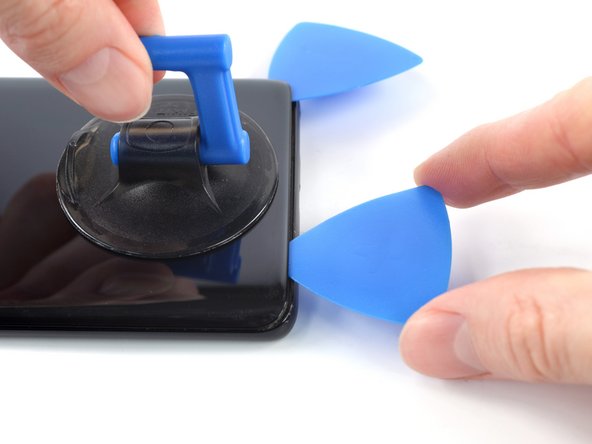
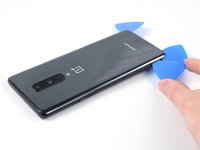
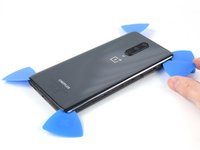
Slide the opening pick to the bottom right corner to slice the adhesive securing the rear glass.
-
Leave the opening pick in the bottom right corner to prevent the adhesive from resealing.
-
-
-
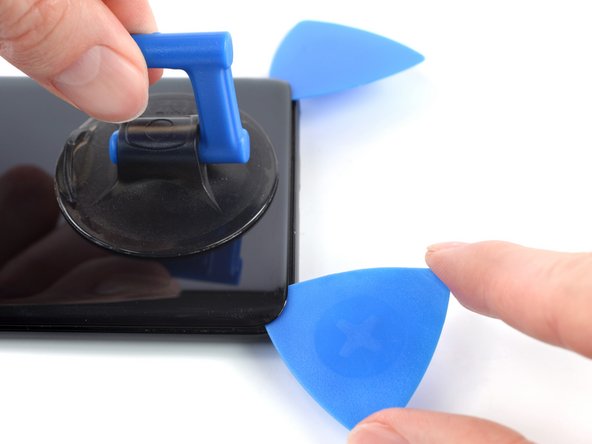
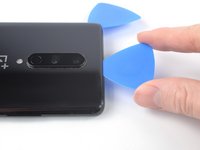
Insert a second opening pick under the bottom edge of the rear glass, into the gap you just created.
-
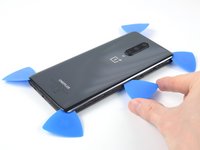
Slide the opening pick to the bottom left corner to slice the adhesive.
-
Leave the opening pick in the bottom left corner to prevent the adhesive from resealing.
-
-
-
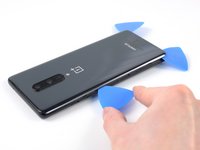
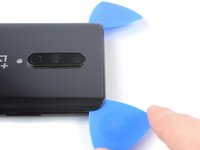
Insert a third opening pick under the bottom left corner of the rear glass.
-
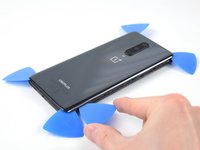
Slide the opening pick up the left edge to slice the adhesive.
-
Leave the opening pick in the top left corner to prevent the adhesive from resealing.
-
-
-
Insert a fourth opening pick under the top left corner of the rear glass.
-
Slide the opening pick along the top edge to slice the adhesive.
-
Leave the opening pick in the top right corner to prevent the adhesive from resealing.
-
-
-
-
Insert a fifth opening pick under the top right corner of the rear glass.
-
Slide the opening pick down the right edge to slice the remaining adhesive.
-
-
-
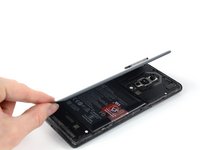
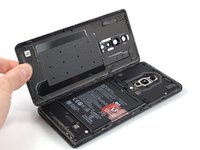
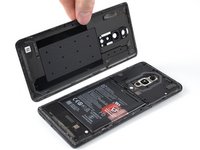
Remove the rear glass.
-
Secure the rear glass with pre-cut adhesive or double-sided adhesive tape.
-
After installing the rear glass, apply strong, steady pressure to your phone for several minutes to help the adhesive form a good bond.
-
-
crwdns2935267:0crwdne2935267:0Tweezers$4.99
-
Use a Phillips screwdriver to remove the eleven 3.3 mm-long screws securing the motherboard cover.
-
-
-
Insert the flat end of a spudger under the center of the motherboard cover's bottom edge.
-
Twist the spudger to release the clips.
-
Lever the motherboard cover up until you can grip it with your fingers.
-
-
-
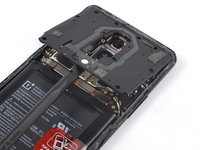
Remove the motherboard cover.
-
-
-
Use a spudger to disconnect the battery cable by prying the connector straight up from its socket on the bottom left corner of the motherboard.
-
-
-
Disconnect the antenna cable connector on the right, using tweezers.
-
Disconnect the antenna cable connector on the left using tweezers.
-
-
-
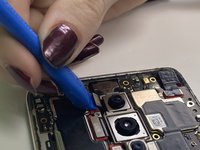
Use an opening tool to gently pry and disconnect the three camera press connectors.
-
-
-
Use an opening tool to pry up and disconnect the front camera press connector.
-
Remove the front camera.
-
-
-
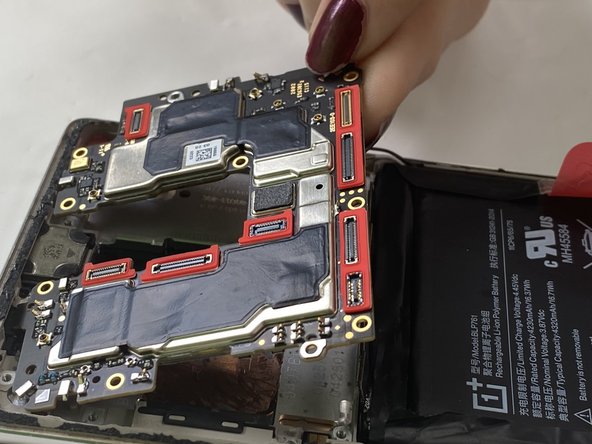
Use an opening tool to pry up and disconnect each of the three press connectors attached to the motherboard.
-
-
-
Remove the motherboard by carefully pryinng it out with the opening tool, lifting the battery out to make removal easier.
-
To reassemble your device, follow the above steps in reverse order.
Take your e-waste to an R2 or e-Stewards certified recycler.
Repair didn’t go as planned? Try some basic troubleshooting or ask our Answers community for help.
To reassemble your device, follow the above steps in reverse order.
Take your e-waste to an R2 or e-Stewards certified recycler.
Repair didn’t go as planned? Try some basic troubleshooting or ask our Answers community for help.


