crwdns2915892:0crwdne2915892:0
Use this guide to replace the daughterboard in your OnePlus 8.
You'll need replacement adhesive for the rear glass in order to complete this repair.
Note: Retaining water resistance after the repair will depend on how precisely the adhesive is reapplied, but your device will lose its IP (Ingress Protection) rating. However, only the T-Mobile (IN2017) and Verizon (IN2019) models offer IP ratings.
crwdns2942213:0crwdne2942213:0
-
-
Power off your phone and unplug any cables.
-
Heat an iOpener and apply it to the rear glass for two minutes.
-
-
-
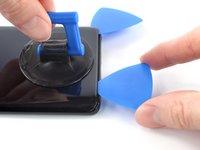
Apply a suction handle to the center of the bottom edge of the rear glass, as close to the edge as possible.
-
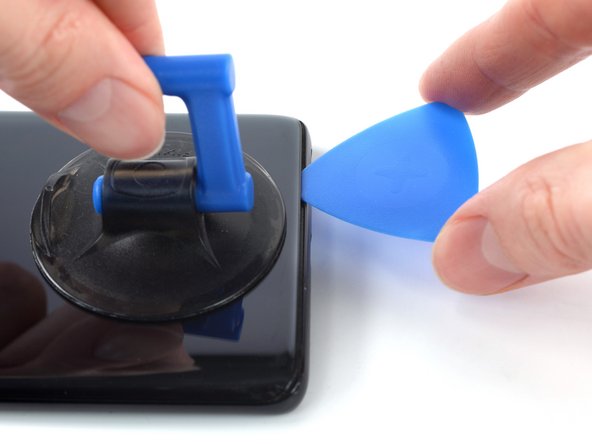
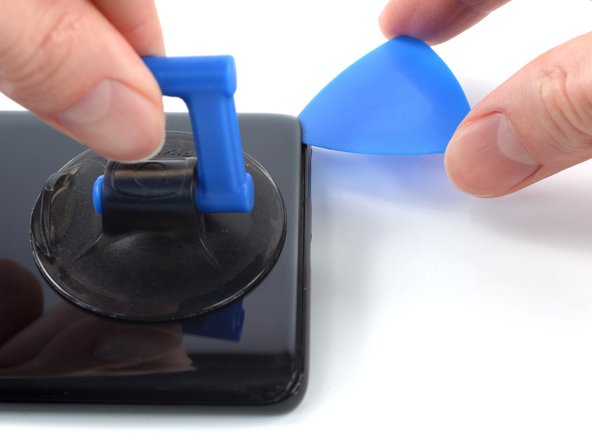
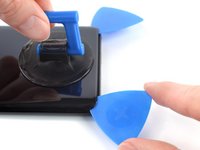
Pull up on the suction handle with strong, steady force to create a gap between the rear glass and frame.
-
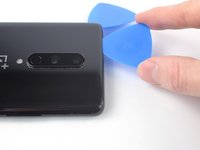
Insert an opening pick into the gap.
-
-
-
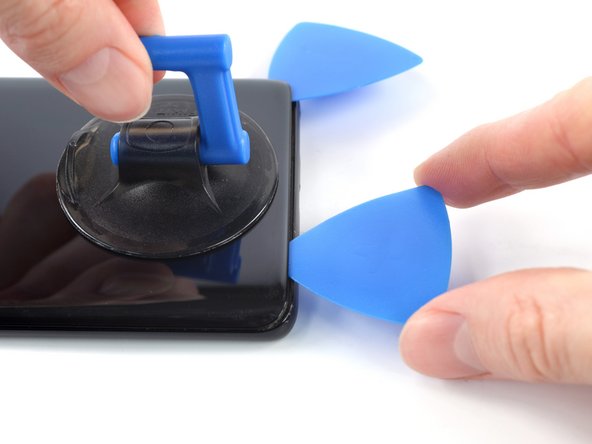
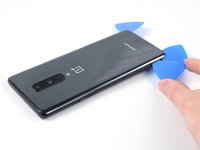
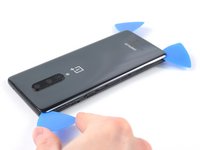
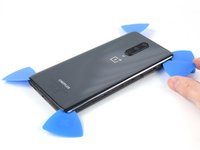
Slide the opening pick to the bottom right corner to slice the adhesive securing the rear glass.
-
Leave the opening pick in the bottom right corner to prevent the adhesive from resealing.
-
-
-
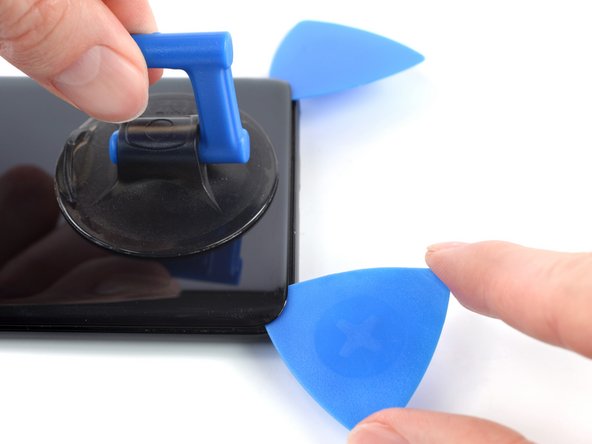
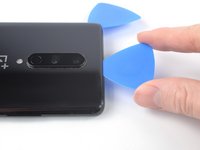
Insert a second opening pick under the bottom edge of the rear glass, into the gap you just created.
-
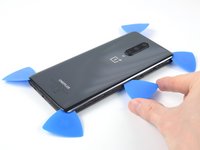
Slide the opening pick to the bottom left corner to slice the adhesive.
-
Leave the opening pick in the bottom left corner to prevent the adhesive from resealing.
-
-
-
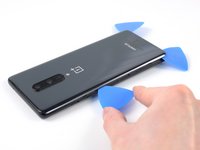
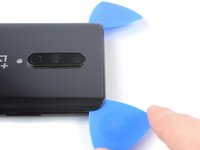
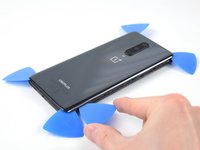
Insert a third opening pick under the bottom left corner of the rear glass.
-
Slide the opening pick up the left edge to slice the adhesive.
-
Leave the opening pick in the top left corner to prevent the adhesive from resealing.
-
-
-
Insert a fourth opening pick under the top left corner of the rear glass.
-
Slide the opening pick along the top edge to slice the adhesive.
-
Leave the opening pick in the top right corner to prevent the adhesive from resealing.
-
-
-
Insert a fifth opening pick under the top right corner of the rear glass.
-
Slide the opening pick down the right edge to slice the remaining adhesive.
-
-
-
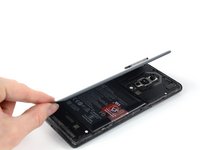
Remove the rear glass.
-
Secure the rear glass with pre-cut adhesive or double-sided adhesive tape.
-
After installing the rear glass, apply strong, steady pressure to your phone for several minutes to help the adhesive form a good bond.
-
-
crwdns2935267:0crwdne2935267:0Tweezers$4.99
-
Use a Phillips screwdriver to remove the eleven 3.3 mm-long screws securing the motherboard cover.
-
-
-
-
Insert the flat end of a spudger under the center of the motherboard cover's bottom edge.
-
Twist the spudger to release the clips.
-
Lever the motherboard cover up until you can grip it with your fingers.
-
-
-
Remove the motherboard cover.
-
-
-
Use a spudger to disconnect the battery cable by prying the connector straight up from its socket on the bottom left corner of the motherboard.
-
-
crwdns2935267:0crwdne2935267:0Tweezers$4.99
-
Use a Phillips driver to remove the seven 3.3 mm-long screws securing the loudspeaker.
-
-
-
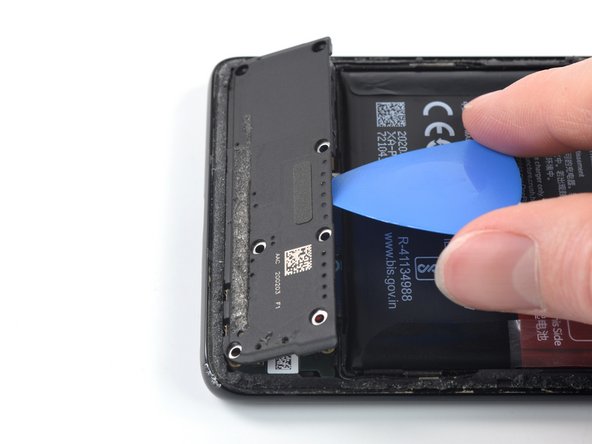
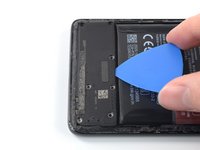
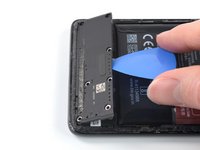
Insert an opening pick underneath the center of the loudspeaker's top edge.
-
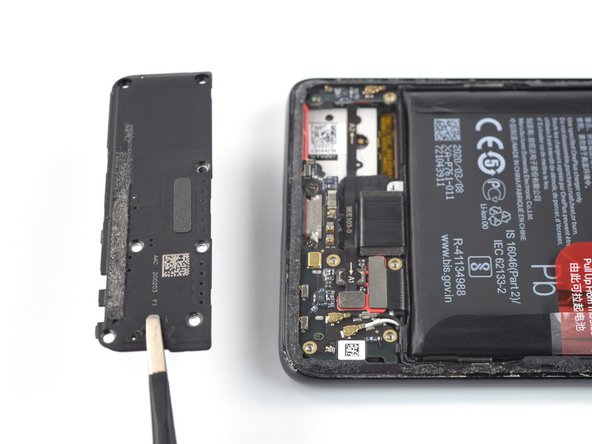
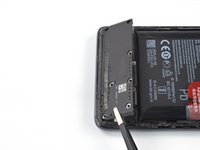
Pry up to release the clips securing the loudspeaker, levering it up until you can grip it with your fingers.
-
-
-
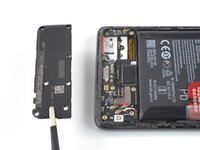
Remove the loudspeaker.
-
-
-
Insert a SIM eject tool, bit, or straightened paper clip into the SIM card tray hole on the bottom edge of the phone.
-
Press firmly to eject the tray.
-
-
-
Remove the SIM card tray from the phone.
-
-
-
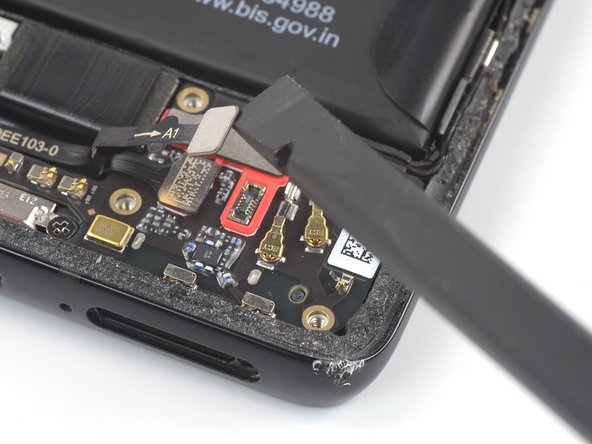
Use a spudger to disconnect the antenna board cable from the daughterboard by prying the connector straight up from its socket.
-
-
-
Use a spudger to disconnect the fingerprint reader cable from the daughterboard by prying the connector straight up from its socket.
-
-
-
Use a spudger to disconnect the interconnect cable from the daughterboard by prying the connector straight up from its socket.
-
-
-
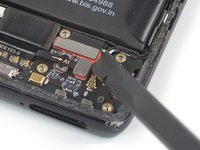
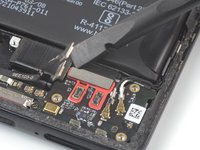
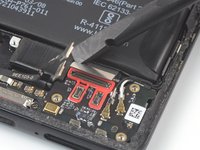
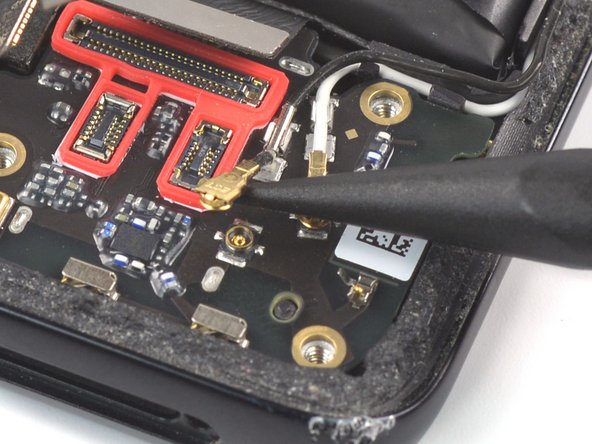
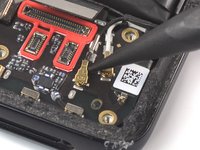
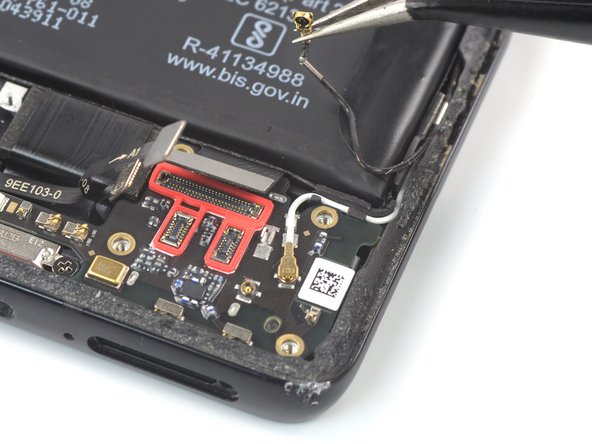
Use the pointed end of a spudger to disconnect the black antenna cable by prying the connector straight up from its socket on the motherboard.
-
-
crwdns2935267:0crwdne2935267:0Tweezers$4.99
-
Use a pair of tweezers or your fingers to lift the black antenna cable out of its clip on the daughterboard.
-
-
-
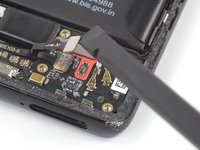
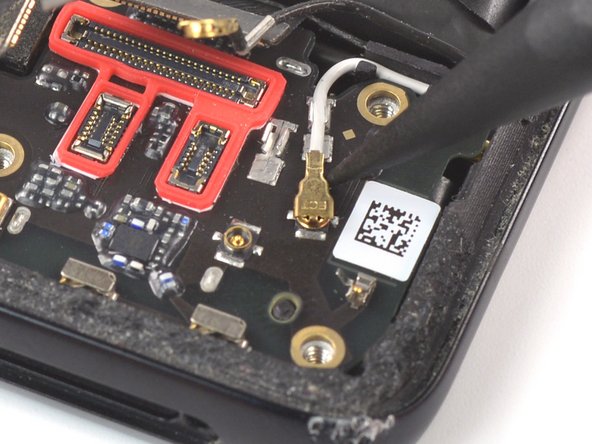
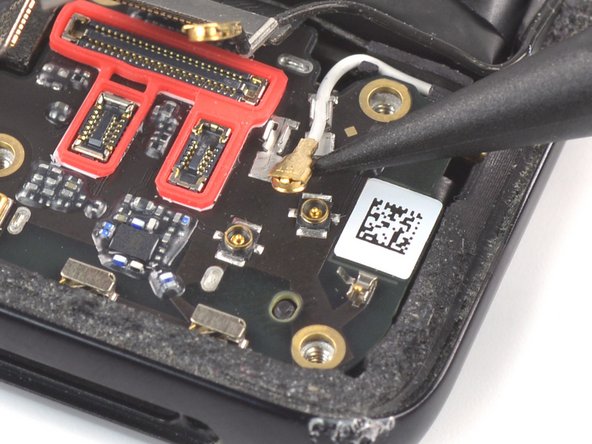
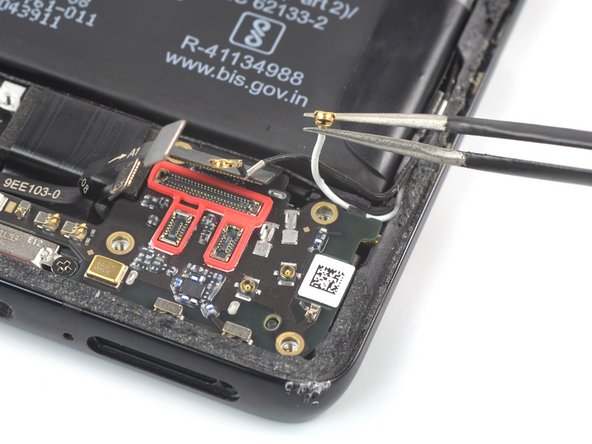
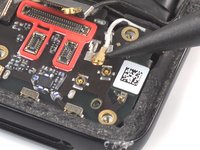
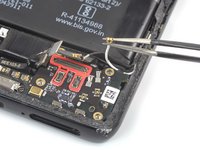
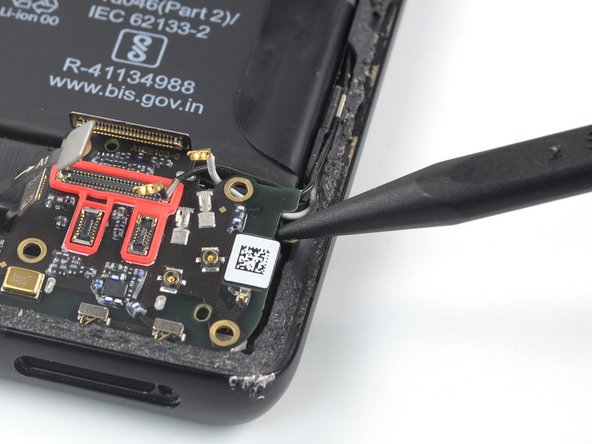
Use the pointed end of a spudger to disconnect the white antenna cable by prying the connector straight up from its socket on the motherboard.
-
Use a pair of tweezers or your fingers to lift the white antenna cable out of its clip on the daughterboard.
-
During reassembly, make sure the antenna cables are pushed into their channels on the right edge of the phone before pressing them into their respective clips.
-
-
-
Use a Phillips driver to remove the single 3.3 mm-long screw securing the daughterboard.
-
-
-
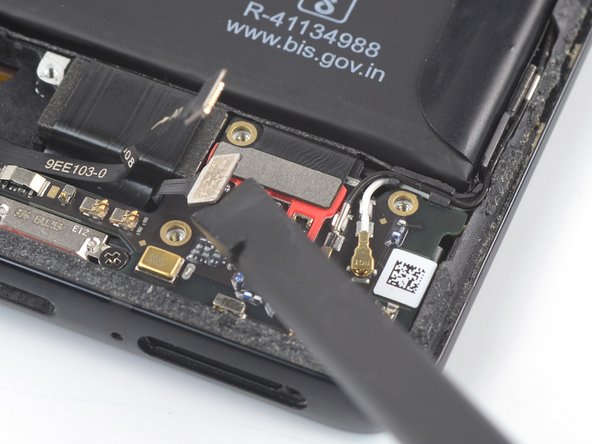
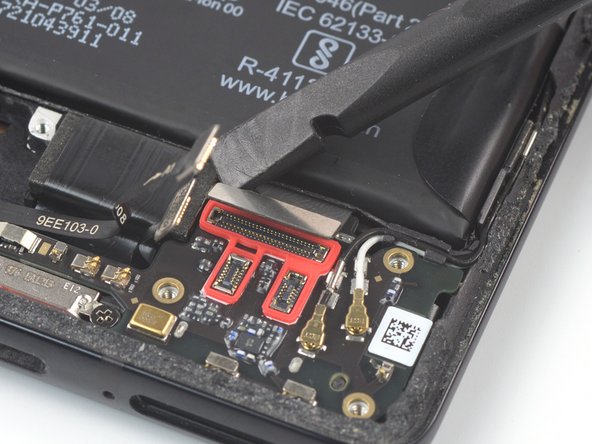
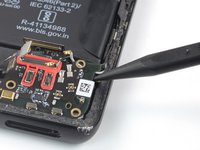
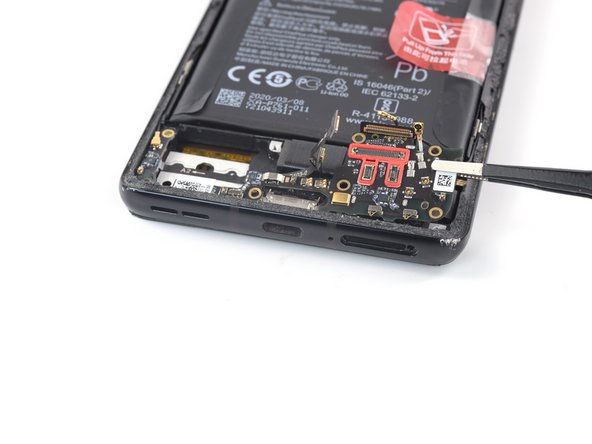
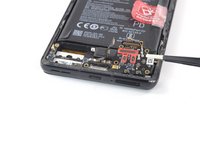
Insert the point of a spudger under the top right corner of the daughterboard.
-
Pry up the daughterboard.
-
-
-
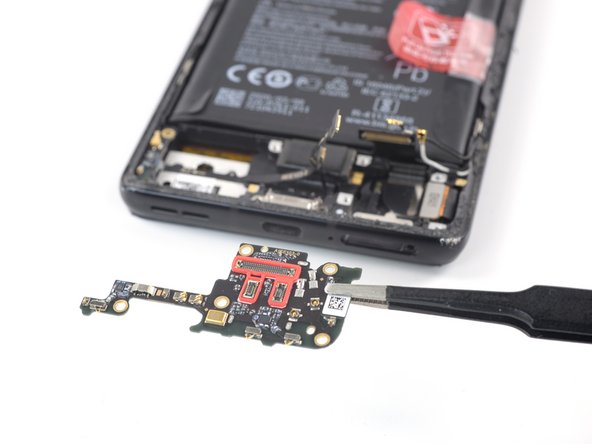
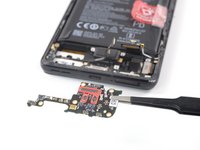
Use a pair of tweezers or your fingers to remove the daughterboard.
-
To reassemble your device, follow these instructions in reverse order.
Take your e-waste to an R2 or e-Stewards certified recycler.
Repair didn’t go as planned? Try some basic troubleshooting, or ask our Answers community for help.
crwdns2935221:0crwdne2935221:0
crwdns2935229:03crwdne2935229:0
crwdns2947410:01crwdne2947410:0
I have conducted small Board match main board and it shows " Board A" match failed. What is board A?


