crwdns2933423:0crwdne2933423:0
crwdns2947577:0crwdnd2947577:0crwdne2947577:0

Nintendo Game Boy Advance SP Bottom Shell Replacement

crwdns2942213:0crwdne2942213:0

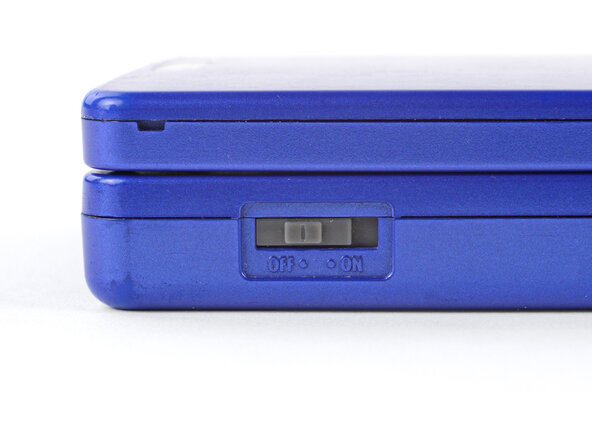
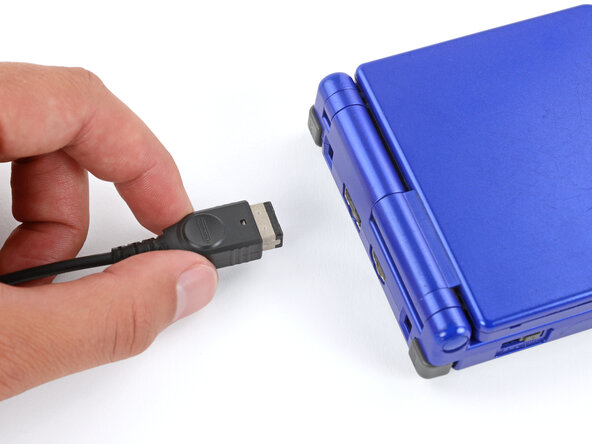
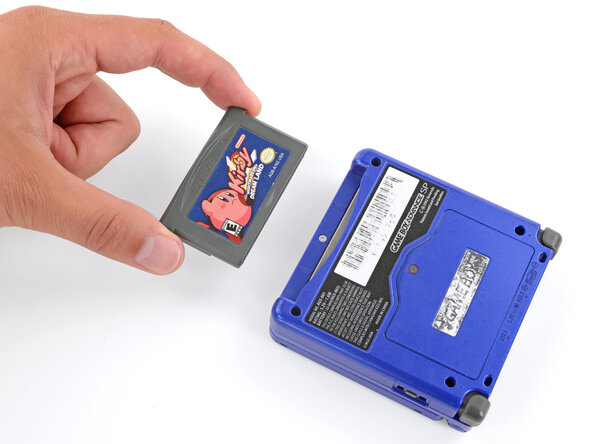
    1. Nintendo Game Boy Advance SP Bottom Shell Replacement, Prepare your Game Boy for disassembly: crwdns2935265:01crwdnd2935265:01crwdnd2935265:03crwdne2935265:0 Nintendo Game Boy Advance SP Bottom Shell Replacement, Prepare your Game Boy for disassembly: crwdns2935265:01crwdnd2935265:02crwdnd2935265:03crwdne2935265:0 Nintendo Game Boy Advance SP Bottom Shell Replacement, Prepare your Game Boy for disassembly: crwdns2935265:01crwdnd2935265:03crwdnd2935265:03crwdne2935265:0
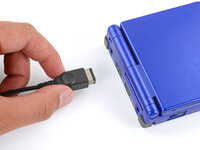
      • Slide the power switch to the OFF position and unplug any cables.

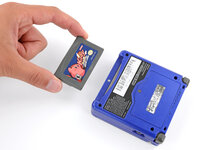
      • If you have a game cartridge in, remove it.

      crwdns2952109:0crwdne2952109:0

      crwdns2917038:0crwdne2917038:0

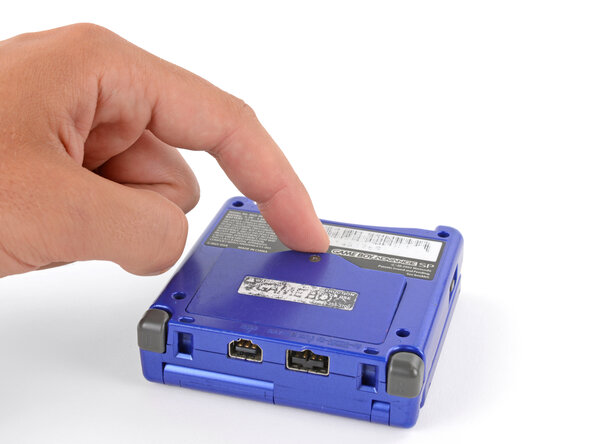
    2. Nintendo Game Boy Advance SP Bottom Shell Replacement, Remove the battery cover: crwdns2935265:02crwdnd2935265:01crwdnd2935265:02crwdne2935265:0 Nintendo Game Boy Advance SP Bottom Shell Replacement, Remove the battery cover: crwdns2935265:02crwdnd2935265:02crwdnd2935265:02crwdne2935265:0
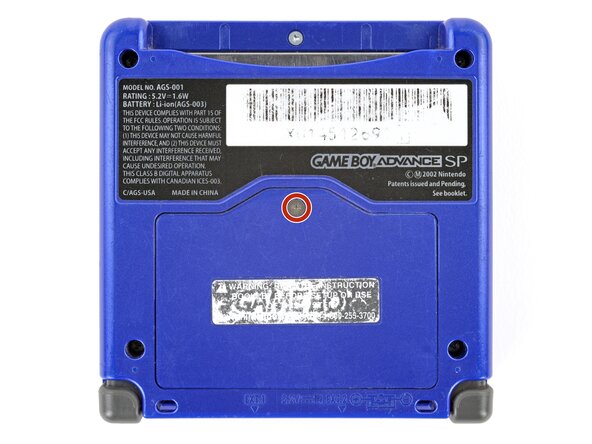
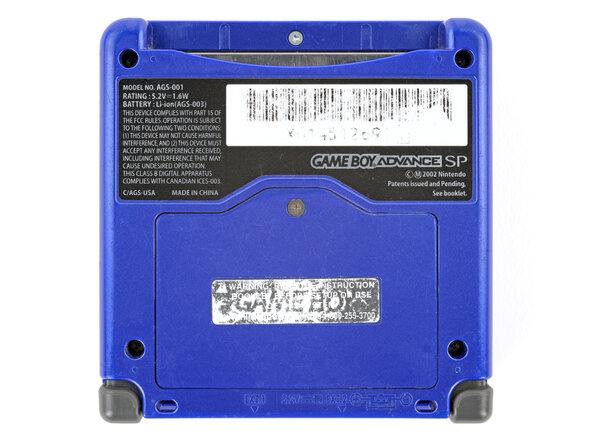
      • Use a JIS 00 screwdriver to loosen the captive screw securing the battery cover.

      • You can try to use a non-iFixit Phillips driver in a pinch, but you risk damaging or stripping the screw. Push down firmly on the driver and twist slowly.

      crwdns2952109:0crwdne2952109:0

      crwdns2917038:0crwdne2917038:0

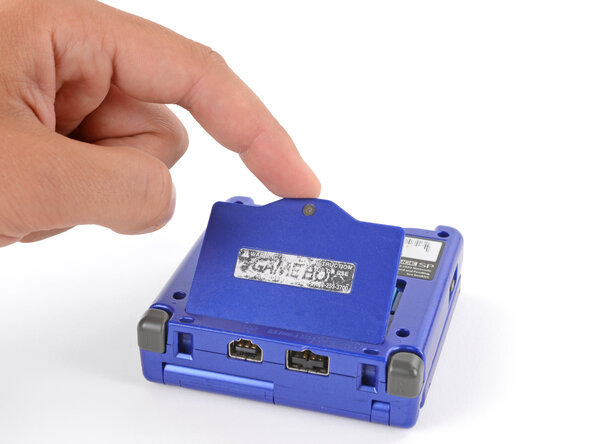
    3. Nintendo Game Boy Advance SP Bottom Shell Replacement: crwdns2935265:03crwdnd2935265:01crwdnd2935265:03crwdne2935265:0 Nintendo Game Boy Advance SP Bottom Shell Replacement: crwdns2935265:03crwdnd2935265:02crwdnd2935265:03crwdne2935265:0 Nintendo Game Boy Advance SP Bottom Shell Replacement: crwdns2935265:03crwdnd2935265:03crwdnd2935265:03crwdne2935265:0
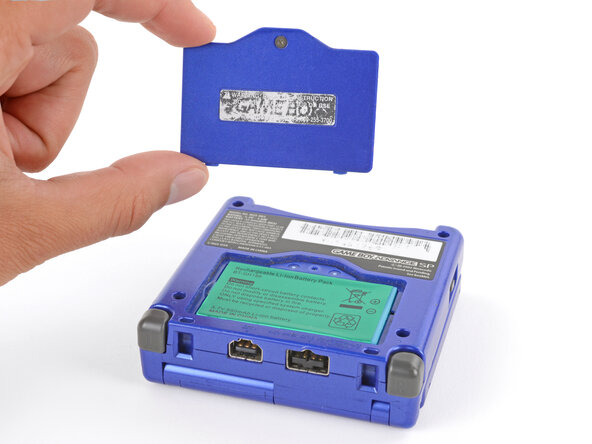
      • Lift the edge of the cover near the screw and remove the cover.

      • During reassembly, hook the tabs on the bottom edge of the cover into their slots and lay the cover into place.

      crwdns2952109:0crwdne2952109:0

      crwdns2917038:0crwdne2917038:0

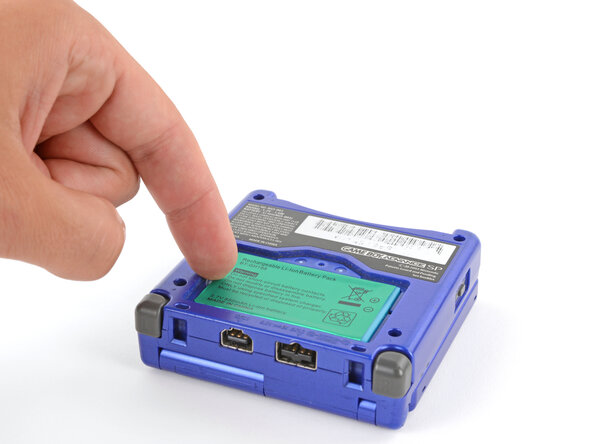
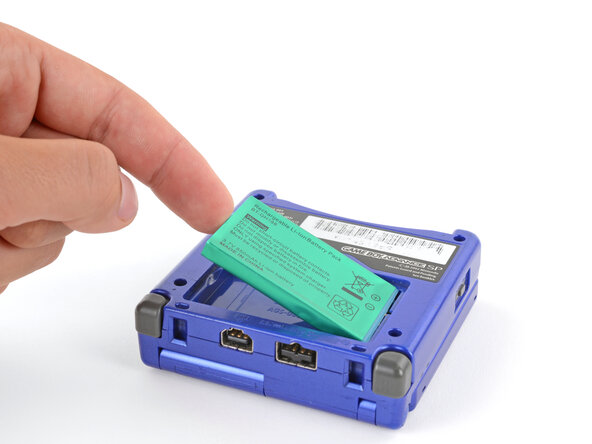
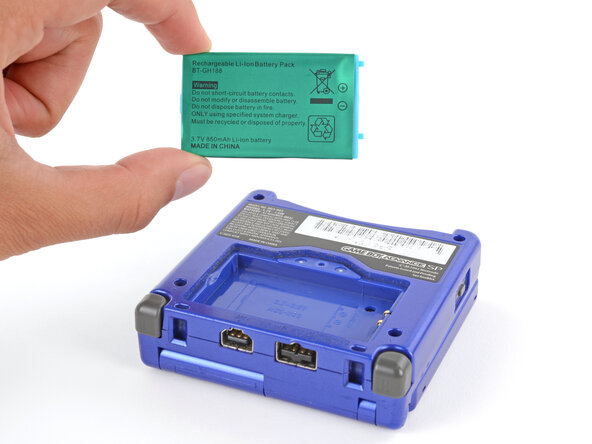
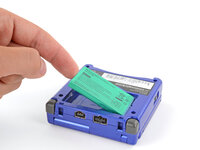
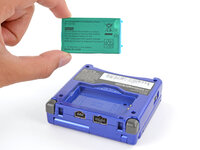
    4. Nintendo Game Boy Advance SP Bottom Shell Replacement, Remove the battery: crwdns2935265:04crwdnd2935265:01crwdnd2935265:03crwdne2935265:0 Nintendo Game Boy Advance SP Bottom Shell Replacement, Remove the battery: crwdns2935265:04crwdnd2935265:02crwdnd2935265:03crwdne2935265:0 Nintendo Game Boy Advance SP Bottom Shell Replacement, Remove the battery: crwdns2935265:04crwdnd2935265:03crwdnd2935265:03crwdne2935265:0
      • Use your finger to lift the battery by the tab on its left edge, then remove it.

      • During reassembly:

      • Never reuse a deformed or damaged battery—it's a fire hazard. Replace it with a new battery.

      • Your replacement battery may come with a plastic enclosure that slides over the battery.

      • Insert the edge of the battery with contacts at a slight downward angle—aligning the contacts with their prongs in the recess—and press the battery into place.

      crwdns2952109:0crwdne2952109:0

      crwdns2917038:0crwdne2917038:0

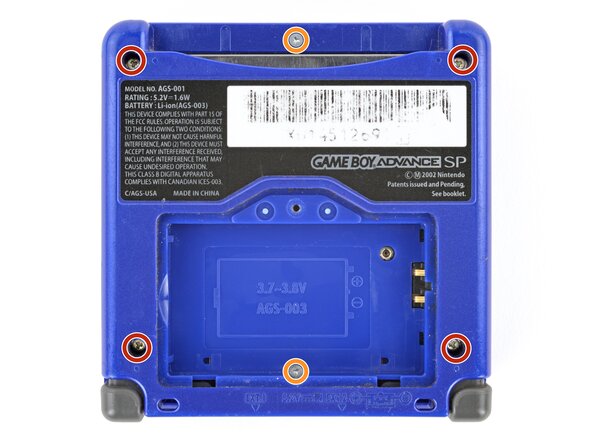
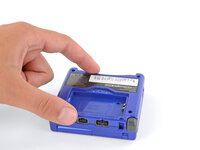
    1. Nintendo Game Boy Advance SP Bottom Shell Replacement, Remove the bottom shell: crwdns2935265:05crwdnd2935265:01crwdnd2935265:02crwdne2935265:0 Nintendo Game Boy Advance SP Bottom Shell Replacement, Remove the bottom shell: crwdns2935265:05crwdnd2935265:02crwdnd2935265:02crwdne2935265:0
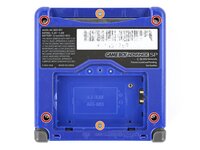
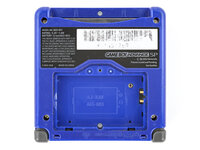
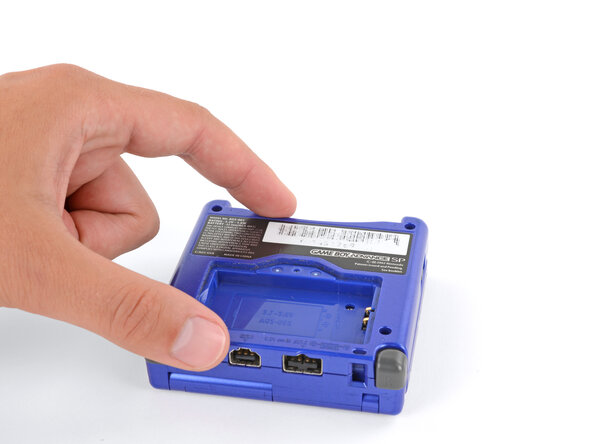
      • Use a tri‑point Y0 screwdriver to remove the six screws securing the bottom shell:

      • Four 6.3 mm‑long recessed screws

      • Two 4.6 mm‑long screws

      crwdns2952109:0crwdne2952109:0

      crwdns2917038:0crwdne2917038:0

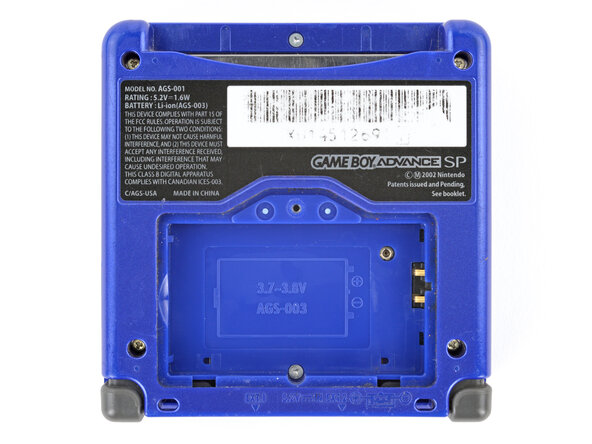
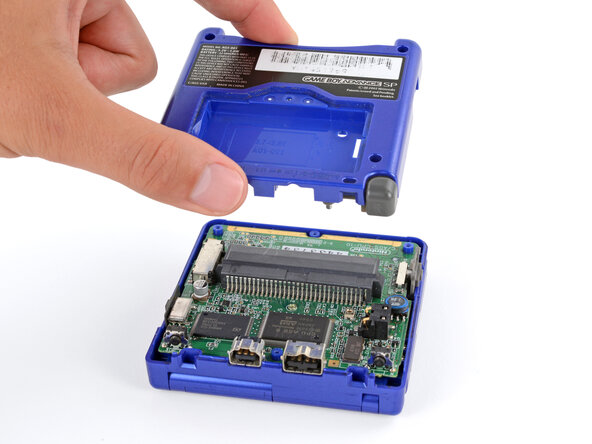
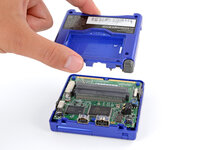
    2. Nintendo Game Boy Advance SP Bottom Shell Replacement: crwdns2935265:06crwdnd2935265:01crwdnd2935265:02crwdne2935265:0 Nintendo Game Boy Advance SP Bottom Shell Replacement: crwdns2935265:06crwdnd2935265:02crwdnd2935265:02crwdne2935265:0
      • Lift the bottom shell straight up and remove it.

      crwdns2952109:0crwdne2952109:0

      crwdns2917038:0crwdne2917038:0

crwdns2915888:0crwdne2915888:0

To reassemble your device, follow these instructions in reverse order.

Take your e-waste to an R2 or e-Stewards certified recycler.

Repair didn’t go as planned? Try some basic troubleshooting, or ask our Answers Community for troubleshooting help.

crwdns2935221:0crwdne2935221:0

crwdns2935229:022crwdne2935229:0

Spencer Day

crwdns2935283:009/14/22crwdne2935283:0

200,085 crwdns2915208:0crwdne2915208:0

crwdns2935297:01,243crwdne2935297:0

crwdns2947412:00crwdne2947412:0

crwdns2917038:0crwdne2917038:0

crwdns2936625:0crwdne2936625:0:

crwdns2936751:024crwdne2936751:0 14

crwdns2936753:07crwdne2936753:0 66

crwdns2936753:030crwdne2936753:0 233

crwdns2942667:0crwdne2942667:0 39,425