crwdns2915892:0crwdne2915892:0
Use this guide to remove and replace a dead or low battery in a Motorola Moto Z3 Play. If your battery is swollen, take appropriate precautions.
Before you begin, download the Rescue and Smart Assistant app to backup your device and diagnose whether your problem is software or hardware related.
Warning: Because of the strong adhesive securing the display, minimal clearance for inserting your tools, and high heat required, there's a good chance of accidentally damaging the display during this procedure. If you're replacing the display anyway, then you don't have to worry—but for all other repairs, work very carefully, and be prepared to replace the display afterward if necessary.
crwdns2942213:0crwdne2942213:0
-
-
If possible, drain the battery before disassembly. When the battery is charged, there's increased risk of a dangerous thermal event if the battery is overheated or damaged during repairs.
-
If your display is cracked, completely cover it with packing tape to contain the glass shards and avoid injury.
-
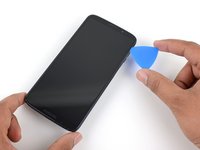
Prepare an iOpener and heat the front of the phone along its right edge for about two minutes, or until it's slightly too hot to touch. This will help soften the adhesive securing the display.
-
-
-
In the following steps, you will separate the display assembly from the Moto Z3 Play's chassis.
-
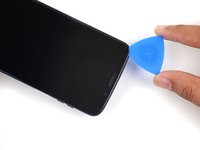
If you plan to re-use the display assembly, pay particular attention to the side edges. When slicing through the glue in this area, you must be careful to insert your tool less than ~1.5 mm, or your tool will come in contact with the LCD and damage it.
-
Take special care when cutting near the display cable. If you pry too deep or too forcefully, it is very easy to damage the cable. If you encounter extra resistance around this area, do not try to force the pick forward. Pull it out and reinsert it on the other side of the display cable before you continue cutting.
-
-
-
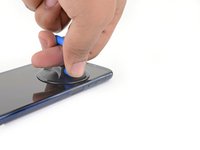
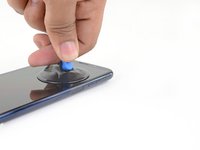
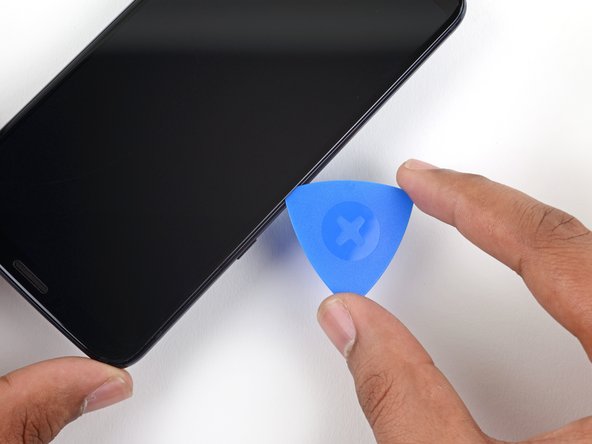
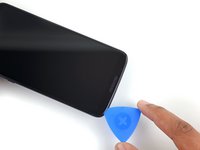
Apply a suction cup to the display, near the middle of the right edge.
-
Pull up on the suction cup with firm, constant pressure to create a slight gap between the display and rear case.
-
This may require a significant amount of force, but you only need to open a very slight gap with the suction cup to insert your tool.
-
If you have trouble, apply more heat to further soften the adhesive, and try again. The adhesive cools quickly, so you may need to heat it repeatedly.
-
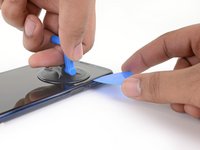
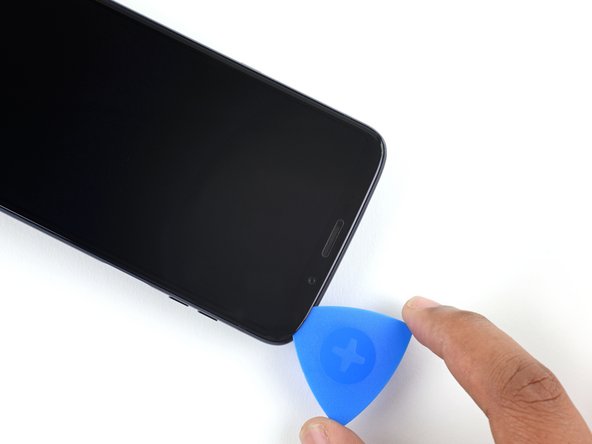
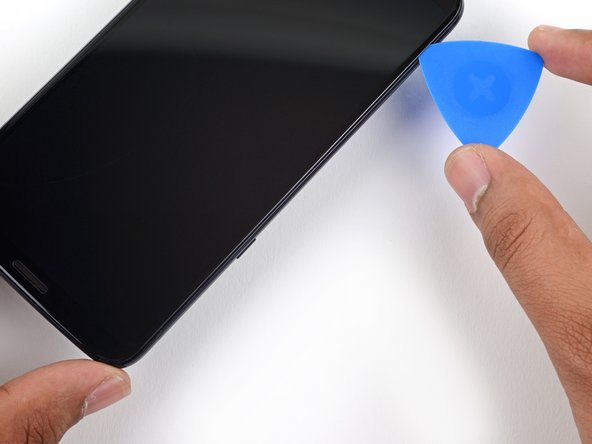
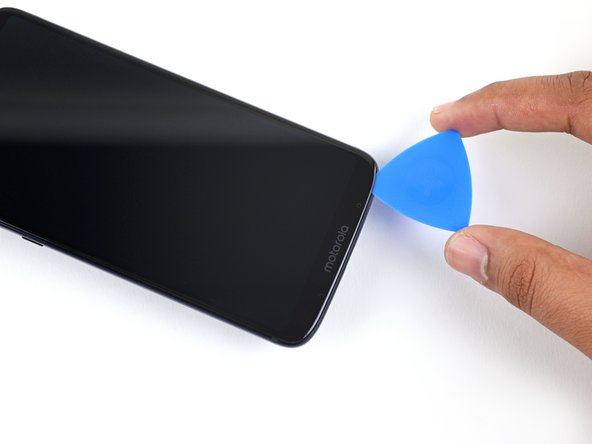
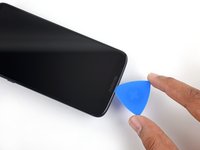
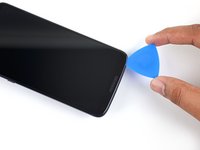
Insert an opening pick (or playing card) into the gap you opened behind the display.
-
-
-
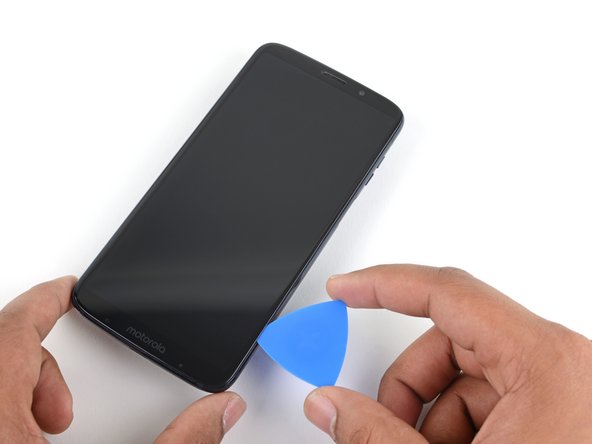
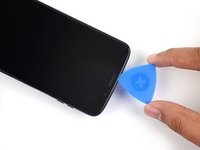
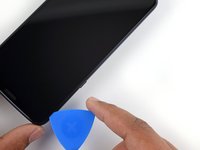
Slide the tool all along the right edge of the phone to slice through the adhesive securing the display.
-
-
-
Heat the upper edge of the display to soften the adhesive underneath.
-
-
-
Slide your tool underneath the top bezel to separate the glue.
-
-
-
Heat the left edge of the phone to soften the adhesive securing the left edge of the display.
-
-
-
Slide your tool along the left edge of the phone to separate the glue securing the display.
-
-
-
Heat the bottom edge of the phone to soften the adhesive securing the bottom of the display.
-
-
-
-
Slice through the glue under the lower bezel.
-
-
-
If the display remains stuck, re-heat and slice the adhesive repeatedly as needed.
-
Lift the display from the right edge and swing it open, away from the phone. The display is still attached to the phone chassis at the lower left edge, so do not fully remove it yet.
-
-
-
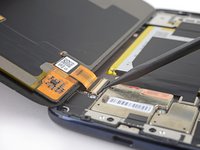
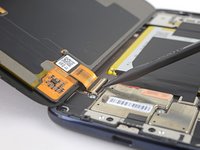
Use the point of a spudger to pry up the locking tab on the display cable's ZIF connector.
-
-
-
Gently lift the display, making sure the display cable slides smoothly out of its socket.
-
Remove the display assembly.
-
-
crwdns2935267:0crwdne2935267:0Tweezers$4.99
-
Use tweezers to peel up the black tape covering the battery connector and battery.
-
-
-
Use tweezers to peel off and remove the red tape covering the battery connector.
-
-
-
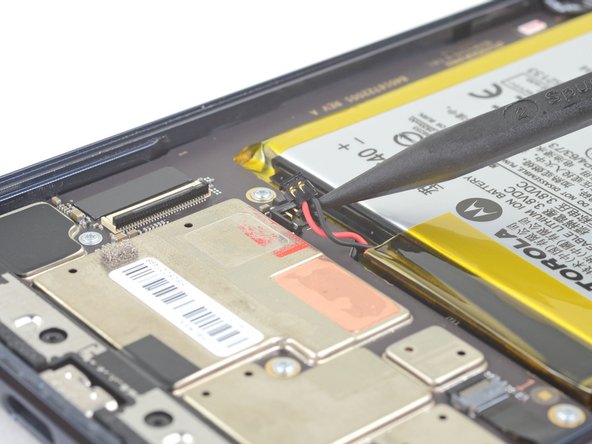
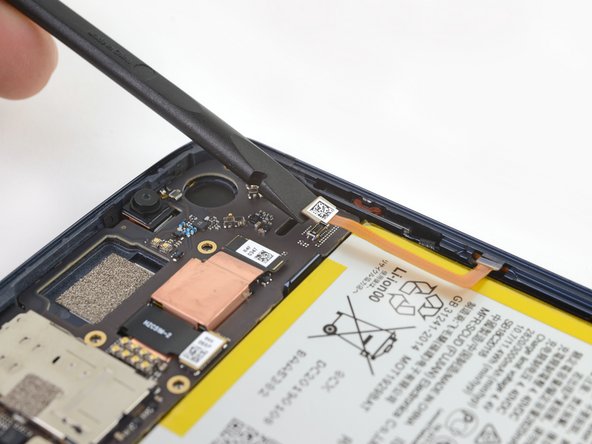
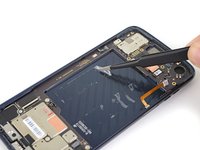
Use the point of a spudger to pry the battery connector straight up and disconnect it.
-
-
-
Use tweezers to peel up and remove the black tape at the bottom of the battery.
-
-
-
There may two pieces of silver tape covering screws in the top corners of the device. If this is the case, carefully peel the tape back to access the screws, and replace it during reassembly.
-
-
-
Remove six 3 mm-long T3 Torx screws securing the earpiece assembly.
-
-
-
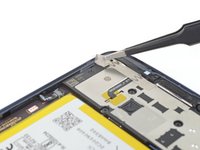
Insert the point of a spudger into the small rectangular opening on the right edge of the earpiece speaker and sensor assembly.
-
Use the spudger to pry the assembly up and release the clips securing it to the phone chassis.
-
-
-
Remove the earpiece speaker and sensor assembly.
-
-
-
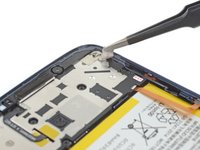
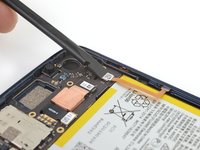
Use the flat end of a spudger to lift the fingerprint sensor connector straight up and out of its socket.
-
-
-
Use tweezers to gently bend the cable toward the edge of the phone so it is out of the way of the battery.
-
-
-
Apply a freshly heated iOpener to the back of the phone directly behind the battery for two minutes to help soften the adhesive. Re-heat and reapply the iOpener as necessary.
-
Alternatively, apply high-concentration (>90%) isopropyl alcohol under the edge of the battery to weaken the adhesive underneath.
-
Let the phone sit for several minutes to allow the alcohol to penetrate and weaken the adhesive.
-
-
crwdns2935267:0crwdne2935267:0Plastic Cards$2.99
-
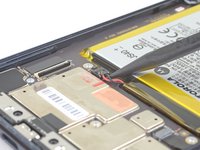
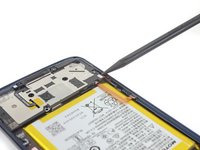
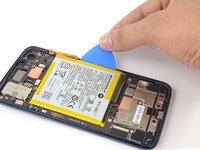
Insert an opening pick or a plastic card along the edge of the battery.
-
Apply steady, even pressure to slowly lever the battery up and out of the phone.
-
If necessary, use several rounds of heating or alcohol, and pressure to slowly weaken the adhesive, and the battery will begin to separate.
-
-
crwdns2935267:0crwdne2935267:0Tesa 61395 Tape$5.99
-
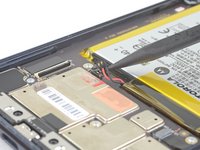
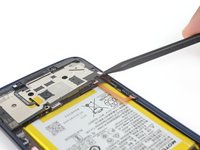
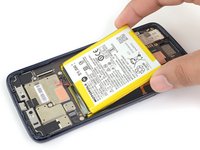
Continue pulling up the battery until all the adhesive releases from the rear case.
-
Remove the battery.
-


Compare your new replacement part to the original part—you may need to transfer remaining components or remove adhesive backings from the new part before installing.
To reassemble your device, follow the above steps in reverse order.
For optimal performance, calibrate your newly installed battery: Charge it to 100%, and keep charging it for at least two more hours. Then, use it until it shuts off due to low battery. Finally, charge it uninterrupted to 100%.
Take your e-waste to an R2 or e-Stewards certified recycler.
Repair didn’t go as planned? Check out our Answers community for troubleshooting help.
crwdns2935221:0crwdne2935221:0
crwdns2935229:07crwdne2935229:0

crwdns2947410:01crwdne2947410:0
Thank you for the tutorial. I was able to successfully replace the original swollen battery and everything is working great. HOWEVER… in step 20 I was unable to pry up the sensor assembly, as it was requiring more force than I was comfortable applying. So I couldn’t disconnect the fingerprint sensor ribbon cable, and had to VERY CAREFULLY loosen the battery using heat and alcohol without breaking the ribbon.
All’s well that ends well, but is there a trick to to getting that sensor assembly out? Is there maybe some glue under it? I got all six screws out but it was flexing way too much when I tried to pry it out.