crwdns2915892:0crwdne2915892:0
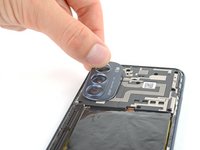
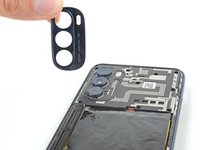
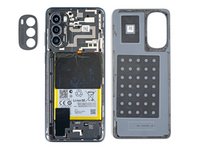
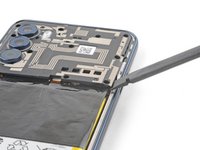
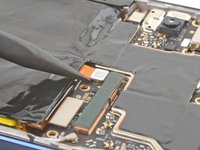
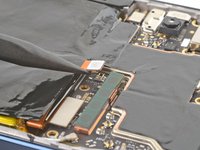
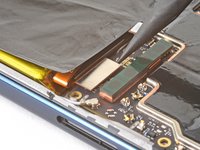
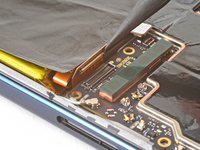
Use this guide to replace the motherboard in your 2022 Motorola Moto G Stylus 2022. This process involves removing the motherboard from the phone and stripping it of its accessory parts.
Before you begin, download the Software Fix app to backup your device and diagnose whether your problem is software or hardware related.
crwdns2942213:0crwdne2942213:0
-
-
Insert a SIM card eject tool or a straightened paperclip into the hole adjacent to the SIM card tray.
-
Press firmly to eject the tray.
-
-
-
Grab and remove the SIM card tray from the phone.
No quiere leer el chip
If your phone isn't reading the SIM card, there could be issues with your phone provider, or a physical issue with the card reader in the phone. If you can guarantee that your SIM card is activated and works (try putting it in a different phone to test), then the issue could be that either your phone is licensed for a different carrier than your SIM card is, or your physical SIM card reader is damaged.
-
-
-
Heat an iOpener and apply it to the edge of the back cover with the SIM card slot for two minutes.
How long do I needed heated
If you're using an iOpener, apply it for two minutes. If you're using a hair dryer or heat gun, only heat it until the cover is warm to the touch.
-
-
-
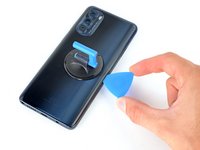
Apply a suction cup to the back cover, as close to the center of the right edge as possible.
-
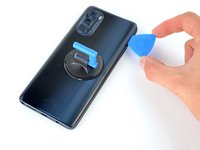
Pull up on the suction cup with strong, steady force to create a gap between the cover and the frame.
-
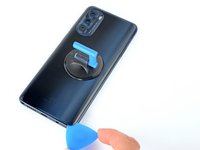
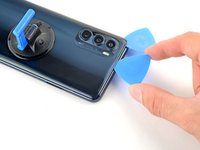
Insert an opening pick into the gap.
-
-
-
Slide your opening pick back and forth along the right edge to slice through the adhesive.
-
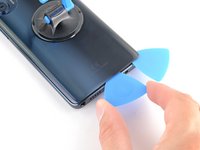
Leave the pick in at the bottom right corner to prevent the adhesive from resealing.
-
-
-
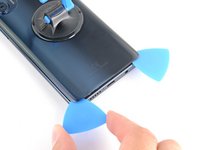
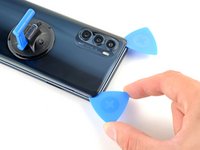
Insert a second opening pick into the bottom right corner.
-
Slide this opening pick along the bottom edge to the bottom left corner to slice through the adhesive.
-
Leave the pick inserted to prevent the bottom edge from resealing.
-
-
-
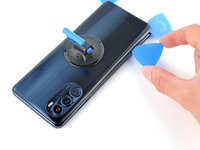
Insert a third opening pick into the bottom right corner.
-
Slide this opening pick along the left edge to slice the adhesive.
-
Leave the pick inserted in the top left corner to prevent the left edge from resealing.
-
-
-
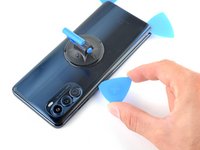
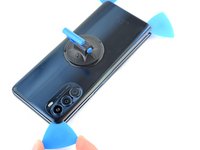
Insert a fourth pick into the top left corner.
-
Slide the pick to the top right corner to slice the top adhesive.
-
-
-
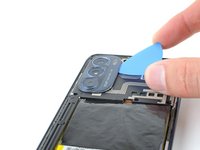
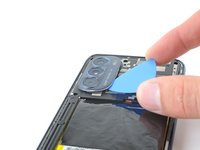
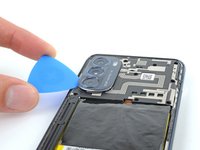
Slide an opening pick between the camera bezel and the back cover.
-
Slide the opening pick around the camera bezel to separate the back cover from the frame.
-
-
-
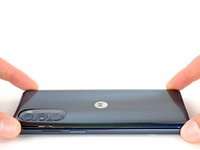
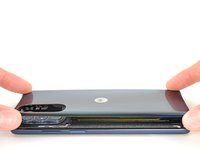
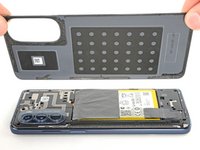
Grab and remove the back cover by lifting it away from the phone.
-
To adhere the back cover with custom-cut adhesives, follow this guide.
-
To adhere the back cover with tape, follow this guide.
Could this kit POSSIBLY be used with the Motorola Moto G Stylus (2022) NON-5G model? They seem to have the same battery even though there are some slight differences in the internal hardware.
-
-
-
Heat an iOpener and apply it to the camera bezel for two minutes.
-
-
-
-
Insert an opening pick under the camera bezel.
-
Slide the pick around the perimeter of the bezel to slice the adhesive.
-
-
-
Grab and remove the camera bezel.
-
This is a good point to test your phone before sealing it up. Follow this guide to perform a hardware test. Be sure to power your phone back down completely before you continue working.
-
To adhere the camera bezel with custom-cut adhesives, follow this guide.
-
To adhere the camera bezel with tape, follow this guide.
-
-
-
Use a Phillips screwdriver to remove the eleven 4.1 mm-long screws securing the motherboard cover.
-
-
-
Insert a spudger between the bottom right corner of the cover and the frame.
-
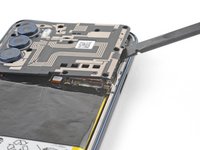
Pry up to release the clips securing the cover.
-
Slide the spudger toward the top of the cover and pry to release the right edge.
-
-
-
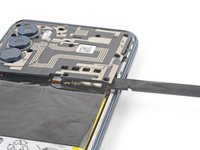
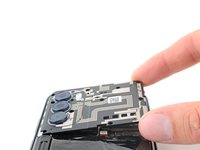
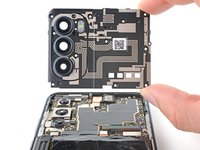
Grip the right edge of the cover and pull it off the motherboard.
-
-
-
Use the point of a spudger to pry up the battery's press connector.
-
-
-
Use the pointed end of your spudger to pry and disconnect the display's press connector.
-
-
-
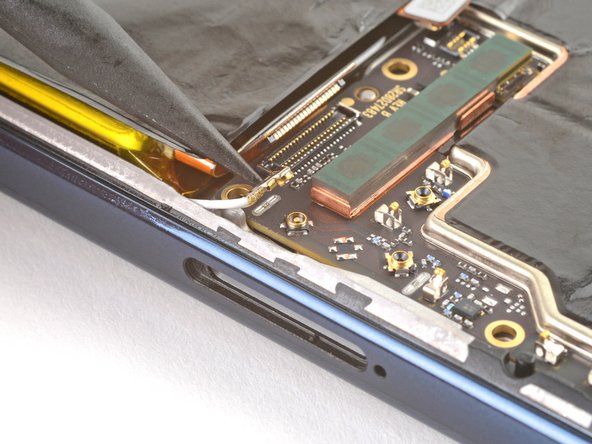
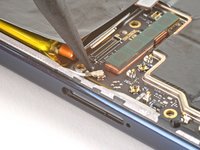
Use the pointed end of your spudger to pry and disconnect the white antenna cable.
Go ahead and reemplace it for a new One please
what do u do if the socket comes off with it
-
-
-
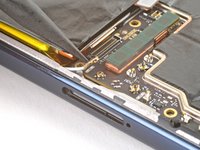
Use the pointed end of a spudger to pry up and disconnect the board cable's press connector.
-
-
-
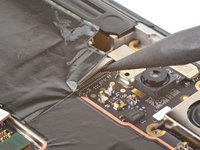
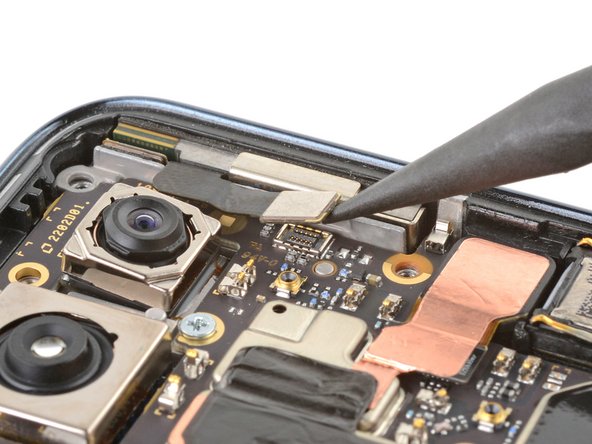
Use the pointed end of a spudger to pry up and disconnect the 5G mmWave antenna's press connector.
MY phone does not have a 5G antenna? is it not capable of 5G?
-
-
-
Use your Phillips screwdriver to remove the 3 mm-long screw securing the motherboard.
-
-
-
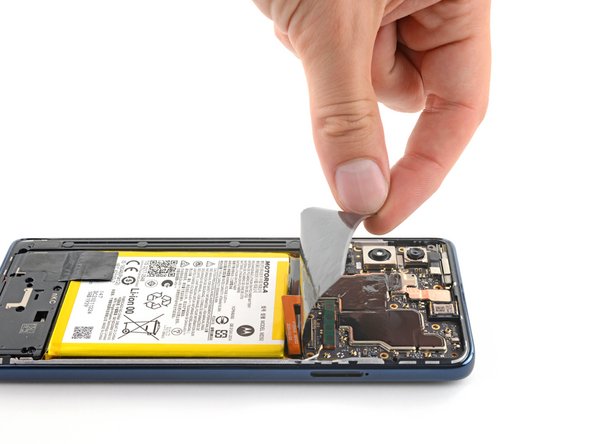
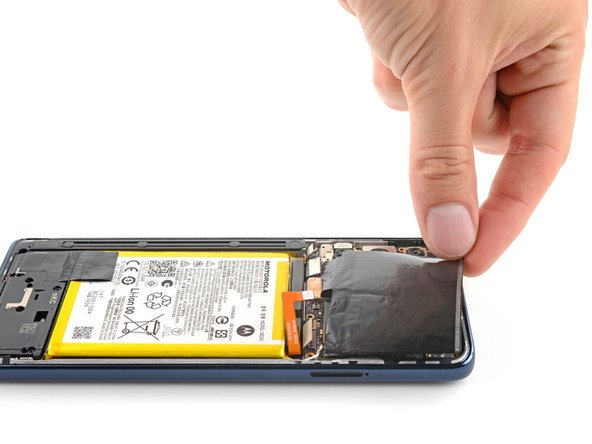
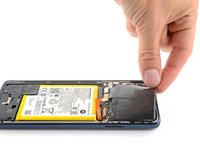
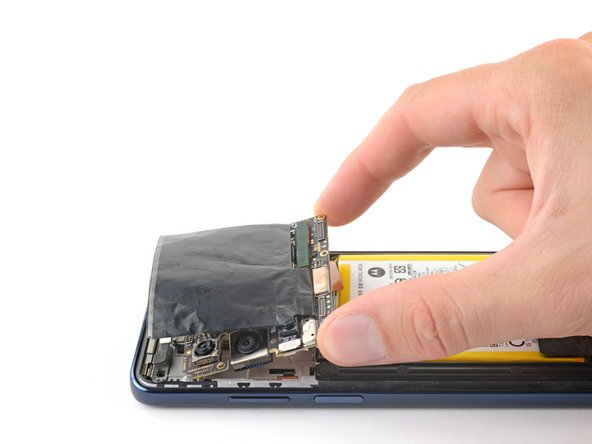
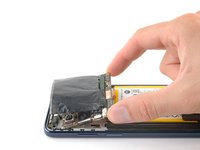
Lift and fold the graphite film off the battery and flip it onto the motherboard.
-
-
-
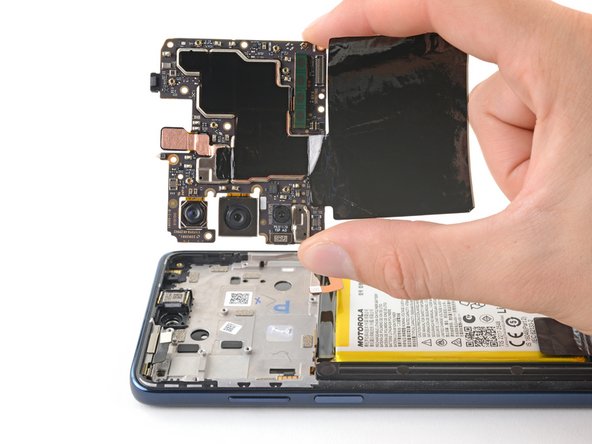
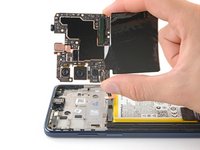
Grab the motherboard from the bottom edge and lift it from its recess.
Sent me the best with olenti if memory to storage my money my values updates upgrades ercetc
-
-
crwdns2935267:0crwdne2935267:0Tweezers$4.99
-
Flip the motherboard over so the rear cameras are faced down.
-
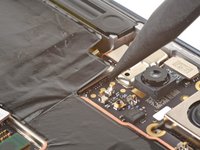
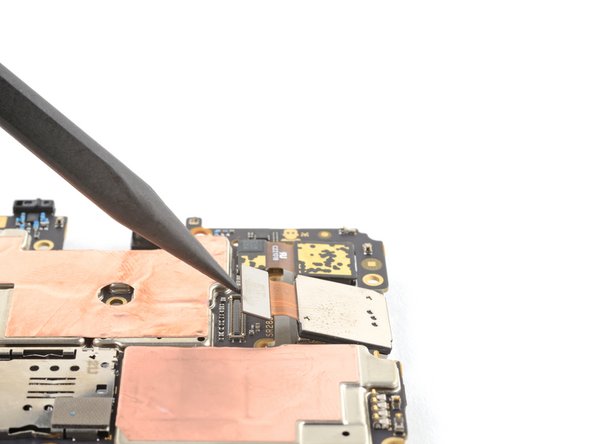
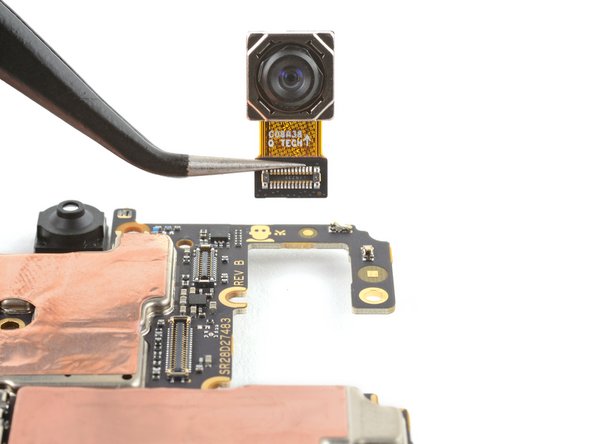
Use the point of a spudger to pry and disconnect the main camera's press connector.
-
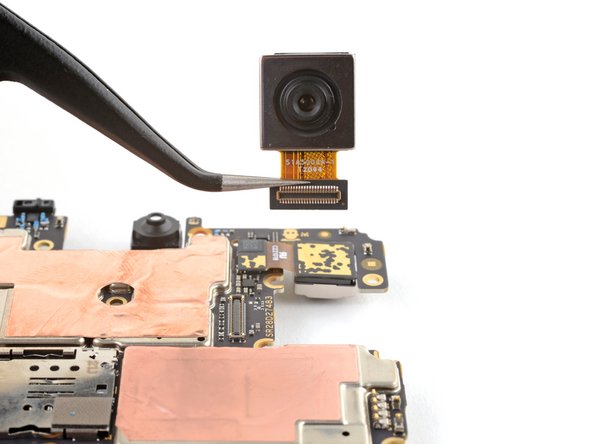
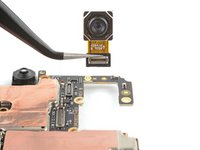
Use a pair of tweezers or your fingers to grab and remove the camera.
-
-
-
Use the point of a spudger to pry and disconnect the macro camera's press connector.
-
Grab and remove the camera.
-
-
-
Use the point of a spudger to pry and disconnect the depth camera's press connector.
-
Grab and remove the camera.
-
-
crwdns2935267:0crwdne2935267:0Tweezers$4.99
-
Flip the motherboard over again so that the graphite film is facing upwards.
-
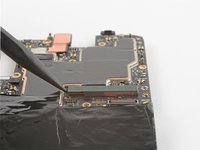
Insert a spudger between the left side of the 5G mmWave antenna and the motherboard.
-
Pry up to disconnect the press connector.
-
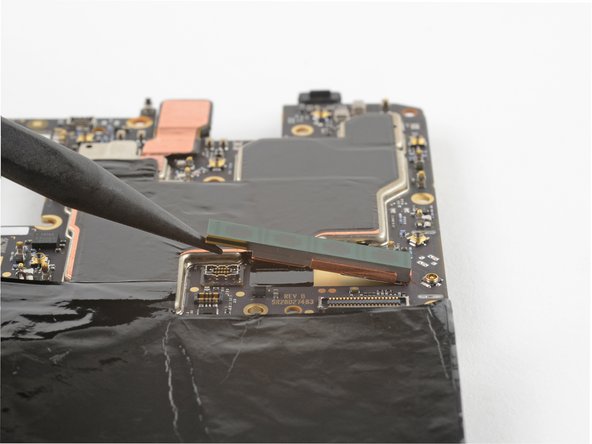
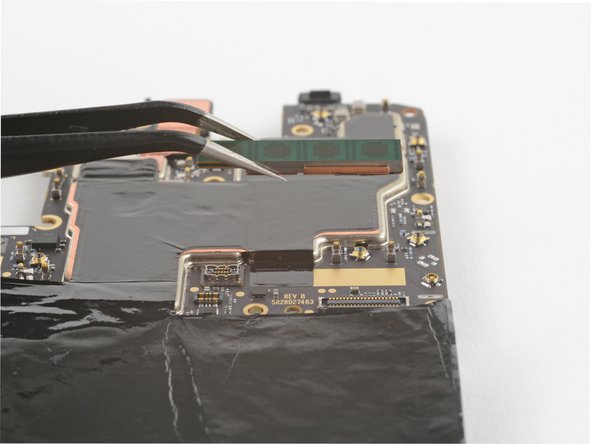
Use a pair of tweezers or your fingers to grab and remove the 5G mmWave antenna.
-
-
-
Heat an iOpener and apply it to the front-facing camera for two minutes.
-
-
-
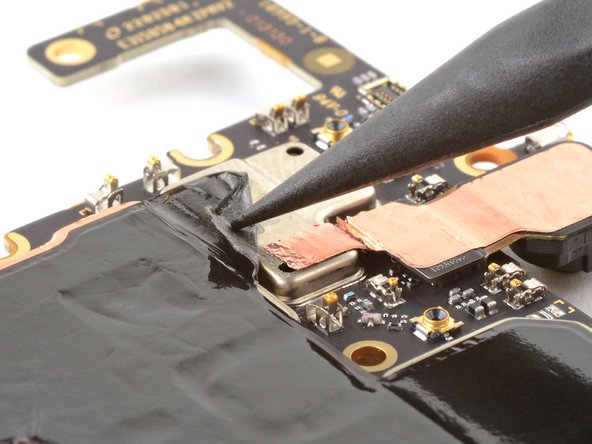
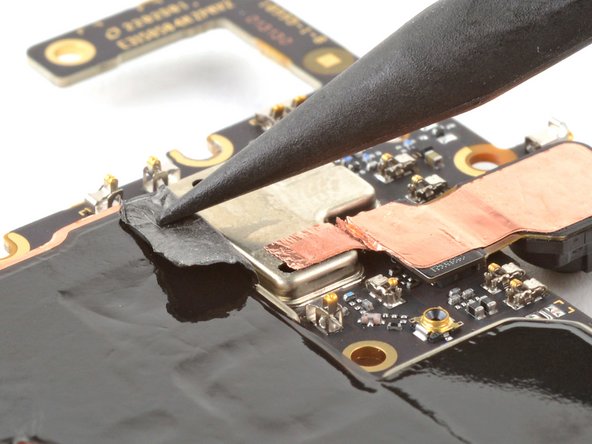
Use the point of a spudger to lift the graphite film near the front-facing camera.
-
Peel the graphite film and fully expose the front-facing camera's copper tape.
-
-
-
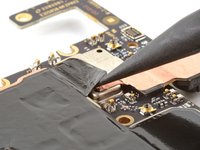
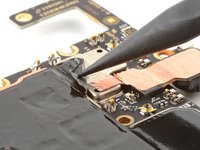
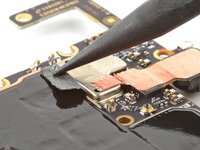
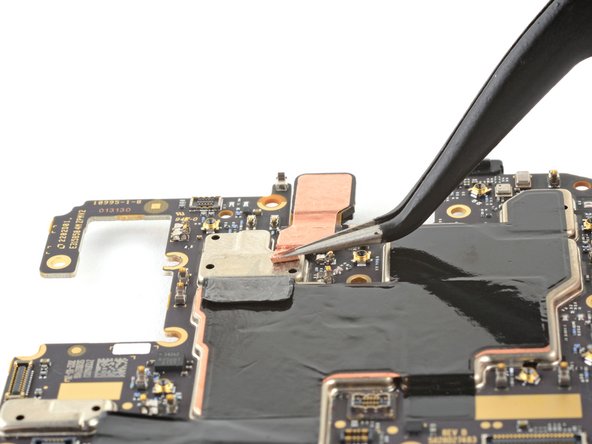
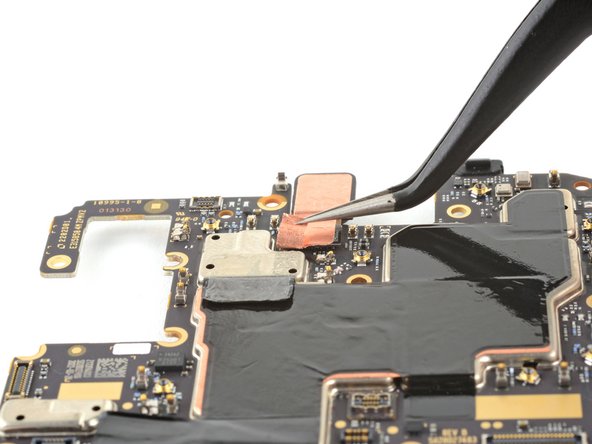
Use the tips of your tweezers to lift a corner of the front-facing camera's copper tape.
-
Grab and peel the copper tape from the motherboard.
-
-
-
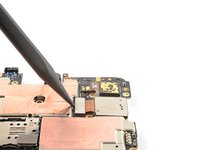
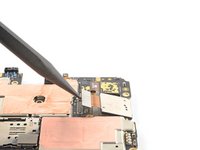
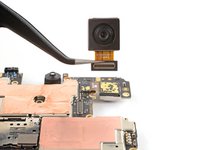
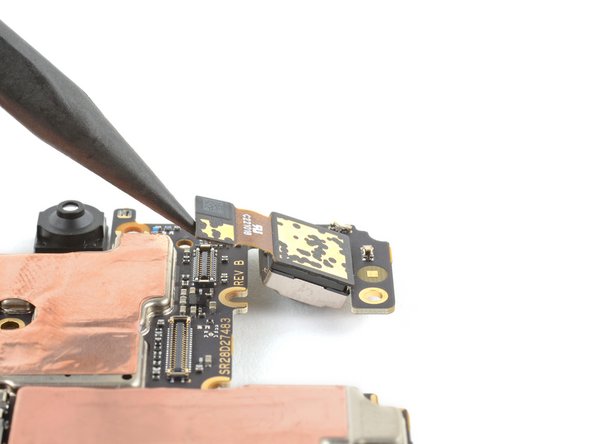
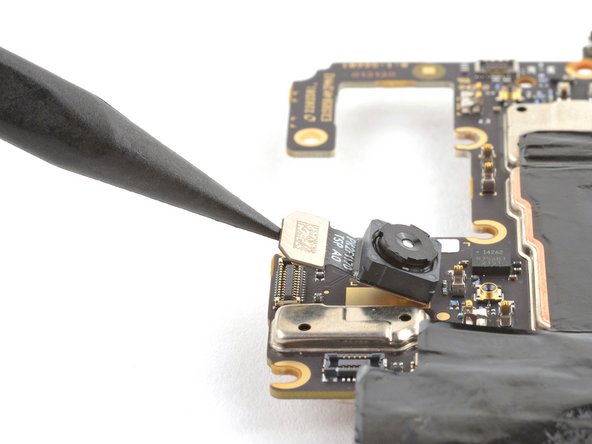
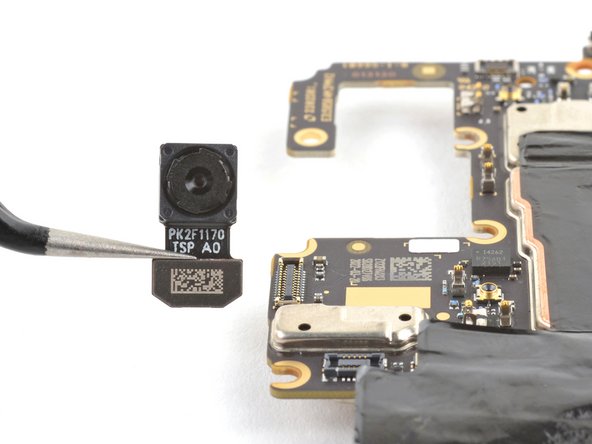
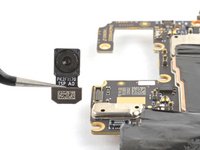
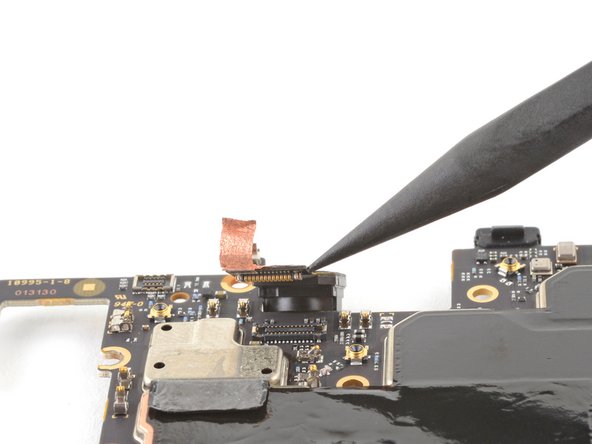
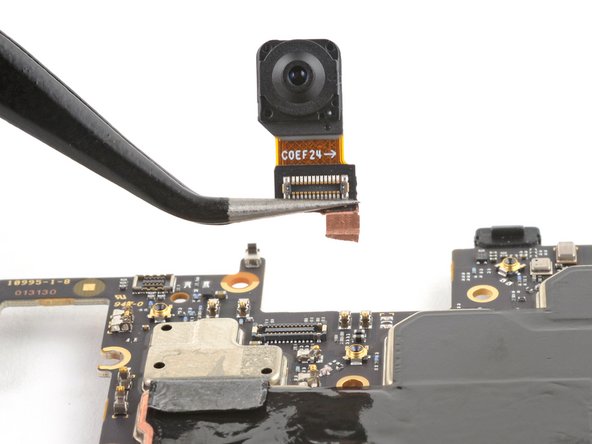
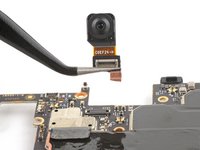
Use the point of a spudger to pry and disconnect the front-facing camera's press connector.
-
Remove the camera with your fingers or a pair of tweezers.
-
-
-
The motherboard is all that remains.
-
Compare your new replacement part to the original part—be sure to transfer remaining components and remove adhesive backings from the new part before installing.
To reassemble your device, follow these instructions in reverse order.
Take your e-waste to an R2 or e-Stewards certified recycler.
Repair didn’t go as planned? Try some basic troubleshooting, or ask our Answers community for help.
crwdns2935221:0crwdne2935221:0
crwdns2935229:03crwdne2935229:0
crwdns2947412:02crwdne2947412:0
Will replacing the mother board get rid of the FRP lock
Thank you for a very disruptive step by step information hey help me achieve the confidence I needed to complete the task effortlessly thank you again.A+ keep it up.


