crwdns2915892:0crwdne2915892:0
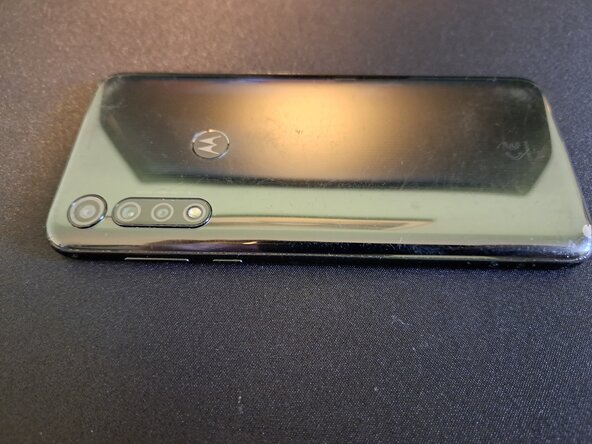
This guide is applicable to the American Motorola Moto G Power (2020), or internationally known as Motorola Moto G8 Power. The model repaired in this guide was the XT2041-4.
crwdns2942213:0crwdne2942213:0
-
-
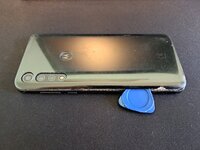
Insert a thin tool between the back panel and the rear part of the plastic frame. When a big enough gap is made, insert a plastic tool (like a plastic pick) to avoid damaging the soft plastic frame/back panel.
-
Run the plastic tool around the perimeter of the phone to loosen the adhesive all around, there is adhesive around the cameras as well. Be careful to not damage the phone's back panel's paint as I did (bottom left corner of phone, bottom right from picture angle).
-
Heat can aid in weakening the adhesive holding the back panel in place. A heat plate or iOpener can be used along with a suction cup to pull the back panel up to create a significant enough gap.
-
-
-
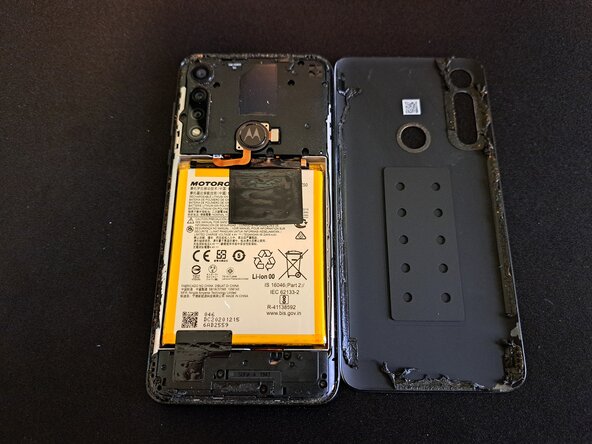
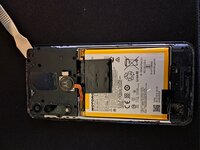
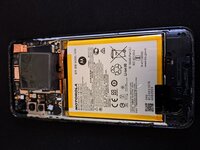
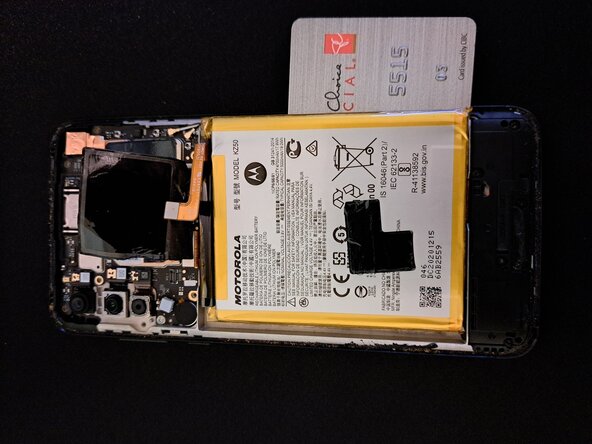
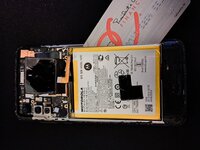
Feel free to clean the phone. It can be done now or during reassembly. Take note of how short the fingerprint sensor cable is (I was warning you about it!).
-
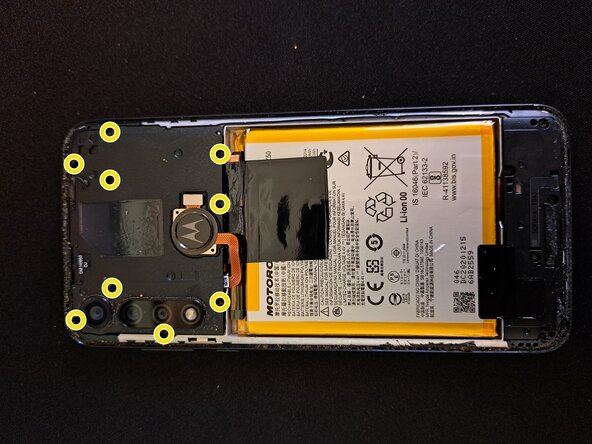
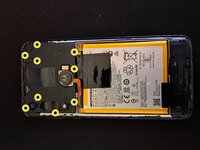
Unscrew the 9 highlighted Torx T3 screws (T4 might also work apparently? I used T3) from the motherboard's plastic cover.
-
-
-
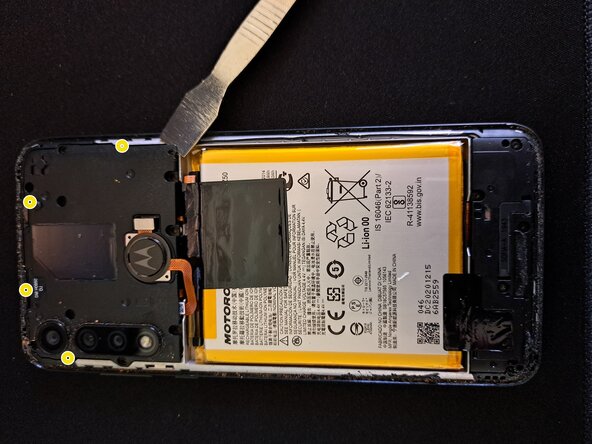
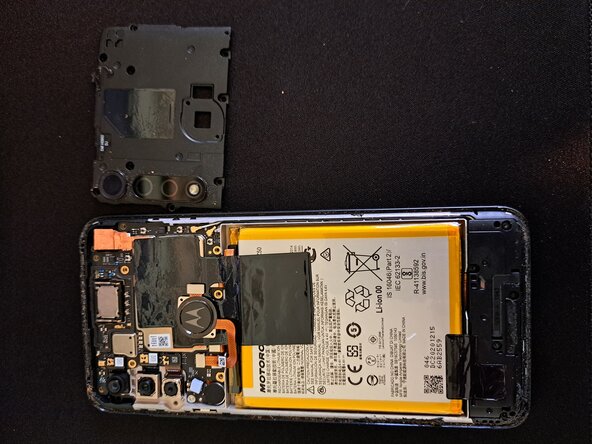
Use a prying tool (preferably a plastic spudger) and pry out the motherboard tray, focusing on the highlighted clips. I'd advise against using a metal tool as shown in the pictures in case it slips.
-
You can also use your hands if that makes you feel more comfortable.
-
-
-
-
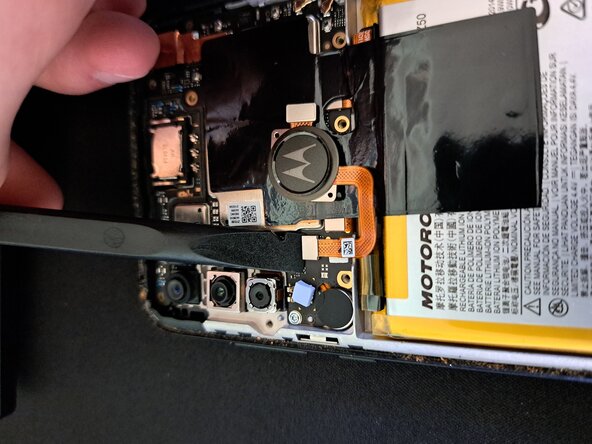
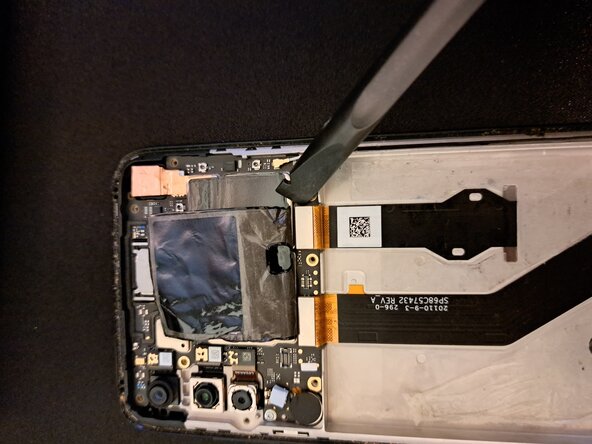
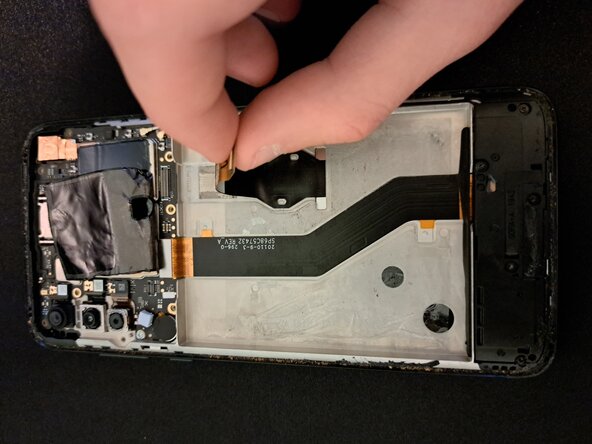
Use a spudger or carefully use a fingernail to remove the fingerprint reader's connector to the motherboard to avoid damaging it during the repair.
-
-
-
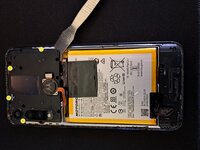
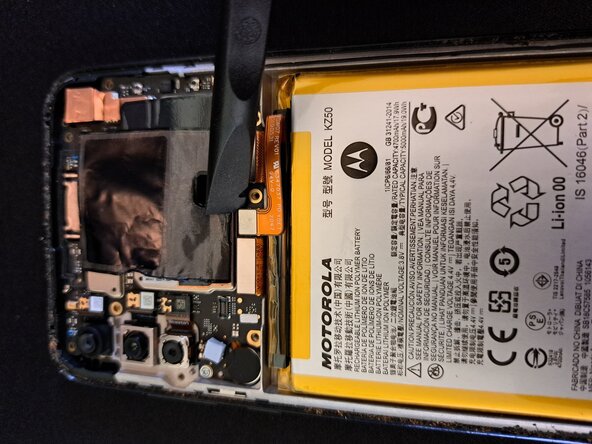
Use a dull tool to pull up on the black graphite film adhered to the motherboard and battery. It can be removed from just the battery and left to hang on the motherboard if preferred.
-
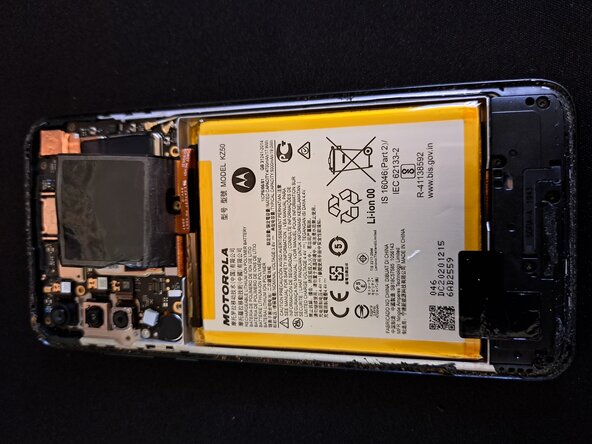
Remove the bottom graphite film as well. I stuck this one to the battery for the time being.
-
-
-
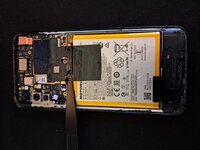
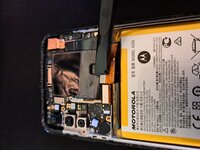
Use a spudger or carefully use a fingernail to disconnect the battery's connector from the motherboard.
-
-
-
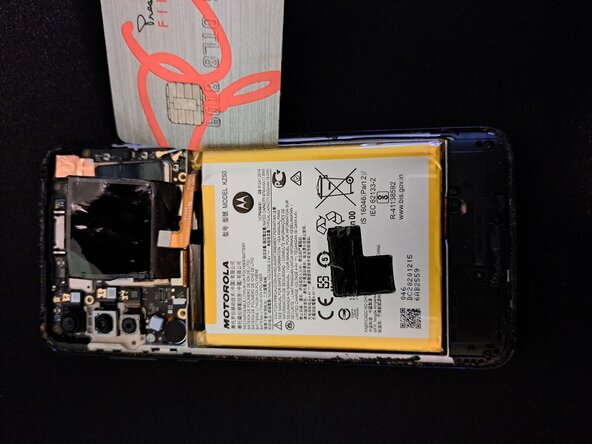
Heating and isopropyl alcohol application is recommended. Use a soft, dull tool to pry up on the battery. Be extremely patient during this process.
-
-
-
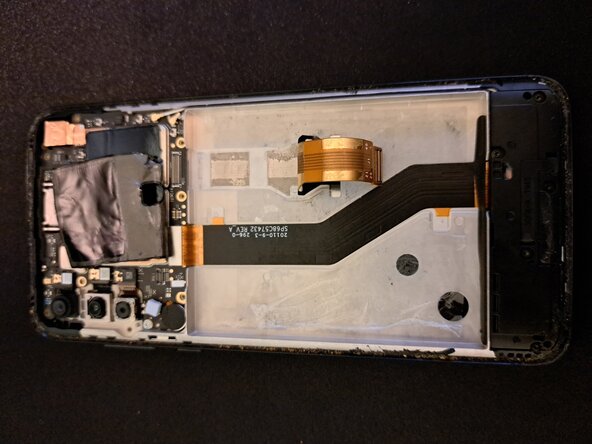
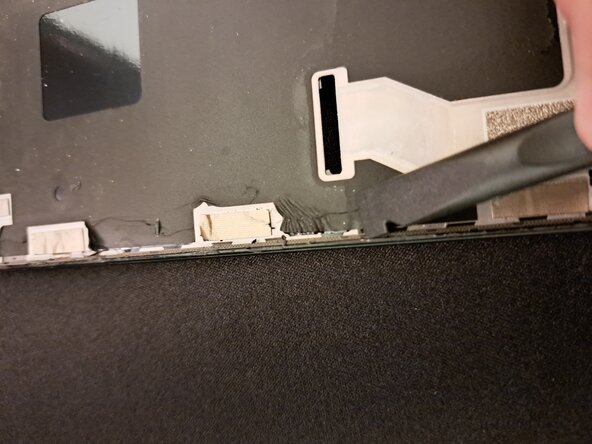
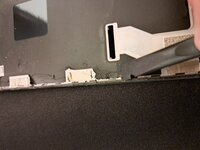
Use a plastic tool like a spudger, or carefully use your fingernail to disconnect the display ribbon cable.
-
Pull up on the ribbon cable to unadhere it from the frame.
-
-
-
To prevent any motherboard or camera damage from the display removal, I recommend temporarily reclipping the plastic cover into place.
-
-
-
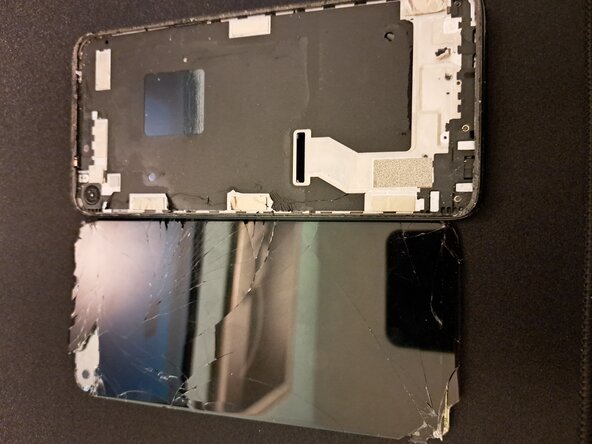
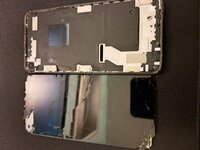
I struggled quite a bit with the display removal and glass shards all over my desk prevented me from taking many pictures.
-
I highly recommend heating the phone (you can be a little bit more liberal with the heat now that the battery is removed). If the display is cracked, add strong packing tape to create a surface that a suction cup can adhere to and pull the display up to create a gap.
-
Use a fairly steep angle when prying into the display as there are two layers (can be seen around the camera area), so it's easy to remove the top layer by accident and create a big mess with glass shards.
-
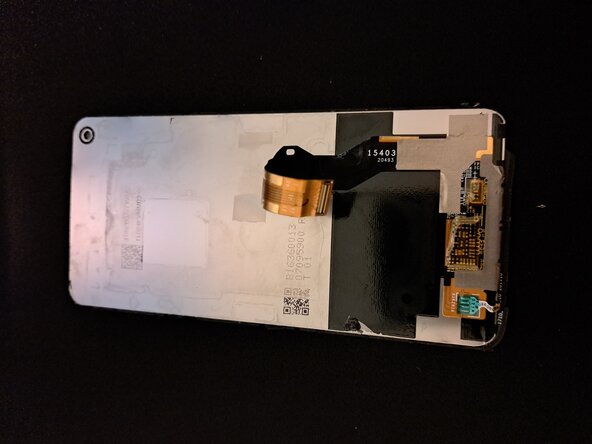
If your replacement display does not include some parts/tapes/gaskets/stickers, transfer them over from the original display.
-


If possible, turn on your device and test your repair before installing new adhesive and resealing.
To reassemble your device, follow these instructions in reverse order.
After you've completed the repair, follow this guide to test your repair.
The best way to secure the new screen is to apply a sheet of custom-cut double-sided tape to the back of the screen. B7000/T7000 (clear/black respectively) glue can also be used around thinner areas like the display's perimeter.
Please take your e-waste to an R2 or e-Stewards certified recycler.
Repair didn’t go as planned? Try some basic troubleshooting, or ask our Answers community for help.
crwdns2935221:0crwdne2935221:0
crwdns2935229:02crwdne2935229:0
