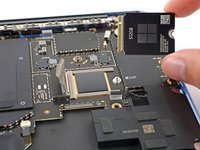
crwdns2933423:0crwdne2933423:0

Microsoft Surface Laptop 7 (13.8-inch) SSD Replacement

crwdns2942213:0crwdne2942213:0

  1. Microsoft Surface Laptop 7 (13.8-inch) SSD Replacement, Prepare your laptop for disassembly: crwdns2935265:01crwdnd2935265:01crwdnd2935265:03crwdne2935265:0 Microsoft Surface Laptop 7 (13.8-inch) SSD Replacement, Prepare your laptop for disassembly: crwdns2935265:01crwdnd2935265:02crwdnd2935265:03crwdne2935265:0 Microsoft Surface Laptop 7 (13.8-inch) SSD Replacement, Prepare your laptop for disassembly: crwdns2935265:01crwdnd2935265:03crwdnd2935265:03crwdne2935265:0
    • Before starting this repair, allow your laptop's battery to drain below 25%. A charged battery may catch fire if damaged.

    • Unplug all cables and fully shut down your laptop.
  2. Microsoft Surface Laptop 7 (13.8-inch) SSD Replacement, Flip your laptop over: crwdns2935265:02crwdnd2935265:01crwdnd2935265:03crwdne2935265:0 Microsoft Surface Laptop 7 (13.8-inch) SSD Replacement, Flip your laptop over: crwdns2935265:02crwdnd2935265:02crwdnd2935265:03crwdne2935265:0 Microsoft Surface Laptop 7 (13.8-inch) SSD Replacement, Flip your laptop over: crwdns2935265:02crwdnd2935265:03crwdnd2935265:03crwdne2935265:0
    • Close your laptop and lay it down so the rubber feet are facing up.

  3. Microsoft Surface Laptop 7 (13.8-inch) SSD Replacement, Remove the feet: crwdns2935265:03crwdnd2935265:01crwdnd2935265:03crwdne2935265:0 Microsoft Surface Laptop 7 (13.8-inch) SSD Replacement, Remove the feet: crwdns2935265:03crwdnd2935265:02crwdnd2935265:03crwdne2935265:0 Microsoft Surface Laptop 7 (13.8-inch) SSD Replacement, Remove the feet: crwdns2935265:03crwdnd2935265:03crwdnd2935265:03crwdne2935265:0
    • Gently slide one arm of your angled tweezers into the recess near the upper right edge of one of the feet.

    • You can also use the point of a spudger. However, you're more likely to damage the foot, if you're reusing it.

    • Use your tweezers to pry up and remove the foot.

    • The feet may eject very quickly—be careful not to lose them.

    • Repeat the process to remove the remaining feet.

    • To install a foot, align the pegs on the bottom with their cutouts in the frame and press the foot into place.

  4. Microsoft Surface Laptop 7 (13.8-inch) SSD Replacement, Remove the lower case screws: crwdns2935265:04crwdnd2935265:01crwdnd2935265:02crwdne2935265:0 Microsoft Surface Laptop 7 (13.8-inch) SSD Replacement, Remove the lower case screws: crwdns2935265:04crwdnd2935265:02crwdnd2935265:02crwdne2935265:0
    crwdns2935267:0crwdne2935267:0
    FixMat
    $36.95
    • Throughout this repair, keep track of each screw and make sure it goes back exactly where it came from.

    • While the Surface Laptop 7 uses Torx Plus screws, standard Torx bits work. Make sure to apply constant, downward force to prevent stripping.

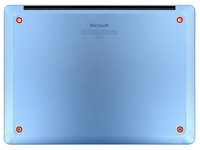
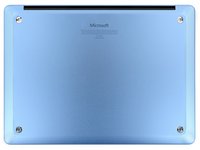
    • Use a Torx Plus 5IP screwdriver to remove the four 4.5 mm‑long screws (with washers) securing the lower case.

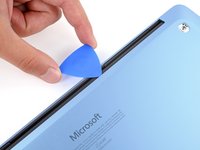
  5. Microsoft Surface Laptop 7 (13.8-inch) SSD Replacement, Detach the lower case: crwdns2935265:05crwdnd2935265:01crwdnd2935265:03crwdne2935265:0 Microsoft Surface Laptop 7 (13.8-inch) SSD Replacement, Detach the lower case: crwdns2935265:05crwdnd2935265:02crwdnd2935265:03crwdne2935265:0 Microsoft Surface Laptop 7 (13.8-inch) SSD Replacement, Detach the lower case: crwdns2935265:05crwdnd2935265:03crwdnd2935265:03crwdne2935265:0
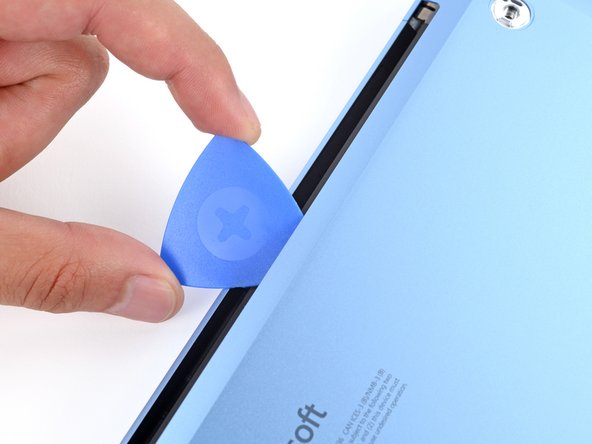
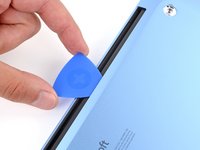
    • Insert the tip of an opening pick under the top edge of the lower case, about an inch (2.5 cm) to the left or right of the Microsoft logo.

    • Don't insert the pick near the outer edges or you'll damage the antenna bar.

  6. Microsoft Surface Laptop 7 (13.8-inch) SSD Replacement: crwdns2935265:06crwdnd2935265:01crwdnd2935265:03crwdne2935265:0 Microsoft Surface Laptop 7 (13.8-inch) SSD Replacement: crwdns2935265:06crwdnd2935265:02crwdnd2935265:03crwdne2935265:0 Microsoft Surface Laptop 7 (13.8-inch) SSD Replacement: crwdns2935265:06crwdnd2935265:03crwdnd2935265:03crwdne2935265:0
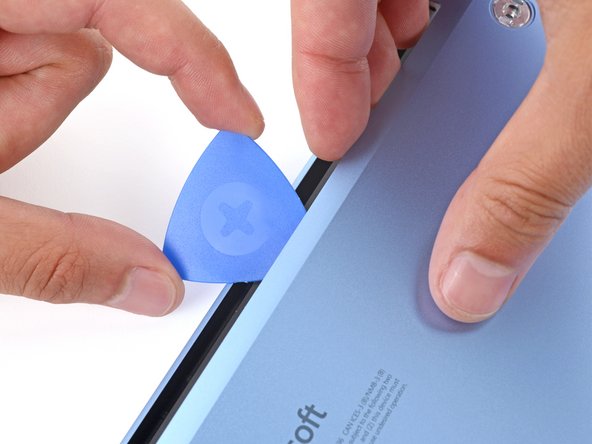
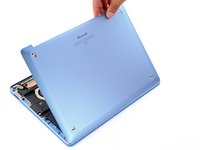
    • Twist the pick to lift the lower case enough that you can grip it with your hand.

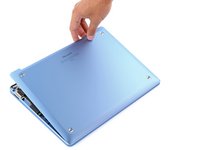
  7. Microsoft Surface Laptop 7 (13.8-inch) SSD Replacement, Remove the lower case: crwdns2935265:07crwdnd2935265:01crwdnd2935265:03crwdne2935265:0 Microsoft Surface Laptop 7 (13.8-inch) SSD Replacement, Remove the lower case: crwdns2935265:07crwdnd2935265:02crwdnd2935265:03crwdne2935265:0 Microsoft Surface Laptop 7 (13.8-inch) SSD Replacement, Remove the lower case: crwdns2935265:07crwdnd2935265:03crwdnd2935265:03crwdne2935265:0
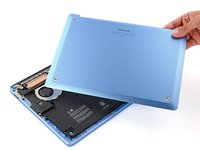
    • Lift the lower case and remove it.

  8. Microsoft Surface Laptop 7 (13.8-inch) SSD Replacement, Disconnect the battery: crwdns2935265:08crwdnd2935265:01crwdnd2935265:03crwdne2935265:0 Microsoft Surface Laptop 7 (13.8-inch) SSD Replacement, Disconnect the battery: crwdns2935265:08crwdnd2935265:02crwdnd2935265:03crwdne2935265:0 Microsoft Surface Laptop 7 (13.8-inch) SSD Replacement, Disconnect the battery: crwdns2935265:08crwdnd2935265:03crwdnd2935265:03crwdne2935265:0
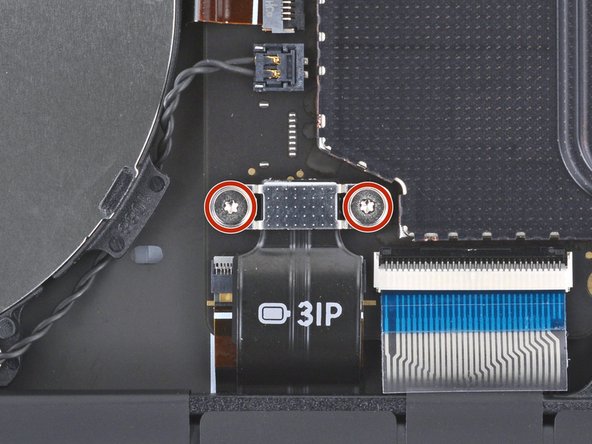
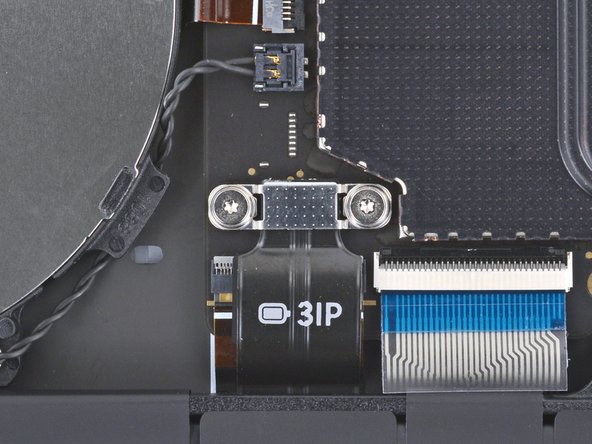
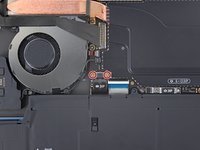
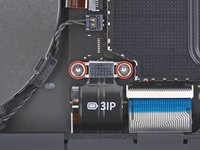
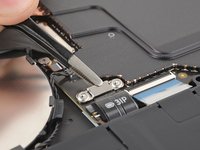
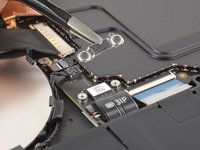
    • Use a Torx Plus 3IP screwdriver to remove the two 2.3 mm‑long screws securing the battery connector cover.

  9. Microsoft Surface Laptop 7 (13.8-inch) SSD Replacement: crwdns2935265:09crwdnd2935265:01crwdnd2935265:02crwdne2935265:0 Microsoft Surface Laptop 7 (13.8-inch) SSD Replacement: crwdns2935265:09crwdnd2935265:02crwdnd2935265:02crwdne2935265:0
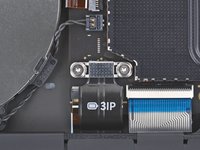
    • Use tweezers or your fingers to remove the battery connector cover.

  10. Microsoft Surface Laptop 7 (13.8-inch) SSD Replacement: crwdns2935265:010crwdnd2935265:01crwdnd2935265:02crwdne2935265:0 Microsoft Surface Laptop 7 (13.8-inch) SSD Replacement: crwdns2935265:010crwdnd2935265:02crwdnd2935265:02crwdne2935265:0
    • Insert the flat end of a spudger under the top edge of the battery press connector and pry up to disconnect it.

    • To reconnect a press connector, align it over the socket and gently press down on one side until it clicks into place, then press down on the other side. It may take a few tries to align the connector—don't try to force it into place.

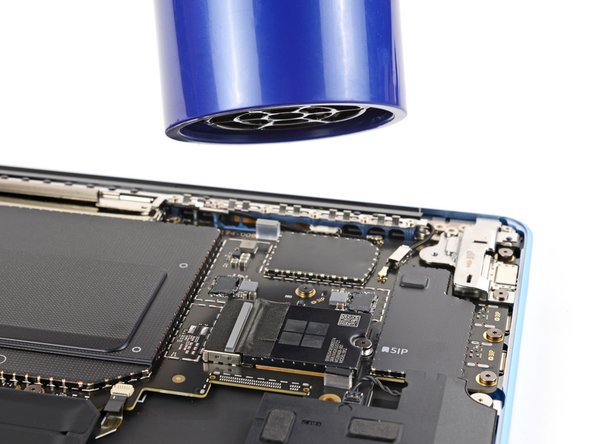
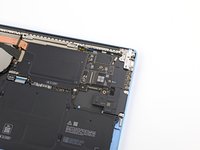
  11. Microsoft Surface Laptop 7 (13.8-inch) SSD Replacement, Peel up the SSD tape: crwdns2935265:011crwdnd2935265:01crwdnd2935265:03crwdne2935265:0 Microsoft Surface Laptop 7 (13.8-inch) SSD Replacement, Peel up the SSD tape: crwdns2935265:011crwdnd2935265:02crwdnd2935265:03crwdne2935265:0 Microsoft Surface Laptop 7 (13.8-inch) SSD Replacement, Peel up the SSD tape: crwdns2935265:011crwdnd2935265:03crwdnd2935265:03crwdne2935265:0
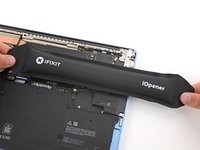
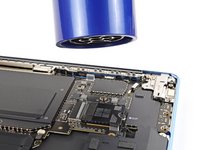
    • Heat an iOpener and lay it on the SSD for one minute to heat the tape on its left edge.

    • Alternatively, you can use a hair dryer to lightly heat the tape.

  12. Microsoft Surface Laptop 7 (13.8-inch) SSD Replacement: crwdns2935265:012crwdnd2935265:01crwdnd2935265:03crwdne2935265:0 Microsoft Surface Laptop 7 (13.8-inch) SSD Replacement: crwdns2935265:012crwdnd2935265:02crwdnd2935265:03crwdne2935265:0 Microsoft Surface Laptop 7 (13.8-inch) SSD Replacement: crwdns2935265:012crwdnd2935265:03crwdnd2935265:03crwdne2935265:0
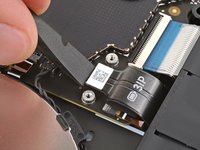
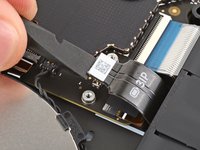
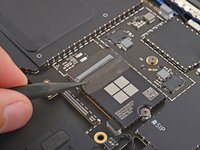
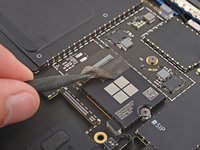
    • Carefully insert the point of a spudger under the SSD tape and lift until you can grip the tape with your fingers.

    • Be careful not to tear the tape, since you'll reuse it during reassembly.

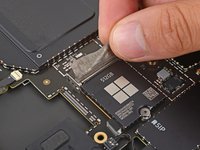
    • Use your fingers to gently peel the tape from the SSD.

    • You don't need to fully remove the tape, it just needs to be off the SSD.

  13. Microsoft Surface Laptop 7 (13.8-inch) SSD Replacement, Remove the SSD: crwdns2935265:013crwdnd2935265:01crwdnd2935265:03crwdne2935265:0 Microsoft Surface Laptop 7 (13.8-inch) SSD Replacement, Remove the SSD: crwdns2935265:013crwdnd2935265:02crwdnd2935265:03crwdne2935265:0 Microsoft Surface Laptop 7 (13.8-inch) SSD Replacement, Remove the SSD: crwdns2935265:013crwdnd2935265:03crwdnd2935265:03crwdne2935265:0
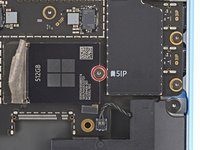
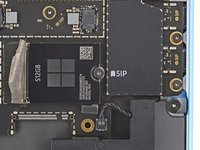
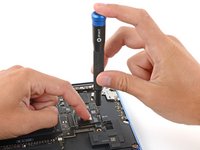
    • Use a Torx Plus 5IP screwdriver to remove the 2.9 mm‑long screw securing the SSD.

    • With the screw removed, the SSD may pop up at a slight angle.

    • During reassembly, gently hold the SSD down while installing its screw.

  14. Microsoft Surface Laptop 7 (13.8-inch) SSD Replacement: crwdns2935265:014crwdnd2935265:01crwdnd2935265:03crwdne2935265:0 Microsoft Surface Laptop 7 (13.8-inch) SSD Replacement: crwdns2935265:014crwdnd2935265:02crwdnd2935265:03crwdne2935265:0 Microsoft Surface Laptop 7 (13.8-inch) SSD Replacement: crwdns2935265:014crwdnd2935265:03crwdnd2935265:03crwdne2935265:0
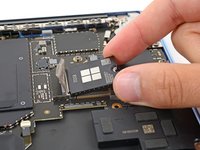
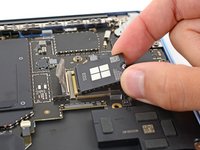
    • Grip the SSD by its edges near the screw notch and pull it straight out of its socket.

    • During reassembly, make sure the tape is completely out of the way and insert the SSD at a slight downward angle into its socket.

    • The SSD is notched so you can only insert it in the correct orientation.

crwdns2915888:0crwdne2915888:0

To reassemble your device, follow these instructions in reverse order.

Once your laptop is reassembled, follow Microsoft's post SSD replacement guide.

Take your e-waste to an R2 or e-Stewards certified recycler.

Repair didn’t go as planned? Try some basic troubleshooting, or ask our Answers community for help.

crwdns2935227:0crwdne2935227:0

Spencer Day

crwdns2935283:009/14/22crwdne2935283:0

99.296 crwdns2915208:0crwdne2915208:0

crwdns2935297:0694crwdne2935297:0

crwdns2915084:0crwdne2915084:0

iFixit crwdns2935289:0iFixitcrwdne2935289:0

Staff

crwdns2931471:0121crwdne2931471:0

crwdns2935297:019.716crwdne2935297:0

crwdns2947410:01crwdne2947410:0

only the original SSD can be replaced? other manufacturers won't work?

Александр - crwdns2934203:0crwdne2934203:0

crwdns2917038:0crwdne2917038:0

crwdns2936625:0crwdne2936625:0:

crwdns2936751:024crwdne2936751:0 15

crwdns2936753:07crwdne2936753:0 135

crwdns2936753:030crwdne2936753:0 622

crwdns2942667:0crwdne2942667:0 3,760