crwdns2915892:0crwdne2915892:0
In this guide, you will learn how to remove the bottom panel on the Lenovo YOGA 910-13IKB.
This has to be done to perform any maintenance or repairs on the device.
crwdns2942213:0crwdne2942213:0
-
-
Turn the laptop over and remove the ten Torx T5 screws along the perimeter of the bottom panel.
-
Remove the panel.
-
-
-
Use a Phillips screwdriver to remove the four M2 x 1.7 mm screws securing the battery to the laptop.
-
Remove the battery.
-
-
-
-
Remove the six Phillips screws that attach the trackpad to the device.
-
Use a spudger to disconnect the ribbon cable connector from the trackpad.
-
Remove the trackpad using a spudger.
-
-
-
Use a Phillips screwdriver to remove six screws attached to the USB ports on both sides of the device.
-
Detach both ribbon cables attached to each USB port with a spudger, then detach the USB ports.
-
-
-
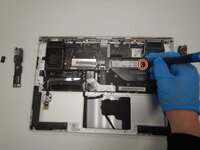
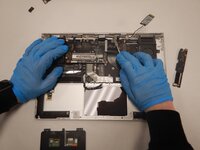
Use a small Phillips screwdriver to remove all single screw securing the SSD stick to the motherboard.
-
Slide the SSD stick from the port on the motherboard.
-
-
-
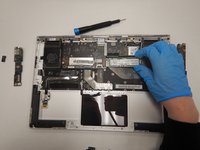
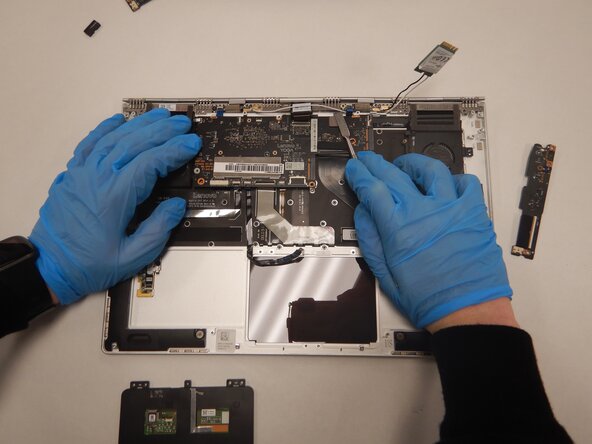
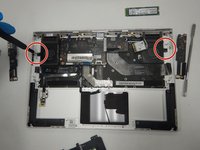
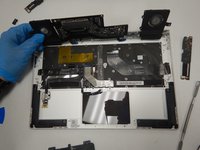
Use a small Phillips screwdriver to remove four screws from the fans.
-
Remove the back connector strip using a spudger to pry it off of the device.
-
Remove the fans.
-


To reassemble your device, follow these instructions in reverse order. Take your e-waste to an R2 or e-Stewards certified recycler.
To reassemble your device, follow these instructions in reverse order. Take your e-waste to an R2 or e-Stewards certified recycler.
crwdns2935221:0crwdne2935221:0
crwdns2935227:0crwdne2935227:0

