crwdns2933423:0crwdne2933423:0

Kushlan Cement Mixer 600DDS 2014 Power Components Replacement
crwdns2942213:0crwdne2942213:0

  1. Kushlan Cement Mixer 600DDS 2014 Power Components Replacement, Remove the motor cover bolts: crwdns2935265:01crwdnd2935265:01crwdnd2935265:01crwdne2935265:0
    • Before you begin, ensure the power cord is unplugged and the power switch is in the OFF position.

    • Use a 13 mm socket to remove the two bolts securing the motor cover to the frame.

  2. Kushlan Cement Mixer 600DDS 2014 Power Components Replacement, Remove the motor cover: crwdns2935265:02crwdnd2935265:01crwdnd2935265:01crwdne2935265:0
    • Remove the motor cover.

  3. Kushlan Cement Mixer 600DDS 2014 Power Components Replacement, Remove the electrical panel: crwdns2935265:03crwdnd2935265:01crwdnd2935265:01crwdne2935265:0
    • Use a Phillips screwdriver to remove the four screws securing the electrical panel.

  4. Kushlan Cement Mixer 600DDS 2014 Power Components Replacement, Remove the electrical panel: crwdns2935265:04crwdnd2935265:01crwdnd2935265:01crwdne2935265:0
    • Remove the electrical panel.

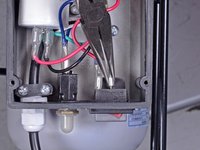
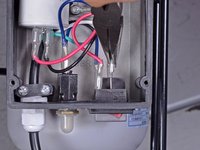
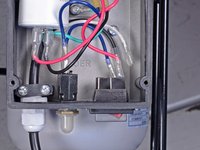
  5. Kushlan Cement Mixer 600DDS 2014 Power Components Replacement, Remove the on/off switch: crwdns2935265:05crwdnd2935265:01crwdnd2935265:03crwdne2935265:0 Kushlan Cement Mixer 600DDS 2014 Power Components Replacement, Remove the on/off switch: crwdns2935265:05crwdnd2935265:02crwdnd2935265:03crwdne2935265:0 Kushlan Cement Mixer 600DDS 2014 Power Components Replacement, Remove the on/off switch: crwdns2935265:05crwdnd2935265:03crwdnd2935265:03crwdne2935265:0
    • Use a pair of needle-nose pliers to disconnect the four wires from the back of the on/off switch.

    • During reassembly, ensure the wires are connected back into their original locations and the on/off switch is not upside-down.

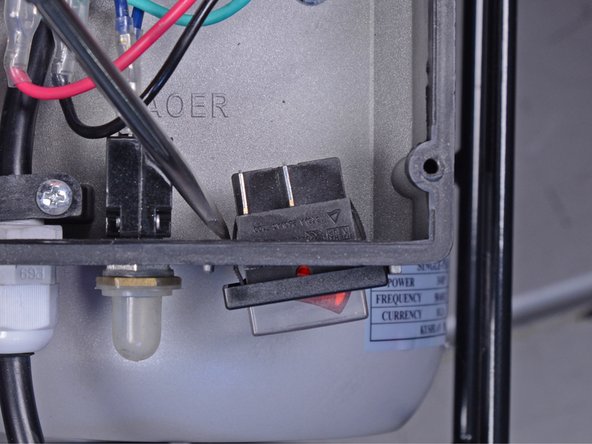
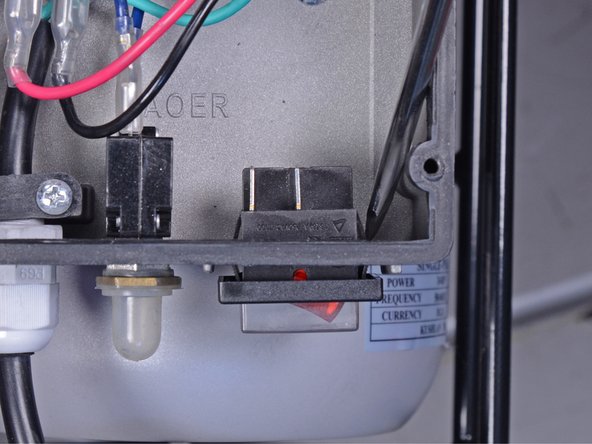
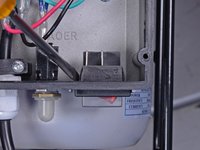
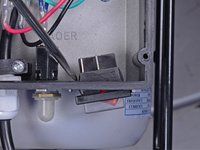
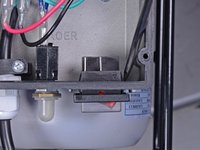
  6. Kushlan Cement Mixer 600DDS 2014 Power Components Replacement: crwdns2935265:06crwdnd2935265:01crwdnd2935265:03crwdne2935265:0 Kushlan Cement Mixer 600DDS 2014 Power Components Replacement: crwdns2935265:06crwdnd2935265:02crwdnd2935265:03crwdne2935265:0 Kushlan Cement Mixer 600DDS 2014 Power Components Replacement: crwdns2935265:06crwdnd2935265:03crwdnd2935265:03crwdne2935265:0
    • Use a flathead screwdriver to press the sides of the on/off switch through the opening in the electrical box.

  7. Kushlan Cement Mixer 600DDS 2014 Power Components Replacement: crwdns2935265:07crwdnd2935265:01crwdnd2935265:01crwdne2935265:0
    • Remove the on/off switch.

  8. Kushlan Cement Mixer 600DDS 2014 Power Components Replacement, Remove the power cord: crwdns2935265:08crwdnd2935265:01crwdnd2935265:01crwdne2935265:0
    • Use a Phillips screwdriver to remove the two screws securing the fastener behind the strain relief fitting.

  9. Kushlan Cement Mixer 600DDS 2014 Power Components Replacement: crwdns2935265:09crwdnd2935265:01crwdnd2935265:02crwdne2935265:0 Kushlan Cement Mixer 600DDS 2014 Power Components Replacement: crwdns2935265:09crwdnd2935265:02crwdnd2935265:02crwdne2935265:0
    • Remove the fastener.

  10. Kushlan Cement Mixer 600DDS 2014 Power Components Replacement: crwdns2935265:010crwdnd2935265:01crwdnd2935265:01crwdne2935265:0
    • Use a Phillips screwdriver to remove the screw securing the green ground wire to the bottom of the electrical box.

  11. Kushlan Cement Mixer 600DDS 2014 Power Components Replacement: crwdns2935265:011crwdnd2935265:01crwdnd2935265:01crwdne2935265:0
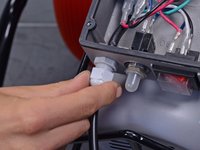
    • Use an adjustable wrench to remove the power cord's strain relief fitting cap.

  12. Kushlan Cement Mixer 600DDS 2014 Power Components Replacement: crwdns2935265:012crwdnd2935265:01crwdnd2935265:02crwdne2935265:0 Kushlan Cement Mixer 600DDS 2014 Power Components Replacement: crwdns2935265:012crwdnd2935265:02crwdnd2935265:02crwdne2935265:0
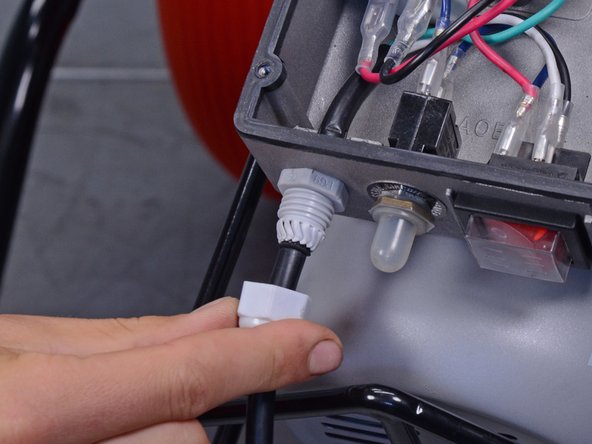
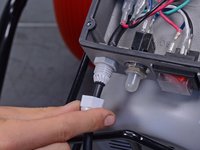
    • Slide the cap off of the strain relief fitting.

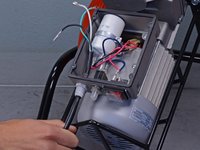
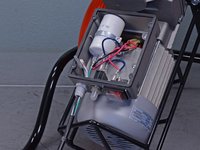
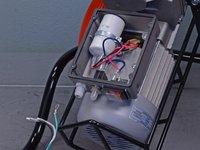
  13. Kushlan Cement Mixer 600DDS 2014 Power Components Replacement: crwdns2935265:013crwdnd2935265:01crwdnd2935265:03crwdne2935265:0 Kushlan Cement Mixer 600DDS 2014 Power Components Replacement: crwdns2935265:013crwdnd2935265:02crwdnd2935265:03crwdne2935265:0 Kushlan Cement Mixer 600DDS 2014 Power Components Replacement: crwdns2935265:013crwdnd2935265:03crwdnd2935265:03crwdne2935265:0
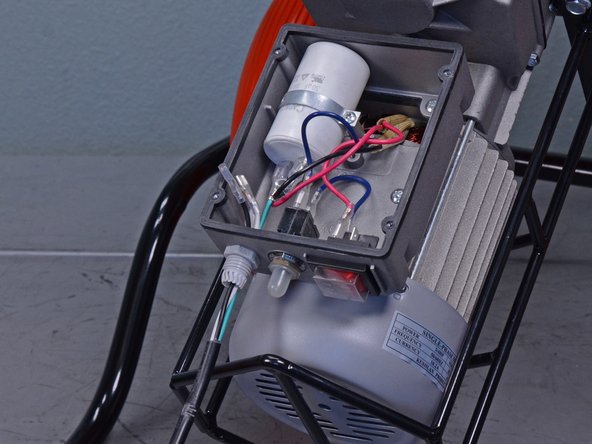
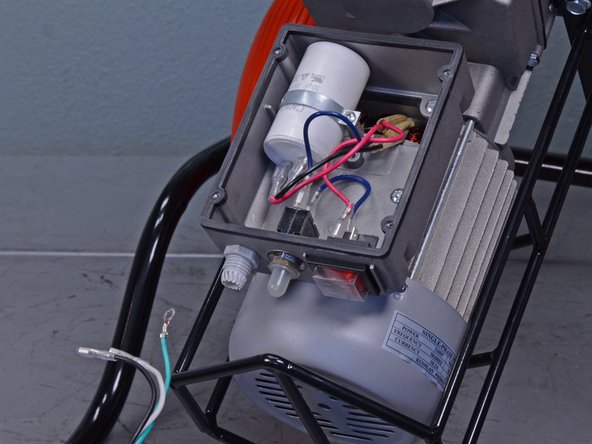
    • Feed the power cord and its black, white, and green wires out through the strain relief fitting.

    • Transfer the strain relief fitting cap onto the new power cord.

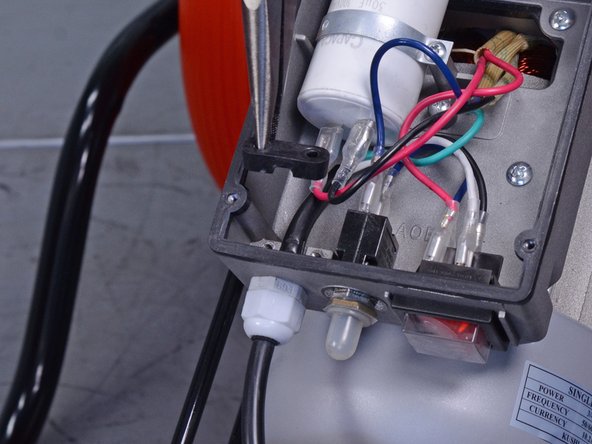
  14. Kushlan Cement Mixer 600DDS 2014 Power Components Replacement, Remove the capacitor: crwdns2935265:014crwdnd2935265:01crwdnd2935265:01crwdne2935265:0
    • Use a Phillips screwdriver to remove the screw securing the capacitor support.

  15. Kushlan Cement Mixer 600DDS 2014 Power Components Replacement: crwdns2935265:015crwdnd2935265:01crwdnd2935265:01crwdne2935265:0
    • Remove the capacitor support.

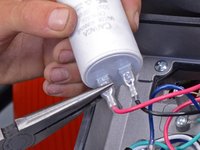
  16. Kushlan Cement Mixer 600DDS 2014 Power Components Replacement: crwdns2935265:016crwdnd2935265:01crwdnd2935265:03crwdne2935265:0 Kushlan Cement Mixer 600DDS 2014 Power Components Replacement: crwdns2935265:016crwdnd2935265:02crwdnd2935265:03crwdne2935265:0 Kushlan Cement Mixer 600DDS 2014 Power Components Replacement: crwdns2935265:016crwdnd2935265:03crwdnd2935265:03crwdne2935265:0
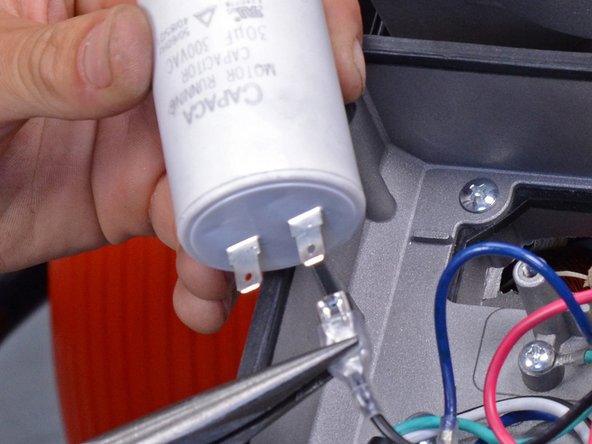
    • Use a pair of needle nose pliers to disconnect the red and black wires from the capacitor.

    • Remove the capacitor.

    • Use tape or a zip tie to differentiate this set of red and white wires from the other set of red and white wires running to the on/off switch to ensure proper reinstallation.

crwdns2915888:0crwdne2915888:0

To reassemble your device, follow these instructions in reverse order.

crwdns2935229:05crwdne2935229:0

Sam Omiotek

crwdns2935283:002/25/19crwdne2935283:0

72,977 crwdns2915208:0crwdne2915208:0

crwdns2935297:0288crwdne2935297:0

crwdns2944067:00crwdne2944067:0

crwdns2917038:0crwdne2917038:0

crwdns2936625:0crwdne2936625:0:

crwdns2936751:024crwdne2936751:0 3

crwdns2936753:07crwdne2936753:0 28

crwdns2936753:030crwdne2936753:0 108

crwdns2942667:0crwdne2942667:0 2,500