crwdns2915892:0crwdne2915892:0
If your Koss KSC75 headphones are producing no sound, distorted audio, or intermittent sound, this guide will help you replace the driver. This guide will walk you through the process of accessing, cutting, and resoldering the headphone wires to restore proper audio function.
This repair involves soldering, which is the process of joining metal components using melted solder. If you have never soldered before, check out this How to Solder and Desolder Connections guide for a basic understanding. Additionally, since you’ll need to strip wires, you may find this Wire Stripping Guide useful before starting.
Before starting, confirm that the issue is not caused by a faulty audio source by testing your headphones with another device. If the problem persists across different devices, follow this guide to repair the wiring inside your headphones.
Important Warning: Soldering irons are extremely hot and can burn skin or damage components. Work in a ventilated area, handle wires carefully, and avoid crossed connections to prevent short circuits and permanent damage.
crwdns2942213:0crwdne2942213:0
-
-
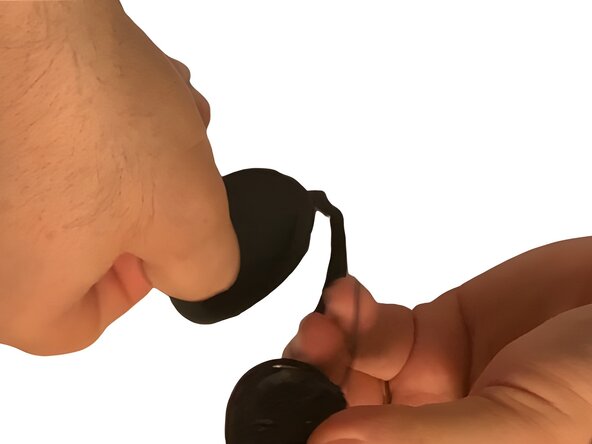
Remove the ear clip by gently pulling it away from the headphone.
-
Peel off the ear cushion by gripping the edges and slowly pulling it away from the earpiece.
-
-
-
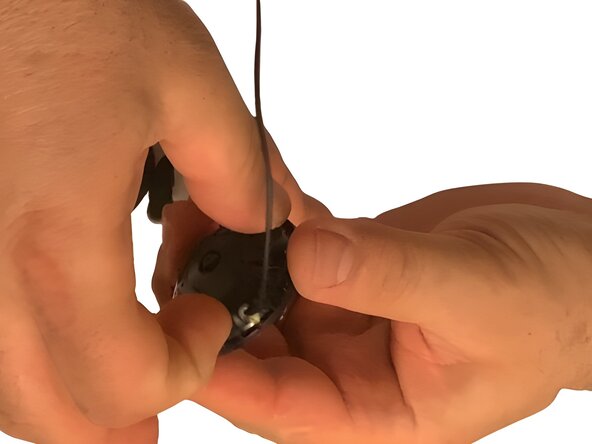
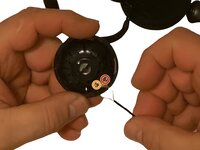
Locate the wire plate at the bottom of the earphone where the wire enters the earpiece.
-
Grip the earphone firmly by the sides and use your fingers to gently pry off the plate.
-
-
-
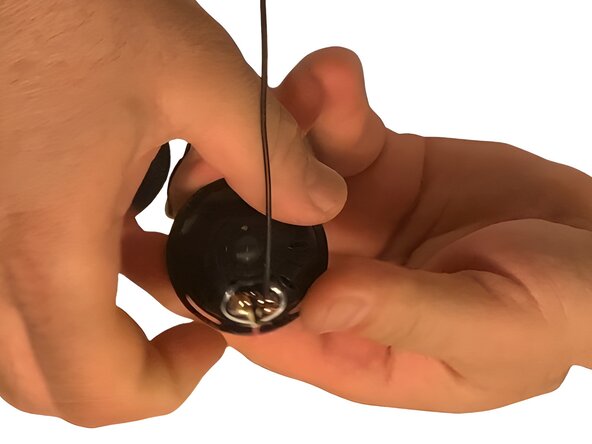
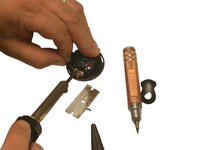
Use a wire cutter to carefully cut the wire close to where it is soldered on the board to detach the wire from the driver.
-
-
-
-
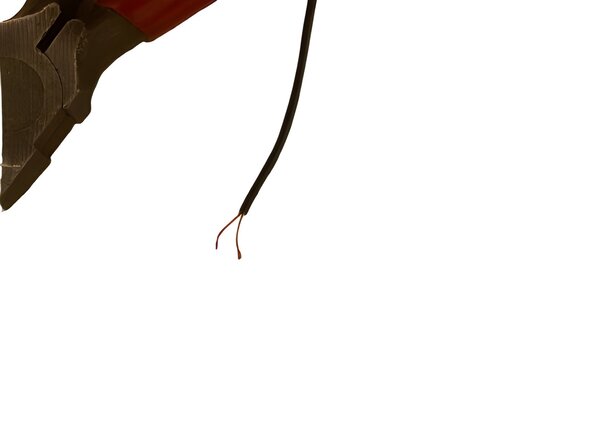
If the wire is frayed, broken, or discolored, use wire cutters to cut at least ½ inch (1–2 cm) beyond the visibly damaged area. Cut straight across the wire to ensure even ends.
-
-
-
Insert the wire into the hole of the wire stripper about ¼ inch (5 mm) from the end.
-
Gently squeeze the handles and rotate the stripper around the wire once.
-
Pull off the cut insulation while keeping the wire steady.
-
Separate the two tiny wires inside the headphone cable.
-
-
-
Plug in and preheat your soldering iron according to the solder you're using:
-
Dip the exposed wire ends into flux to help the solder bond better.
-
Apply a small amount of soldering wire onto the tip of the iron to "tin" it, which helps with heat transfer.
-
-
-
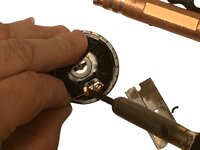
Identify the soldering terminals inside the earpiece, then secure the wire in place by positioning the exposed end over the correct terminal. There are usually two per side:
-
One for the signal wire (red or green).
-
One for the ground wire (bare copper or gold)
-
With one hand, hold the soldering iron against the wire and terminal for 1–2 seconds to heat the connection.
-
With your other hand, feed solder to the joint so it melts and flows around the wire.
-
Remove the soldering iron and let the solder cool for a few seconds before moving the wire.
-
Repeat for the second wire, ensuring both connections are secure and not touching each other before proceeding.
-
-
-
Inspect all soldered connections to make sure the wires are firmly attached and not touching other components.
-
Gently tug the wire to test its strength. If it comes loose, re-solder it.
-


Take your e-waste to an R2 or e-Stewards certified recycler.
Repair didn’t go as planned? Try some basic troubleshooting or ask our Answers community for help.
Take your e-waste to an R2 or e-Stewards certified recycler.
Repair didn’t go as planned? Try some basic troubleshooting or ask our Answers community for help.
crwdns2915084:0crwdne2915084:0

York University, Team 1-11, Woodhouse Winter 2025 crwdns2935289:0York University, Team 1-11, Woodhouse Winter 2025crwdne2935289:0
YORK-WOODHOUSE-W25S1G11
crwdns2931471:02crwdne2931471:0
crwdns2935303:01crwdne2935303:0