crwdns2915892:0crwdne2915892:0
The motherboard is a primary component of the Kindle Paperwhite 12th Gen and integral to its function. It helps route data and communication between components of your device. Only replace if all other issues have been ruled out. Take a look at the troubleshooting pages linked on the device page.
When handling the motherboard, hold it by the edges and avoid touching the components or circuitry, as any damage can affect the device’s functionality. Replacing the motherboard will also reset your Kindle Paperwhite (12th Gen), requiring you to update the software and reinstall any downloaded e-books.
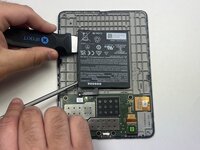
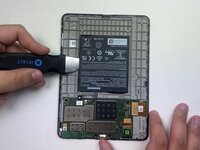
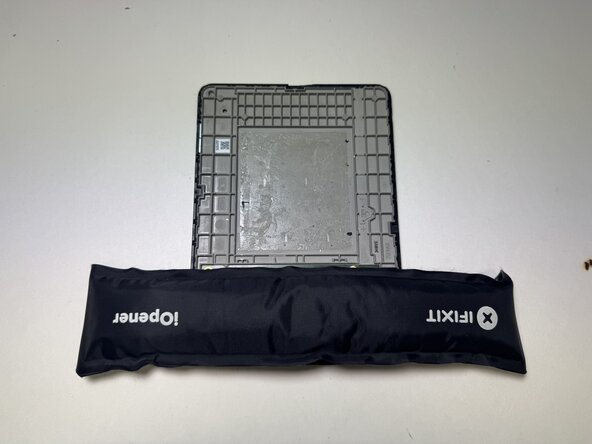
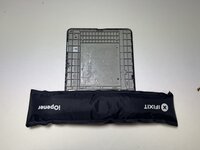
If you’re having trouble removing the battery or motherboard due to adhesive, apply an iOpener to the opposite side of the case—never directly on the components—to help soften the adhesive before removal.
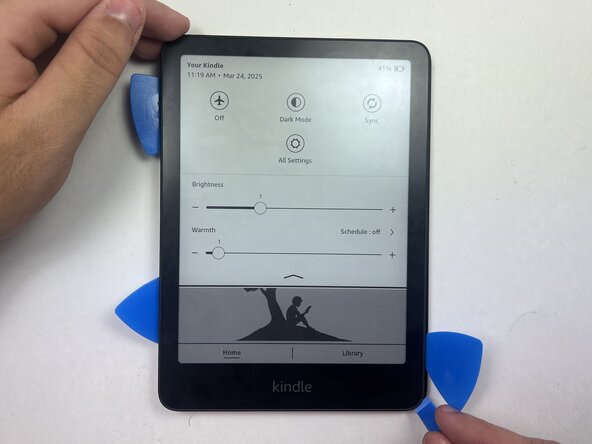
Before you begin the repair, make sure to power off your Kindle and unplug the charger and any connected accessories.
crwdns2942213:0crwdne2942213:0
-
-
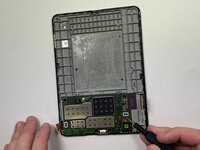
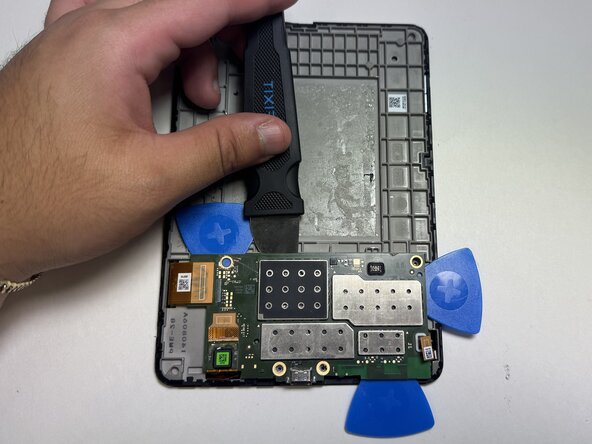
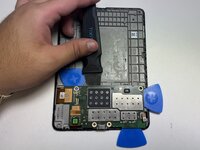
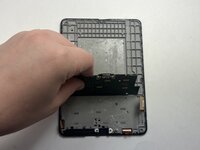
Use an opening tool or opening picks and insert the tip between the back case and screen.
-
Slide the opening tool around the edge of the tablet to release the clips holding them together and avoid damaging the connectors.
-
-
-
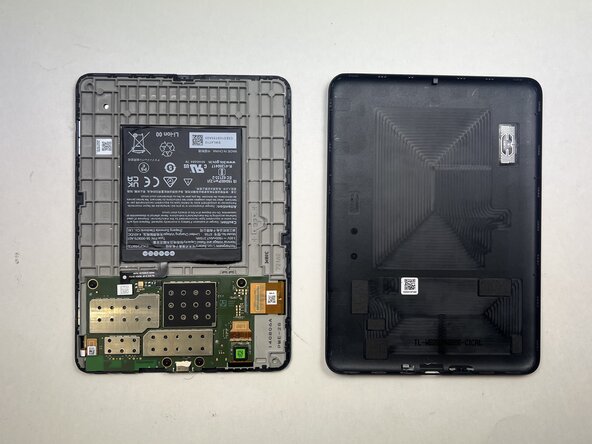
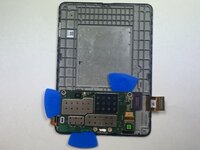
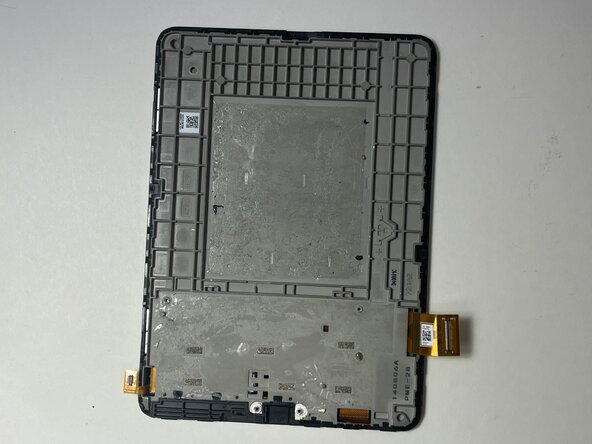
Flip the Kindle over and remove back casing from screen and device.
-
-
-
Place a spudger or an opening tool under the connector's edge and pry straight up to disconnect it.
-
-
-
-
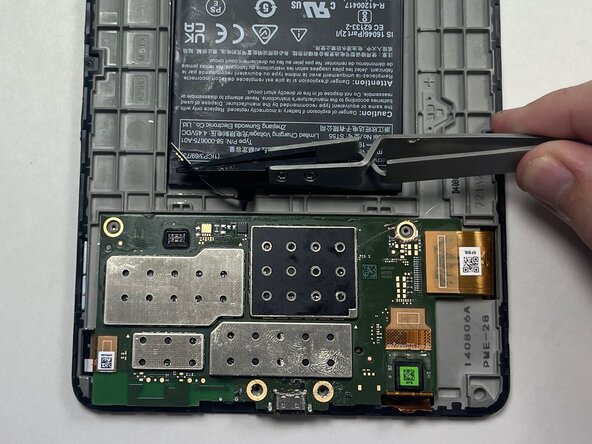
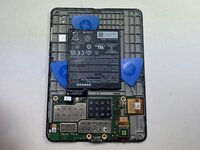
Use a black nylon spudger and slide it under the sides of the battery to create a gap between the battery and the housing.
-
Once the battery has loosened from the adhesive, use the black nylon spudger to gently lift and fully detach it while applying light upward pressure.
-
-
-
Loosen the battery from the backing, then insert an opening pick on each side of the battery to help pry it off. Once the picks are in place, carefully peel the battery away and remove it from the device.
-
-
-
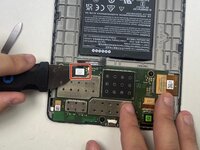
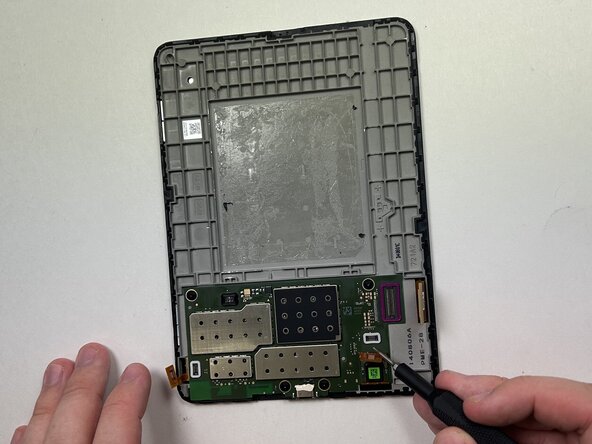
Place a spudger or an opening tool under the press connector edge and pry straight up to disconnect it.
-
-
-
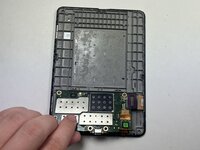
Use a 5IP Torx Plus screwdriver to remove the four 3.2 mm screws securing the motherboard in place.
-
-
-
Slide opening picks under the edges of the motherboard to loosen the glue holding it in place.
-
-
-
Gently lift the motherboard piece from the frame, insuring to not damage the motherboard in the process.
-


To reassemble your device, follow these instructions in reverse order. Apply new adhesive where necessary after cleaning the relevant areas with isopropyl alcohol (>90%).
Take your e-waste to an R2 or e-Stewards certified recycler.

crwdns2935287:0crwdne2935287:0

Austin Community College, Team 18-1, Watkins Spring 2025 crwdns2935289:0Austin Community College, Team 18-1, Watkins Spring 2025crwdne2935289:0
AUSTINCC-WATKINS-S25S18G1
crwdns2931471:04crwdne2931471:0
crwdns2935297:05crwdne2935297:0
crwdns2947410:01crwdne2947410:0
Where can I find a replacement motherboard?