crwdns2942213:0crwdne2942213:0
-
-
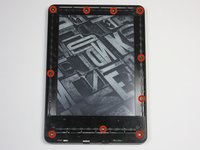
At each corner, use the blue plastic opening tool to unhook and separate the front panel from the adhesive.
-
Run the tool along the seams to pry open the front panel.
-
-
-
Peel the front panel off to remove it from the Kindle.
-
To prevent damaging the front panel, peel the panel from the corners towards the middle of the Kindle.
What is the adhesive you are using resecure the screen? Would Tesa 61395 Tape work (4mm) or would this create protrusion?
Did that option work for you? I'm about to try and change my battery and don't have any idea on what backup adhesive to have
Lagroth -
-
-
-
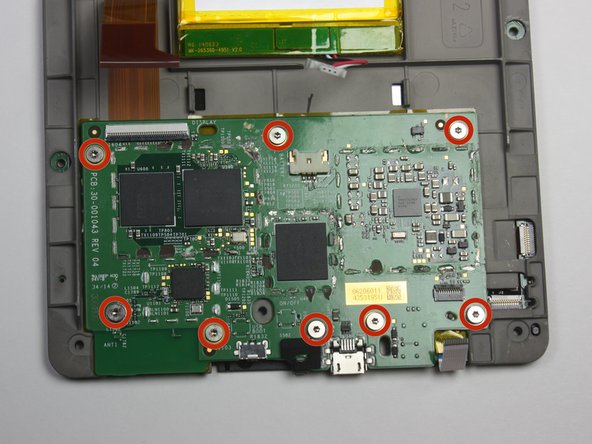
Remove the ten 5.0 mm T5 Torx screws.
You will break the newer vision of kindle just like this. there is a peg that connect the top center of the screen to the back case. Remove the black double sided tape in the center and push this peg back .
If you see black double sided tape at the top of your Kindle, as the commenter above did, you are on the wrong model—have a look here to see if this is your model: Kindle Paperwhite 3rd Generation Screen/Display Touch Panel Replacement
My device has a mix of silver 5 mm and black 4 mm screws. The 4 mm screws are the one in the middle of the left side and the 3 on the right side.
-
-
-
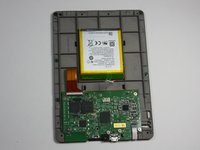
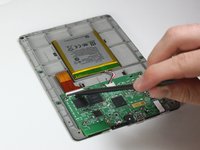
Working evenly along the corners and edges, separate the internal contents from the back panel.
後の手順5の画像で確認できる、バッテリーの周り4か所が主なクリップ箇所です。
補足:バックパネル交換ガイドを読んでいる場合は手順5以降がないので、上記の画像を確認したい場合はマザーボード交換ガイドの手順5などを参照して下さい。
Servause -
-
-
-
crwdns2935267:0crwdne2935267:0Tweezers$4.99
-
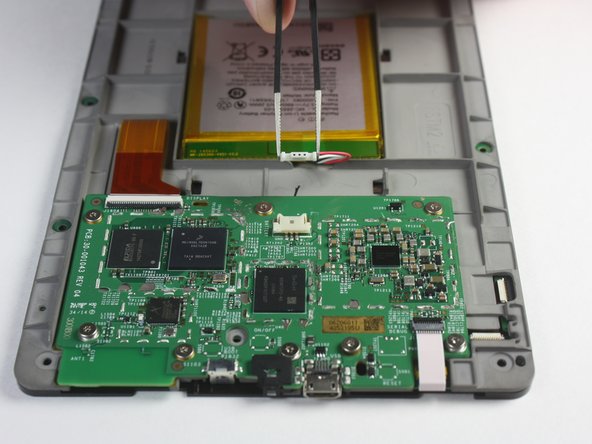
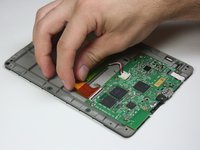
Flip the screen over to face the motherboard and battery pack.
-
Use the blunted precision tweezers to gently unclip and detach the cable connecting the battery pack and motherboard.
-
-
-
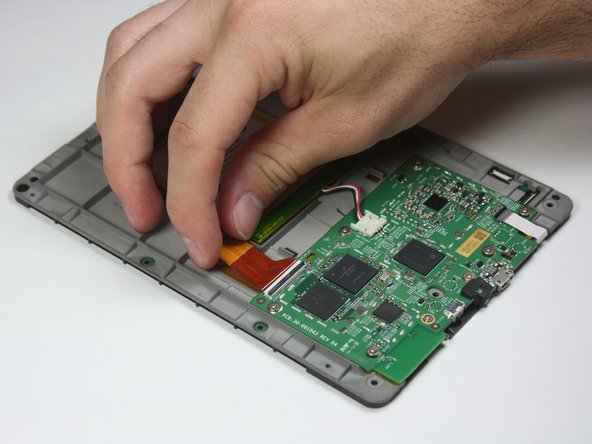
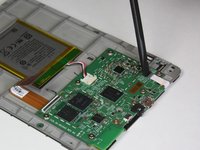
Use the tip of the spudger to flip up the small retaining flap on the copper colored zero insertion force (ZIF) connector.
-
Pull the cable from the connector.
-
-
-
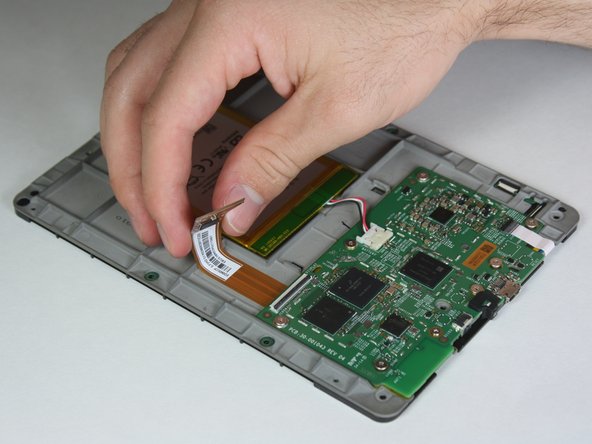
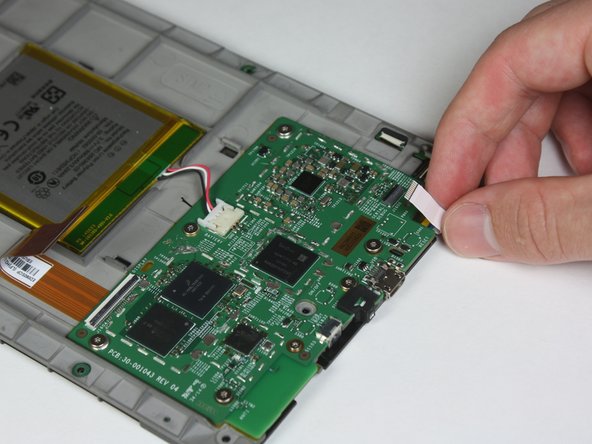
Similar to the previous step, flip up the retaining flap on the white cable connector.
-
Pull the white cable from the connection.
-
-
-
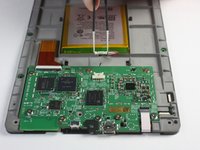
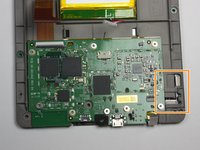
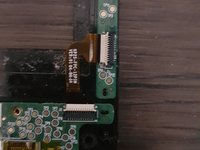
Disconnect the touch digitiser bridge cable by using your Spudger to lift up the white tabs on both connectors.
-
Use tweezers to pull out the cable.
-
The touch digitiser bridge cable is the one connecting between these two connectors.
-
-
-
Use the T5 Torx screwdriver to remove the eight 3.0 mm Torx screws.
-


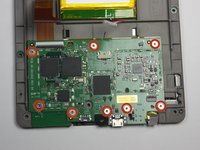

To reassemble your device, follow these instructions in reverse order.
To reassemble your device, follow these instructions in reverse order.
crwdns2935221:0crwdne2935221:0
crwdns2935229:04crwdne2935229:0
crwdns2915084:0crwdne2915084:0

Cal Poly, Team 6-28, Amido Winter 2015 crwdns2935289:0Cal Poly, Team 6-28, Amido Winter 2015crwdne2935289:0
CPSU-AMIDO-W15S6G28
crwdns2931471:04crwdne2931471:0
crwdns2935297:024crwdne2935297:0
crwdns2947412:03crwdne2947412:0
This doesn’t look like my 7th generation. Close but not quite the same. Does the motherboard have to be removed to replace the screen?
Anyone know where to buy parts? I’m struggling to find any
yes this is Def not the same as my 7th gen but it's an 8 inch so maybe that's the difference.. all I see is 4 screws holding down the motherboard n I've removed them but still can't get the board loose.. it's like one side of it is held down under these plastic tabs that don't move..
i had a battery that wouldn't even last a full day in the end. by accident i let the battery fall below 10% charge and when turned on it only showed the battery icon. I fully charged it and now i am having no problems with it. what i think happened is it reset the batteries memory and that was the problem. worth trying anyway before buying a new battery.
soupamanx - crwdns2934203:0crwdne2934203:0
I have no idea if my kindle is off. Holding in the button for a minute does nothing.
Manfred Knorr - crwdns2934203:0crwdne2934203:0