crwdns2915892:0crwdne2915892:0
The motherboard houses all the essential electronics to allow your JBL Xtreme 4 to play music. It can be found on the right hand side under the passive radiator and powerboard. In certain scenarios your motherboard may need to be replaced. If it comes to it this guide will show you how!
The Bluetooth 5.3 module is also housed on the motherboard. If you are experiencing Bluetooth issues consult our troubleshooting guide to see if replacing your motherboard is necessary.
Be sure to disconnect your device from any power sources before disassembling any electronics.
crwdns2942213:0crwdne2942213:0
-
-
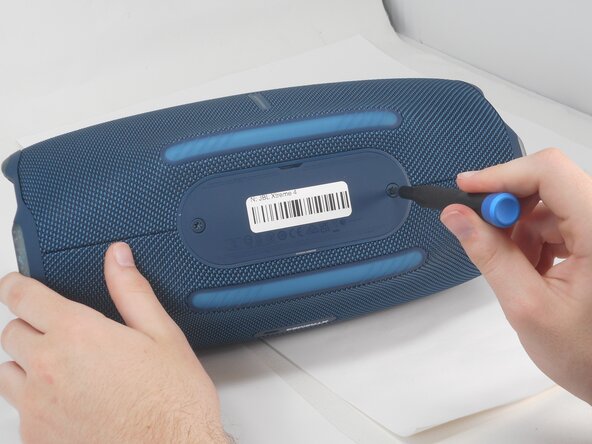
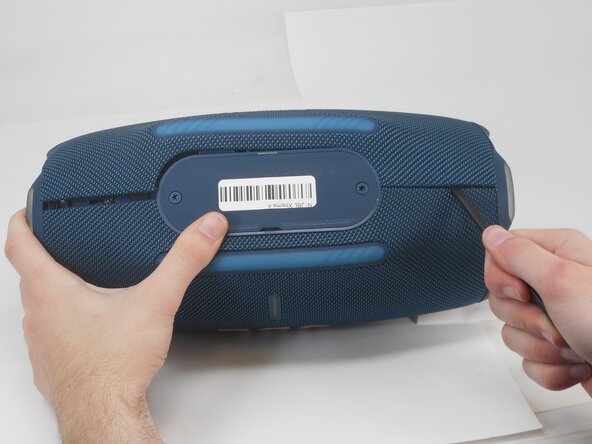
Use a T20 Torx screwdriver to remove the two 12.5 mm screws that secure the battery cover.
-
-
-
Using your fingernail or a spudger, pry open the battery cover.
-
-
-
Remove the battery by pinching the orange ribbon and gently pulling the battery upwards and out of its slot.
-
-
-
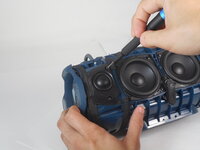
Insert the flat end of a spudger into the mesh cover seam beside the battery compartment.
-
Pry on both sides of the battery compartment until the mesh cover releases.
-
-
-
Use a Phillips screwdriver to remove the two 8.5 mm screws on either side of the battery compartment.
-
-
-
-
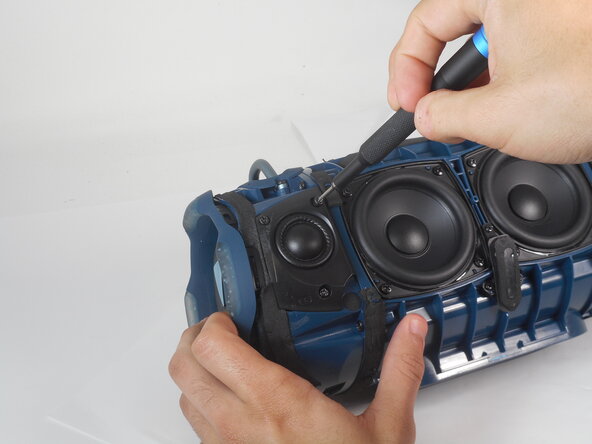
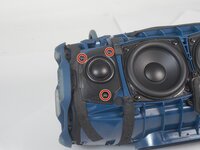
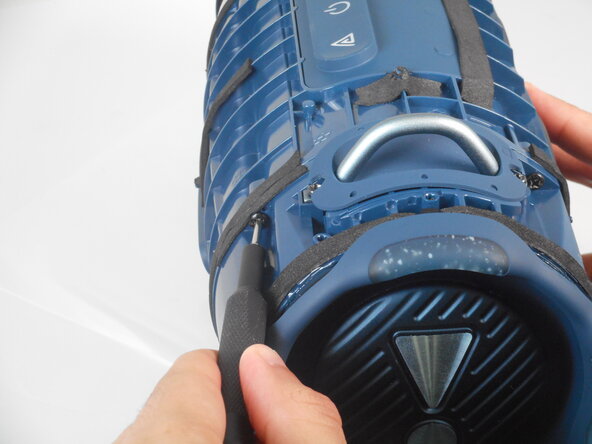
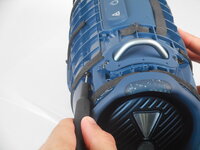
Use a Phillips screwdriver to remove the three 8.5 mm screws on the tweeter.
-
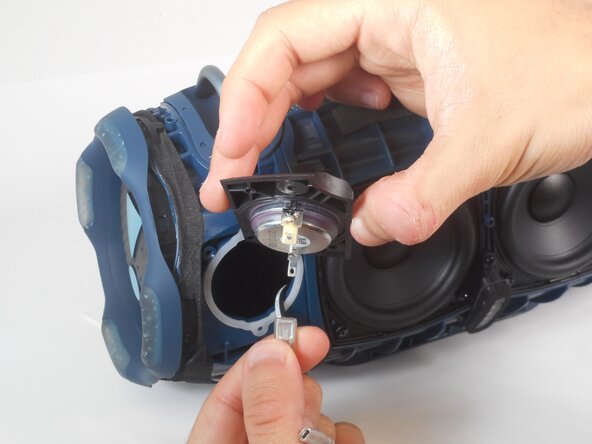
Pull the tweeter out from the device.
-
-
-
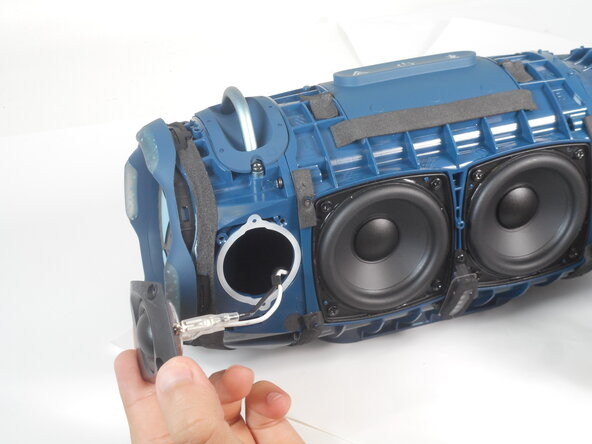
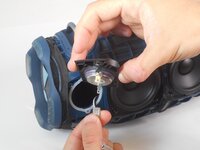
Pinch the cable connection for the tweeters and pull off.
-
Repeat the previous bullet for the second cable.
-
-
-
Use a Phillips the four 12.4 mm screws that secure the passive radiator.
-
-
-
Remove the passive radiator from the body of the speaker.
-
-
-
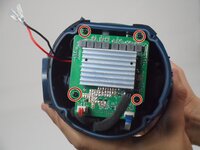
Use a screwdriver to remove four 8.5 mm screws that secure the power supply board.
-
-
-
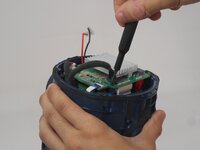
Lift the black ZIF locking flap that secures the ribbon cable.
-
Pull the ribbon cable directly out of its socket.
-
-
-
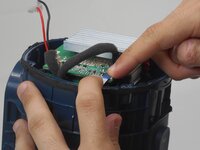
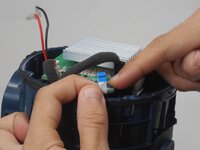
Unplug the two cable connectors from the power supply board by pulling them straight up and out of their sockets.
-
-
-
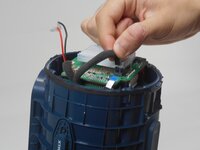
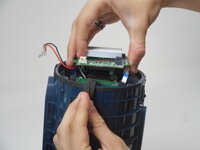
Carefully lift the power supply board and move it to the side to access the motherboard.
-
-
-
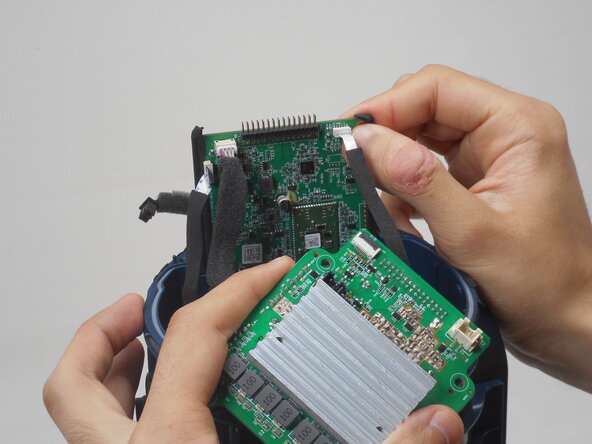
Disconnect the two ribbon cables attached to the motherboard.
-
-
-
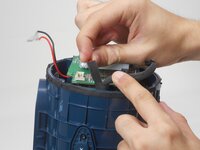
Detach the remaining cable connector from the motherboard.
-
-
-
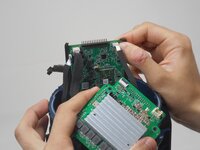
Use angled tweezers to lift and disconnect the coaxial cable.
-
-
-
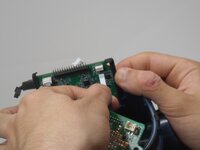
Lift the motherboard out of the speaker housing to remove it completely.
-


To reassemble your device, follow the above steps in reverse order.
Take your e-waste to an R2 or e-Stewards certified recycler.
Repair didn’t go as planned? Try some basic troubleshooting or ask our Answers community for help.
To reassemble your device, follow the above steps in reverse order.
Take your e-waste to an R2 or e-Stewards certified recycler.
Repair didn’t go as planned? Try some basic troubleshooting or ask our Answers community for help.

crwdns2915084:0crwdne2915084:0

University of Memphis, Team 2-4, Sneed Spring 2025 crwdns2935289:0University of Memphis, Team 2-4, Sneed Spring 2025crwdne2935289:0
UM-SNEED-S25S2G4
crwdns2931471:03crwdne2931471:0
crwdns2935297:013crwdne2935297:0