crwdns2942213:0crwdne2942213:0
-
-
Remove the 4.1 mm screws with a T5 Torx screwdriver.
-
Remove the 4.1 mm screws using a JIS #0 screwdriver.
-
-
-
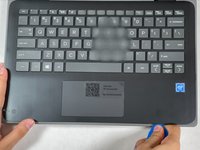
Use an opening pick to pry the corners of the keyboard deck.
-
-
-
-
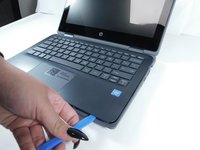
Use an opening pick or opening tool to pry around the sides of the keyboard assembly.
-
-
-
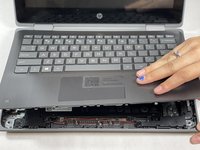
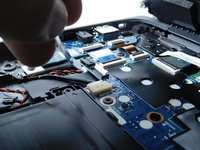
Lift the keyboard assembly to expose two ribbon cables.
-
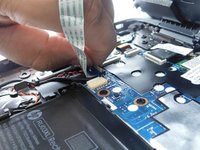
Lift the two plastic tabs that hold the cables in place on the motherboard
-
Slide the ribbon cables out of each connector.
-
-
-
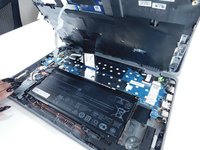
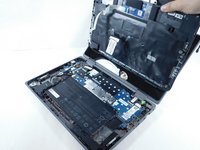
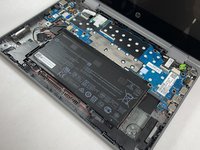
Remove the keyboard assembly from the rest of the computer.
-


To reassemble your device, follow these instructions in reverse order.
To reassemble your device, follow these instructions in reverse order.
crwdns2935221:0crwdne2935221:0
crwdns2935227:0crwdne2935227:0


crwdns2947410:01crwdne2947410:0
Merci pour ce tuto, je n'aurais pas su par quel bout le prendre ;)
Pour remplacer le clavier défectueux, il semble qu'il faille remplacer le top complet.