crwdns2933423:0crwdne2933423:0

HP EliteBook 840 Aero G8 SSD Cover Repositioning

crwdns2862623:0crwdne2862623:0
crwdns2942641:0crwdne2942641:0

crwdns2942213:0crwdne2942213:0

  1. crwdns2944588:01crwdnd2944588:0crwdnd2944588:0crwdne2944588:0

    HP EliteBook 840 Aero G8 SSD Cover Repositioning, Before you begin: crwdns2935265:01crwdnd2935265:01crwdnd2935265:02crwdne2935265:0 HP EliteBook 840 Aero G8 SSD Cover Repositioning, Before you begin: crwdns2935265:01crwdnd2935265:02crwdnd2935265:02crwdne2935265:0
    • Before starting your repair, allow your laptop's battery to drain below 25%—a charged lithium-ion battery is a potential safety hazard if accidentally damaged.

    • Save your work, fully shut down your laptop, and unplug all cables.

  2. HP EliteBook 840 Aero G8 SSD Cover Repositioning, Unfasten the bottom cover: crwdns2935265:02crwdnd2935265:01crwdnd2935265:02crwdne2935265:0 HP EliteBook 840 Aero G8 SSD Cover Repositioning, Unfasten the bottom cover: crwdns2935265:02crwdnd2935265:02crwdnd2935265:02crwdne2935265:0
    • Despite the standards, Phillips screwdrivers can vary in size and shape—two drivers labeled as the same size may fit differently in the same screw. Use the size that fits the most snug into the screw head to avoid stripping it.

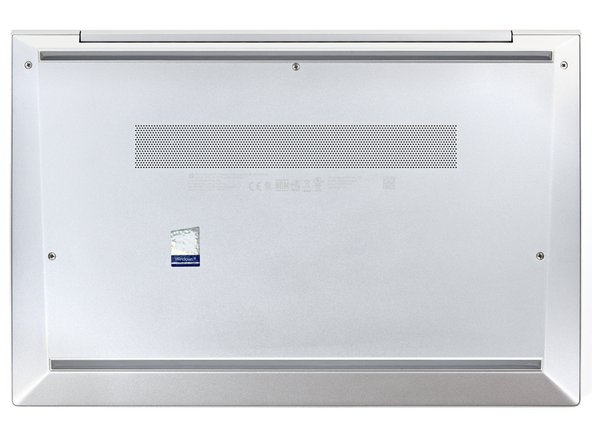
    • Use a Phillips screwdriver to fully loosen (but not remove) the five captive screws securing the bottom cover.

  3. HP EliteBook 840 Aero G8 SSD Cover Repositioning, Release the bottom cover clips: crwdns2935265:03crwdnd2935265:01crwdnd2935265:03crwdne2935265:0 HP EliteBook 840 Aero G8 SSD Cover Repositioning, Release the bottom cover clips: crwdns2935265:03crwdnd2935265:02crwdnd2935265:03crwdne2935265:0 HP EliteBook 840 Aero G8 SSD Cover Repositioning, Release the bottom cover clips: crwdns2935265:03crwdnd2935265:03crwdnd2935265:03crwdne2935265:0
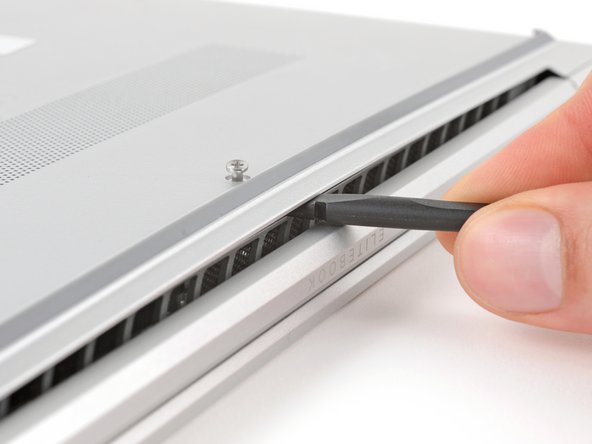
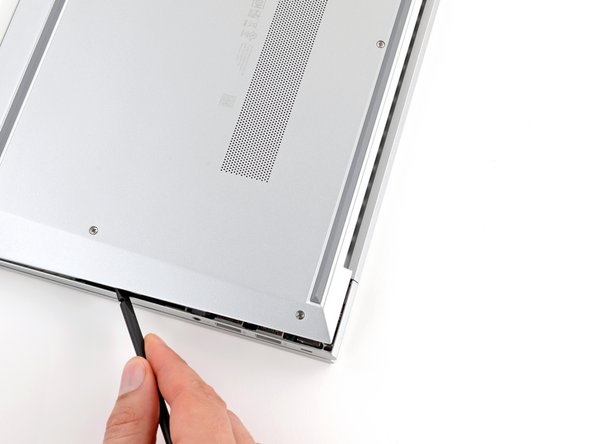
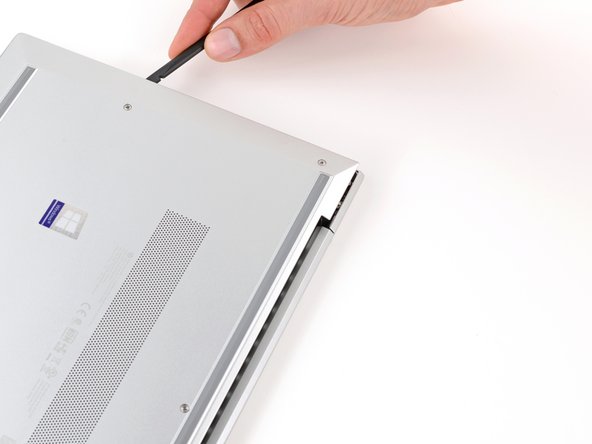
    • Position your laptop so the rear edge (with the screen hinge) is closest to you.

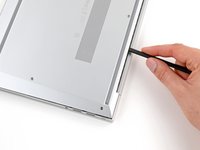
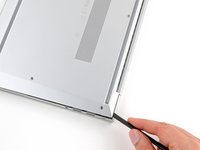
    • Insert the flat end of a spudger between the rear edge of the bottom cover and the frame, near the middle screw and ELITEBOOK text.

    • If you're having trouble inserting your spudger, make sure the screw is fully loosened. If necessary, use your fingers to gently pull the screw up.

    • Use your spudger to pry up the cover to release the clip securing it.

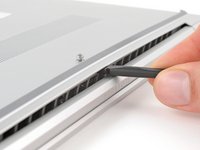
    • Leave the spudger inserted under the bottom cover for the next step.

  4. HP EliteBook 840 Aero G8 SSD Cover Repositioning: crwdns2935265:04crwdnd2935265:01crwdnd2935265:03crwdne2935265:0 HP EliteBook 840 Aero G8 SSD Cover Repositioning: crwdns2935265:04crwdnd2935265:02crwdnd2935265:03crwdne2935265:0 HP EliteBook 840 Aero G8 SSD Cover Repositioning: crwdns2935265:04crwdnd2935265:03crwdnd2935265:03crwdne2935265:0
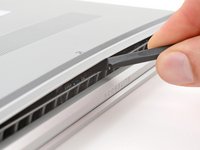
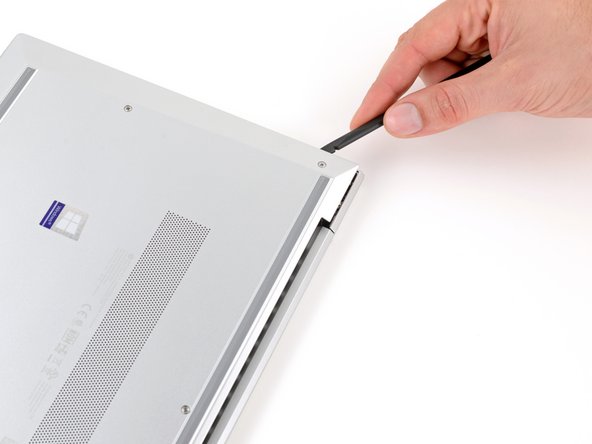
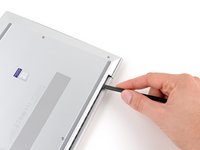
    • Slide your spudger along the rear edge toward one of the corners to release the rear edge clips.

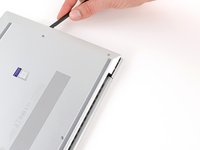
    • Rotate your spudger around the corner and up the edge to release the clips securing the short edge of the cover.

  5. HP EliteBook 840 Aero G8 SSD Cover Repositioning: crwdns2935265:05crwdnd2935265:01crwdnd2935265:03crwdne2935265:0 HP EliteBook 840 Aero G8 SSD Cover Repositioning: crwdns2935265:05crwdnd2935265:02crwdnd2935265:03crwdne2935265:0 HP EliteBook 840 Aero G8 SSD Cover Repositioning: crwdns2935265:05crwdnd2935265:03crwdnd2935265:03crwdne2935265:0
    • Reinsert the flat end of a spudger near the ELITEBOOK text.

    • Repeat the previous step for the other side of the cover to release the remaining clips.

  6. HP EliteBook 840 Aero G8 SSD Cover Repositioning, Remove the bottom cover: crwdns2935265:06crwdnd2935265:01crwdnd2935265:03crwdne2935265:0 HP EliteBook 840 Aero G8 SSD Cover Repositioning, Remove the bottom cover: crwdns2935265:06crwdnd2935265:02crwdnd2935265:03crwdne2935265:0 HP EliteBook 840 Aero G8 SSD Cover Repositioning, Remove the bottom cover: crwdns2935265:06crwdnd2935265:03crwdnd2935265:03crwdne2935265:0
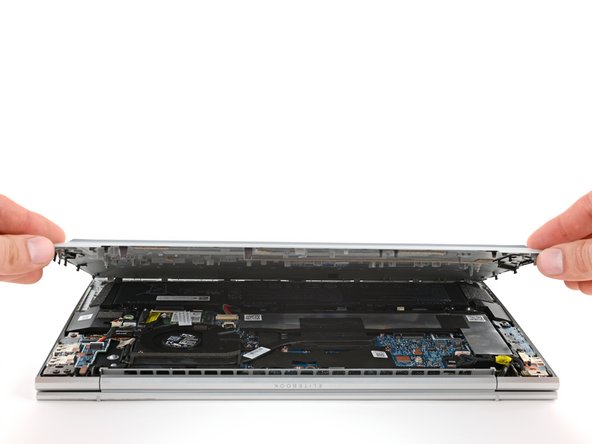
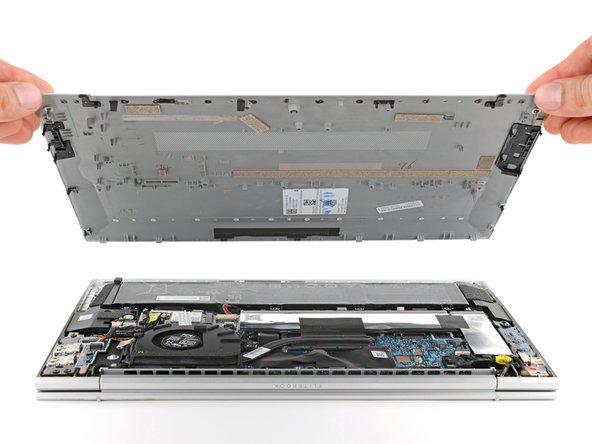
    • Lift and remove the bottom cover.

    • The cover should lift away easily. If you feel resistance, use the flat end of a spudger to release any remaining clips, and check that all screws are fully loosened.

    • During reassembly, slide the clips along the front edge of the cover (opposite the hinge) into their slots on the frame, then lay the cover down. Press firmly around the perimeter to engage all of the clips.

  7. HP EliteBook 840 Aero G8 SSD Cover Repositioning, Disconnect the battery: crwdns2935265:07crwdnd2935265:01crwdnd2935265:03crwdne2935265:0 HP EliteBook 840 Aero G8 SSD Cover Repositioning, Disconnect the battery: crwdns2935265:07crwdnd2935265:02crwdnd2935265:03crwdne2935265:0 HP EliteBook 840 Aero G8 SSD Cover Repositioning, Disconnect the battery: crwdns2935265:07crwdnd2935265:03crwdnd2935265:03crwdne2935265:0
    • Position your laptop so the front edge (opposite the screen hinges) is closest to you.

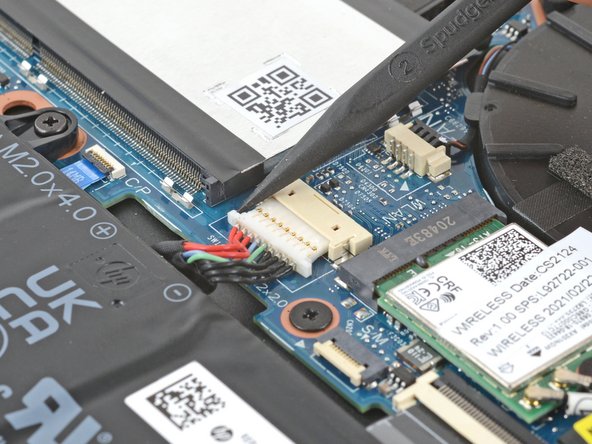
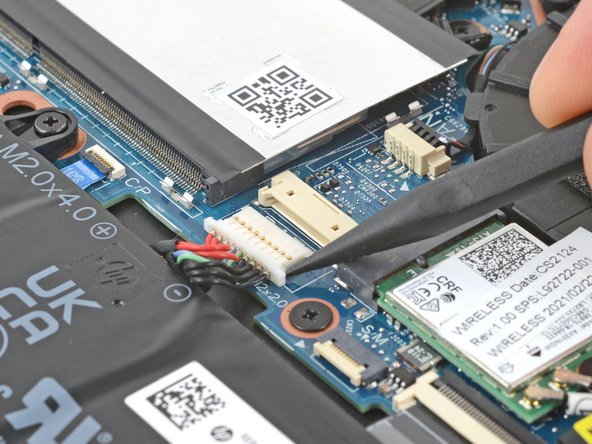
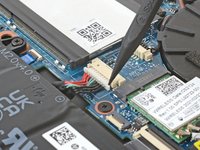
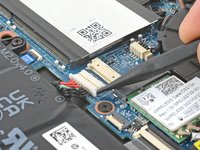
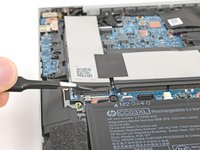
    • Use the point of a spudger or your fingernail to push on alternating sides of the battery's sliding connector to walk it completely out of its socket.

  8. HP EliteBook 840 Aero G8 SSD Cover Repositioning, HP EliteBook 840 Aero G8 SSD Cover Repositioning: crwdns2935265:08crwdnd2935265:01crwdnd2935265:03crwdne2935265:0 HP EliteBook 840 Aero G8 SSD Cover Repositioning, HP EliteBook 840 Aero G8 SSD Cover Repositioning: crwdns2935265:08crwdnd2935265:02crwdnd2935265:03crwdne2935265:0 HP EliteBook 840 Aero G8 SSD Cover Repositioning, HP EliteBook 840 Aero G8 SSD Cover Repositioning: crwdns2935265:08crwdnd2935265:03crwdnd2935265:03crwdne2935265:0
    • Depending on your laptop configuration, your device may have a metal shield or no cover at all.

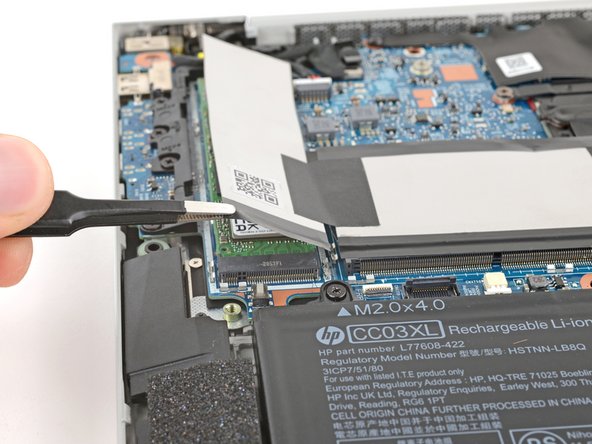
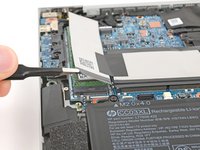
    • Use tweezers or your fingers to peel up the bottom edge of the SSD cover.

    • If the cover is difficult to peel up, use an iOpener or hair dryer to lightly heat it. Be careful not to overheat the tape or the surrounding components.

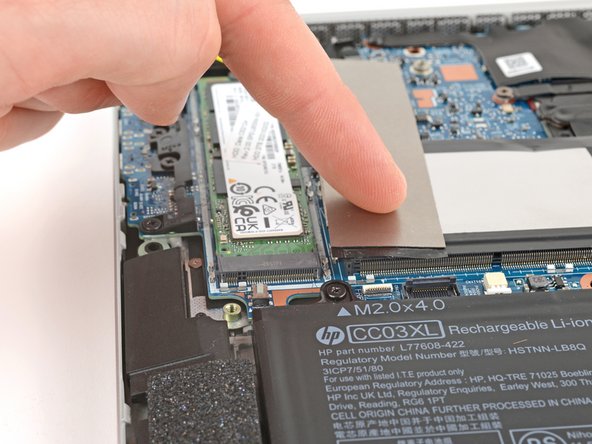
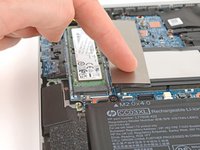
    • Fold the SSD cover over, onto the memory module cover.

crwdns2935217:0crwdne2935217:0

Spencer Day

crwdns2935283:009/14/22crwdne2935283:0

112,013 crwdns2915208:0crwdne2915208:0

crwdns2935297:0811crwdne2935297:0

crwdns2915084:0crwdne2915084:0

iFixit crwdns2935289:0iFixitcrwdne2935289:0

Staff

crwdns2931471:0120crwdne2931471:0

crwdns2935297:020,021crwdne2935297:0

crwdns2947412:00crwdne2947412:0

crwdns2917038:0crwdne2917038:0

crwdns2936625:0crwdne2936625:0:

crwdns2936751:024crwdne2936751:0 0

crwdns2936753:07crwdne2936753:0 2

crwdns2936753:030crwdne2936753:0 3

crwdns2942667:0crwdne2942667:0 17