
HP Elite x2 G1 1012 Motherboard Replacement Guide
crwdns2944107:0crwdnd2944107:0Hanif Norhishamcrwdnd2944107:0crwdnd2944107:0crwdnd2944107:05crwdnd2944107:0crwdne2944107:0
crwdns2944111:0Mud 7, 2024crwdne2944111:0
crwdns2915892:0crwdne2915892:0
crwdns2942287:0crwdne2942287:0If the tablet experiences one of the three symptoms below, there might be a problem with the motherboard.
- The initial start-up functions appear like indicative light, fan, and hard drive sound, but disappears after a while, i.e., 5 – 3 minutes.
- A high pitched sound comes from the laptop when you press the “on” button.
- Your screen is projecting a black screen, even though all other components such as fans, indication light and hard drive seems to be working perfectly.
Before going through the replacement process, make sure your tablet is turned off and not connected to the power cord.
crwdns2942213:0crwdne2942213:0
crwdns2943215:0crwdne2943215:0


crwdns2944105:0crwdne2944105:0
-
-
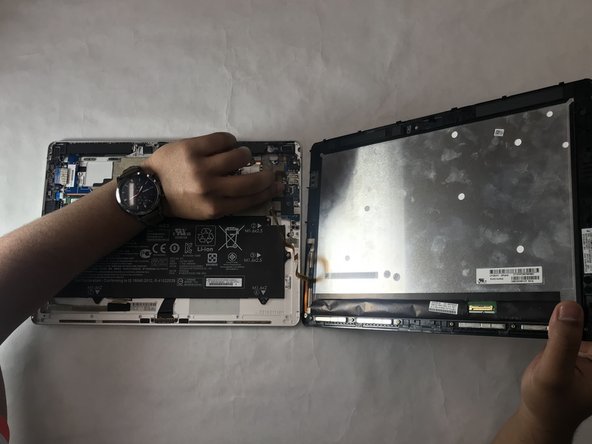
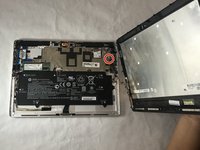
Detach the keyboard from the screen.
-
-
-
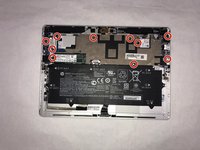
While the screen is facing down, remove six 3.0 mm Torx T5 screws under the stand.
-
-
-
Use a suction cup to remove the screen panel.
-
-
crwdns2935267:0crwdne2935267:0Tweezers$4.99
-
Detach flex cable from motherboard using tweezers.
You also have to detach the screen ribbon (silver) at the bottom end. Peel back the protective sticker on the screen end, and it unplugs downwards. There’s no retaining clip.
-
-
-
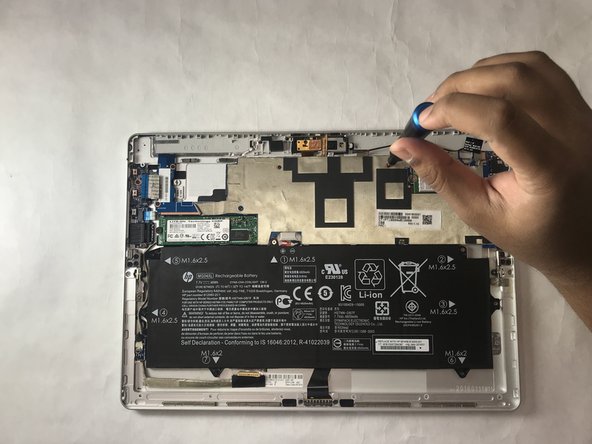
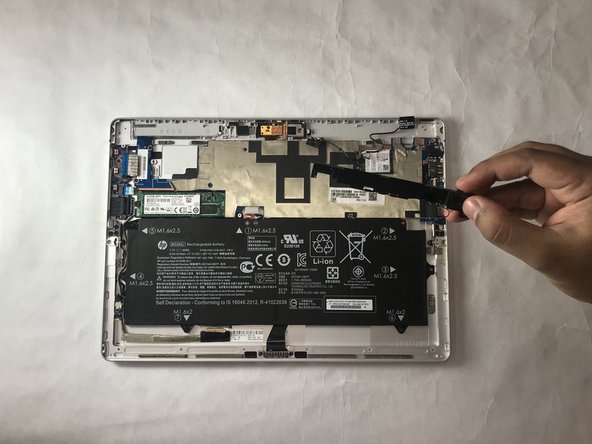
Unplug the battery wire attached to the motherboard using tweezers.
-
-
-
Remove ten 2.7mm screws using the Phillips #0 screwdriver.
There is one screw missing here: Top Right immediately above the USB 3 port. It needs to come out as well.
Also, there is a silver double-screw cover above the USB-C post that needs to come out as well.
-
-
-
Unplug the speaker wire attached to the motherboard.
-
-
-
Detach the two stickers highlighted from the right speaker.
I cannot see why you needed to take out the speakers. They do not inhibit the Board coming out. The only thing you need to do is detach the stickers holding the wifi antennas from the speakers, and unplug the speaker cables from the motherboard (they are tiny and very fiddly to get back in again - needs small tweezers)
-
-
-
Detach the right speaker cables from the motherboard using tweezers.
-
-
-
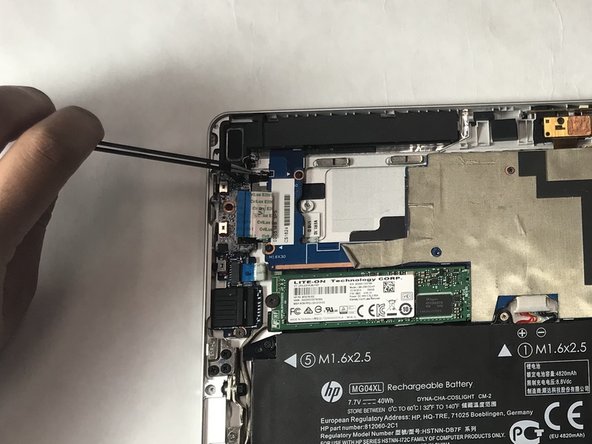
Detach the WWAN card from the motherboard by pulling it to the left using tweezers.
-
-
-
Detach the SSD from motherboard by pulling it to the left using tweezers.
-
-
-
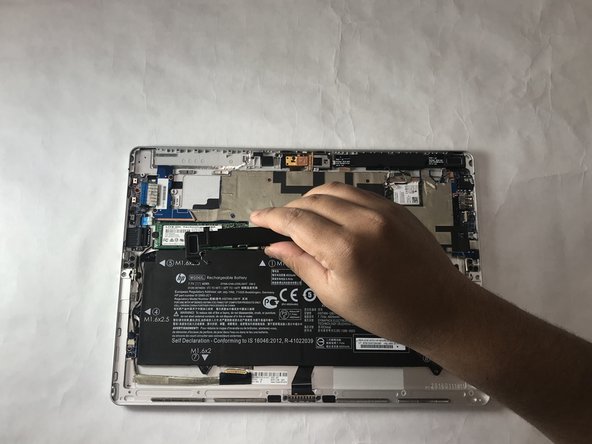
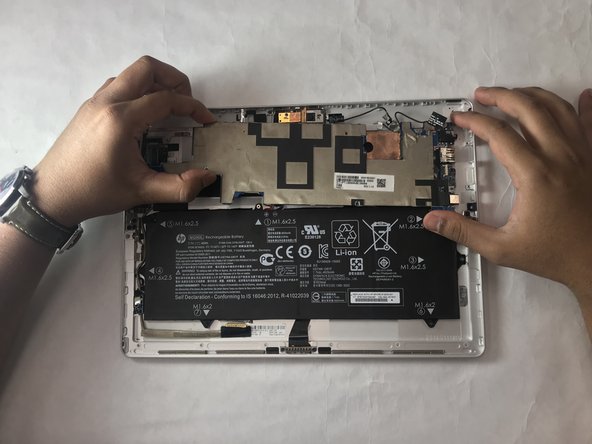
Use the plastic opening tool to loosen the motherboard.
You missed a step here. Using the other guides for the front and real camera, you need to detach these before prying up the motherboard
-
-
-
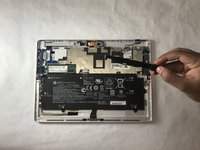
Detach the motherboard from the casing.
-


To reassemble your device, follow these instructions in reverse order.
To reassemble your device, follow these instructions in reverse order.
crwdns2935221:0crwdne2935221:0
crwdns2935229:03crwdne2935229:0
crwdns2915084:0crwdne2915084:0

IUPUI, Team S1-G5, Harley Summer 2019 crwdns2935289:0IUPUI, Team S1-G5, Harley Summer 2019crwdne2935289:0
IUPUI-HARLEY-SU19S1G5
crwdns2931471:04crwdne2931471:0
crwdns2935297:02crwdne2935297:0
crwdns2947410:01crwdne2947410:0
¿basta con esto para cambiar el cable LCD?
Is this enough to replace the LCD wire?