crwdns2933423:0crwdne2933423:0

HP 14-cf2112wm Speakers Replacement

crwdns2942213:0crwdne2942213:0

  1. HP 14-cf2112wm Speakers Replacement, Back Cover: crwdns2935265:01crwdnd2935265:01crwdnd2935265:01crwdne2935265:0
    • Before you begin, shut down your laptop and disconnect all cables.

    • Turn the laptop over so the bottom case is facing up.

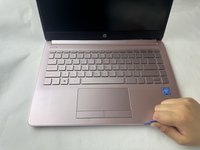
  2. HP 14-cf2112wm Speakers Replacement: crwdns2935265:02crwdnd2935265:01crwdnd2935265:02crwdne2935265:0 HP 14-cf2112wm Speakers Replacement: crwdns2935265:02crwdnd2935265:02crwdnd2935265:02crwdne2935265:0
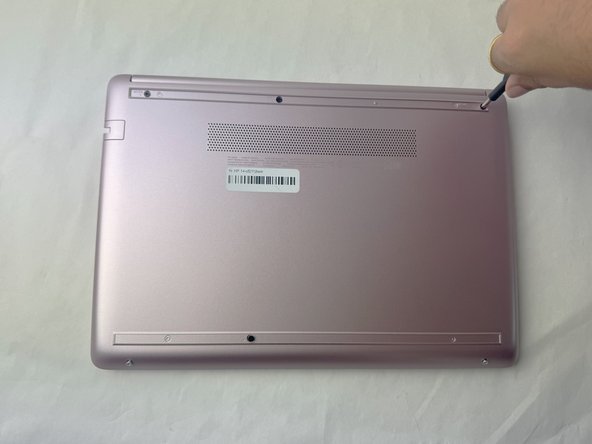
    • Use a spudger to pry under the end of the screw cover.

    • When the edge is lifted up, use your fingers to pull the rest of the strip off.

    • Try to keep the strip intact so you can replace it at reassembly.

  3. HP 14-cf2112wm Speakers Replacement: crwdns2935265:03crwdnd2935265:01crwdnd2935265:02crwdne2935265:0 HP 14-cf2112wm Speakers Replacement: crwdns2935265:03crwdnd2935265:02crwdnd2935265:02crwdne2935265:0
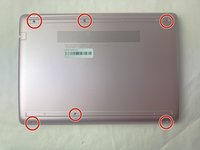
    • Use a Phillips #1 screwdriver to remove six 6 mm screws from the back case.

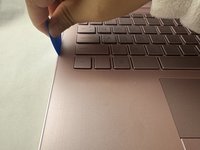
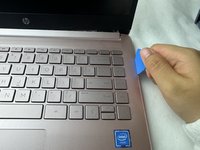
  4. HP 14-cf2112wm Speakers Replacement: crwdns2935265:04crwdnd2935265:01crwdnd2935265:03crwdne2935265:0 HP 14-cf2112wm Speakers Replacement: crwdns2935265:04crwdnd2935265:02crwdnd2935265:03crwdne2935265:0 HP 14-cf2112wm Speakers Replacement: crwdns2935265:04crwdnd2935265:03crwdnd2935265:03crwdne2935265:0
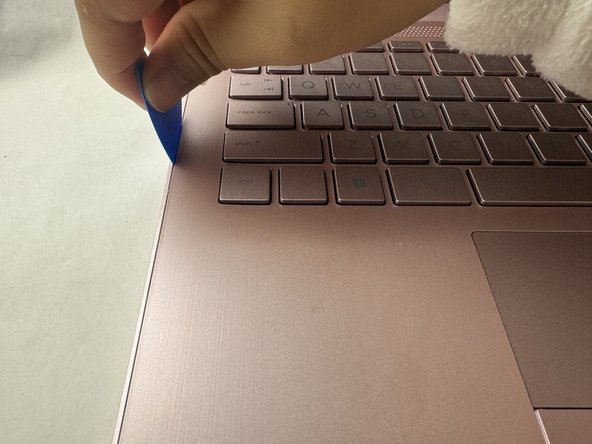
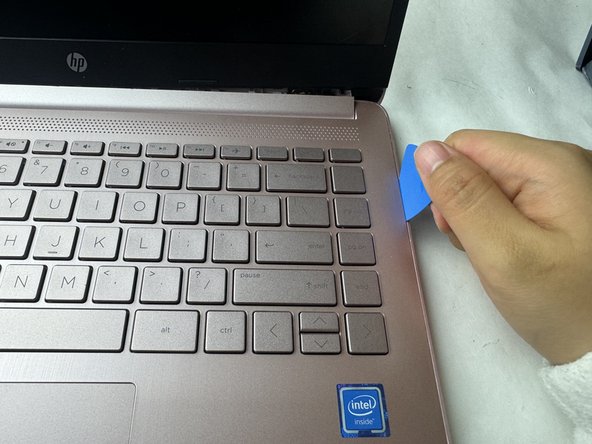
    • Use a pick or opening tool to pry along the edges of the back cover from the keyboard side of the laptop.

    • Be careful as the case edges are sharp.

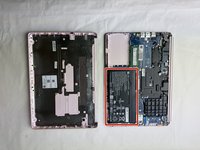
  5. HP 14-cf2112wm Speakers Replacement: crwdns2935265:05crwdnd2935265:01crwdnd2935265:01crwdne2935265:0
    • Lift the back cover off the laptop.

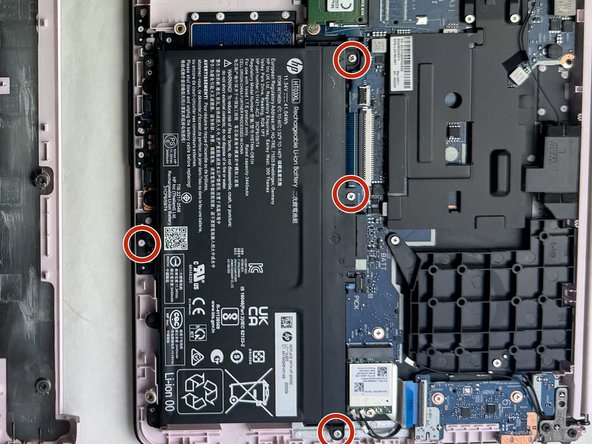
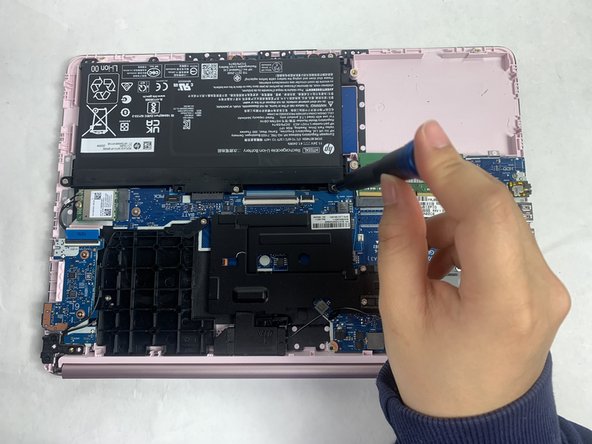
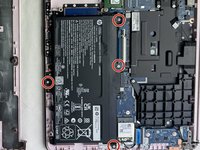
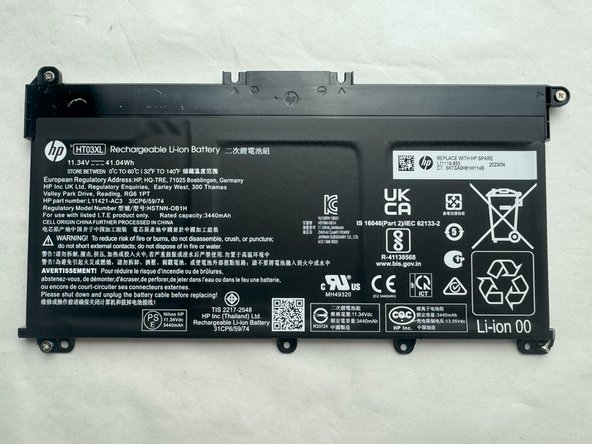
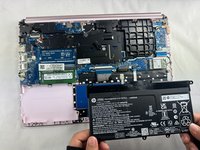
  6. HP 14-cf2112wm Speakers Replacement, Battery: crwdns2935265:06crwdnd2935265:01crwdnd2935265:03crwdne2935265:0 HP 14-cf2112wm Speakers Replacement, Battery: crwdns2935265:06crwdnd2935265:02crwdnd2935265:03crwdne2935265:0 HP 14-cf2112wm Speakers Replacement, Battery: crwdns2935265:06crwdnd2935265:03crwdnd2935265:03crwdne2935265:0
    • Place your opened laptop on a flat surface.

    • Use a Phillips #1 screwdriver to remove the four Phillips 3.0 mm screws securing the battery.

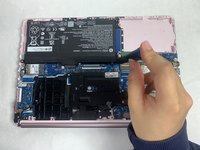
  7. HP 14-cf2112wm Speakers Replacement: crwdns2935265:07crwdnd2935265:01crwdnd2935265:02crwdne2935265:0 HP 14-cf2112wm Speakers Replacement: crwdns2935265:07crwdnd2935265:02crwdnd2935265:02crwdne2935265:0
    • Slide the battery out from the connector on the motherboard.

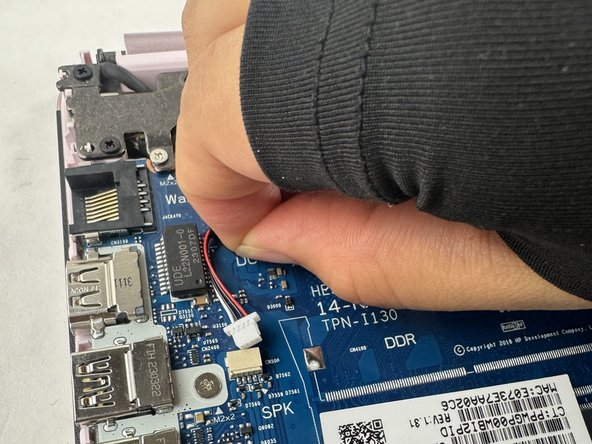
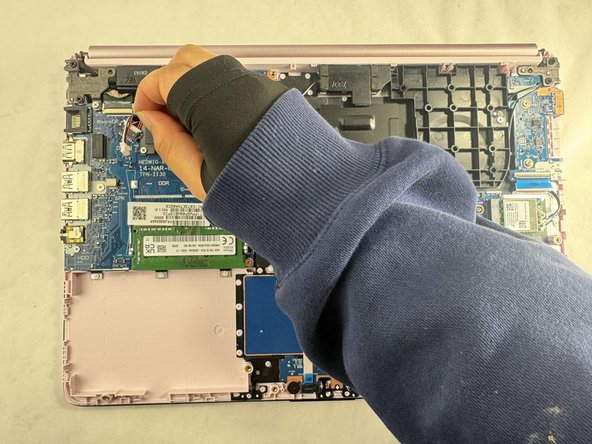
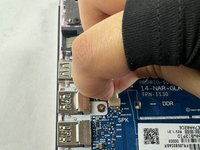
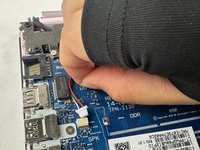
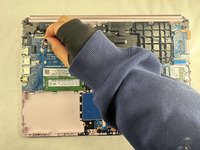
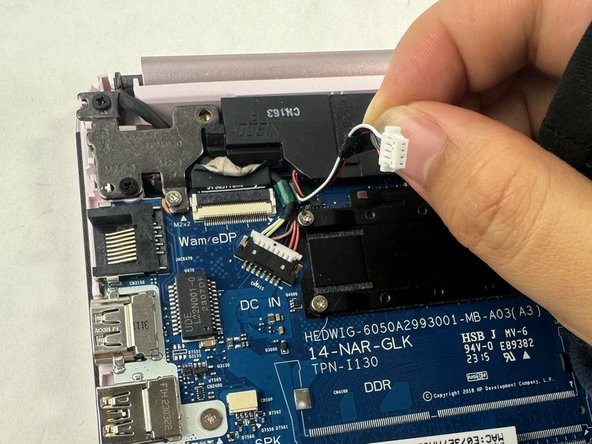
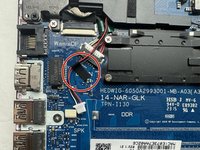
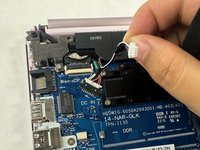
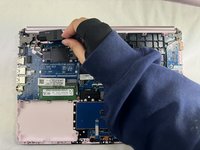
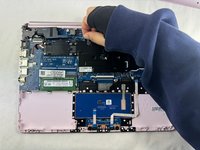
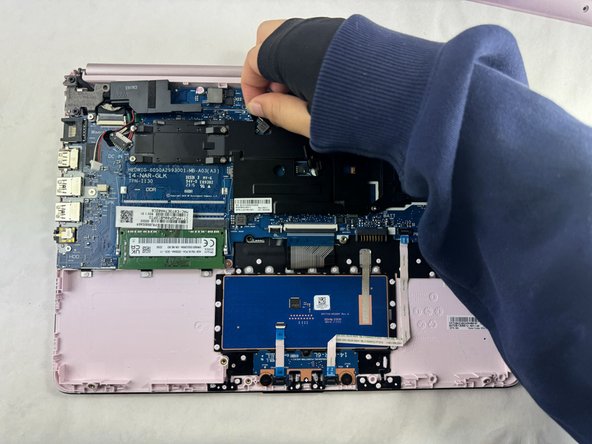
  8. HP 14-cf2112wm Speakers Replacement, Speakers: crwdns2935265:08crwdnd2935265:01crwdnd2935265:03crwdne2935265:0 HP 14-cf2112wm Speakers Replacement, Speakers: crwdns2935265:08crwdnd2935265:02crwdnd2935265:03crwdne2935265:0 HP 14-cf2112wm Speakers Replacement, Speakers: crwdns2935265:08crwdnd2935265:03crwdnd2935265:03crwdne2935265:0
    • Use your fingers or tweezers to pull out the speaker cable from the slide connector socket on the motherboard.

    • Don't pull on the wires as it may damage the connector or cable.

    • If that doesn't work, use the point of a spudger to push on alternating sides of the connector to "walk" it out of its socket.

    • It may take a lot of alternating before the connector comes out.

    • To reconnect the cable, align the connector and use a spudger or clean fingernail to push it fully into the socket.

    • Don't push on the cables themselves, or you may damage the connector.

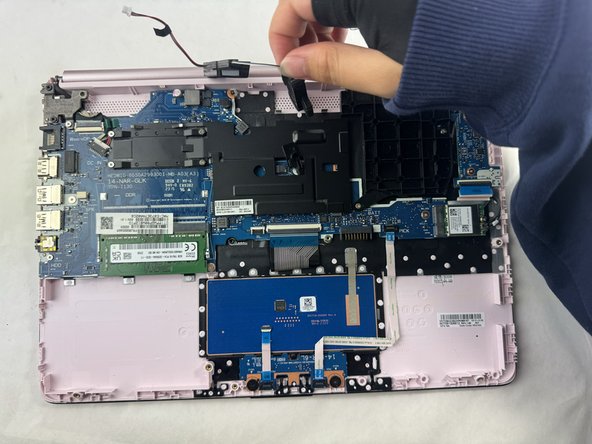
  9. HP 14-cf2112wm Speakers Replacement: crwdns2935265:09crwdnd2935265:01crwdnd2935265:02crwdne2935265:0 HP 14-cf2112wm Speakers Replacement: crwdns2935265:09crwdnd2935265:02crwdnd2935265:02crwdne2935265:0
    • Remove the tape holding the cables to the motherboard.

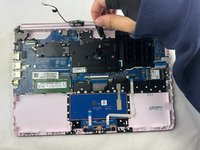
  10. HP 14-cf2112wm Speakers Replacement: crwdns2935265:010crwdnd2935265:01crwdnd2935265:03crwdne2935265:0 HP 14-cf2112wm Speakers Replacement: crwdns2935265:010crwdnd2935265:02crwdnd2935265:03crwdne2935265:0 HP 14-cf2112wm Speakers Replacement: crwdns2935265:010crwdnd2935265:03crwdnd2935265:03crwdne2935265:0
    • Remove the speakers.

    • A loose plastic piece may or may not fall out during this step, but you can press it back in place between the speaker and the motherboard.

crwdns2915888:0crwdne2915888:0

To reassemble your device, follow these instructions in reverse order. Take your e-waste to an R2 or e-Stewards certified recycler.

crwdns2935227:0crwdne2935227:0
Shishi Hu

crwdns2935283:003/18/24crwdne2935283:0

763 crwdns2915208:0crwdne2915208:0

crwdns2935297:05crwdne2935297:0

crwdns2915084:0crwdne2915084:0
UMass Dartmouth, Team 1-2, Konn Spring 2024 crwdns2935289:0UMass Dartmouth, Team 1-2, Konn Spring 2024crwdne2935289:0
UMASSD-KONN-S24S1G2

crwdns2931471:04crwdne2931471:0

crwdns2935297:05crwdne2935297:0

crwdns2947412:00crwdne2947412:0

crwdns2917038:0crwdne2917038:0

crwdns2936625:0crwdne2936625:0:

crwdns2936751:024crwdne2936751:0 2

crwdns2936753:07crwdne2936753:0 4

crwdns2936753:030crwdne2936753:0 15

crwdns2942667:0crwdne2942667:0 187