crwdns2915892:0crwdne2915892:0
This guide will give you a brief overview of how you can get started with Blender, as well as some basic tool uses. This guide will cover the basics of the Blender User Interface, Adding Objects to a Scene, Navigating the 3D Viewport, Moving Objects in a Scene, Changing an Objects Material, Resizing and Rotating an Object.
-
-
When starting Blender, the splash screen will appear in the center of the program window. This screen will allow you to create new projects or open recent projects you've recently worked on.
-
You can close the splash screen by clicking anywhere outside the splash screen (but inside of the Blender program window) or by pressing the Esc key.
-
-
-
Once the splash screen is closed, you will be presented with Blender's main UI. You might feel overwhelmed by the many panels, but their are only a few different areas you should be aware of.
-
Blender's user interface is divided into three separate parts...
-
Topbar: The Topbar is at the very top of Blender's window, and consists of the main menu. It is used for saving your progress, importing and exporting files, configuring settings, and rendering scenes. The Topbar is also where you will find different Workspaces.
-
Areas: Areas are in the center of the window, and will be your main workspace.
-
Status Bar: Located at the bottom of the screen, the Status Bar displays shortcut suggestions, along with relevant statistics about your Areas.
-
-
-
Blender's main Area is a predefined workspace. Users can make their own workspaces, but by default you will be loaded into the standard Layout workspace. This workspace consists of the following Editors...
-
3D Viewport: This is where you view and interact with your 3D scene.
-
Outliner: Displays a hierarchical list of all objects in your scene. It helps you select and organize objects.
-
Properties: Contains detailed settings for selected objects, including modifiers, materials, and scene properties.
-
Timeline: Primarly used for animation. The timeline shows frames and keyframes to help control animated sequences.
-
-
-
In addition to the standard Layout workspace, Blender also offers several other workspaces.
-
Modeling: For modifying model geometry with modeling tools.
-
Sculpting: For modification of meshes by sculpting tools.
-
UV Editing: For mapping of image texture coordinates to 3D surfaces.
-
Texture Paint: For coloring image textures in the 3D Viewport
-
Shading: For specifying material properties for rendering.
-
Animation: For making properties of objects depending on time.
-
Rendering: For viewing and analyzing rendering results.
-
-
-
-
Compositing: For combining and post-processing of images and rendering information.
-
Geometry Nodes: For procedural modeling using Geometry Nodes.
-
Scripting: For interacting with Blender's Python API and writing scripts.
-
2D Animation: General workspace to work with Grease Pencil.
-
2D Full Canvas: Features simmilar tools to the 2D Animation workspace, but features a larger canvas.
-
Masking: For creating 2D masks for compositioning or video editing.
-
Motion Tracking: For calculating camera motion and stabilizing video footage.
-
Video Editing: For sequencing together media into one video.
-
-
-
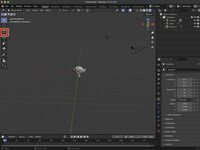
By default, Blender will generate a single 1 m3 cube along with a camera and a light source. You can select these objects by left-clicking on the objects in the 3D Viewport or in the Outliner. Delete only the Cube by right-clicking the cube in the Outliner and choosing Delete from the menu.
-
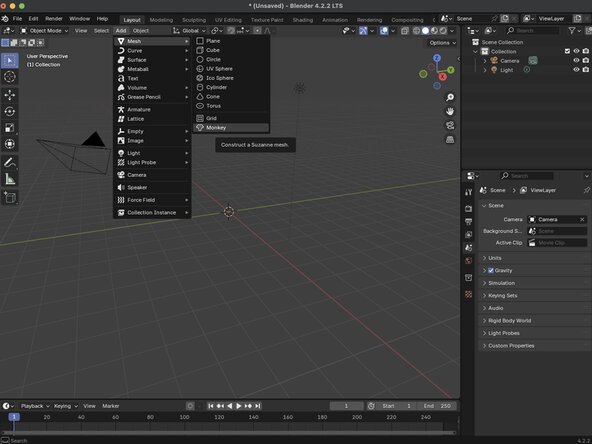
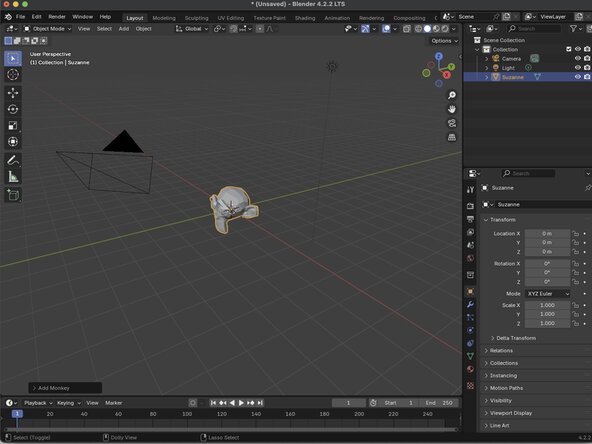
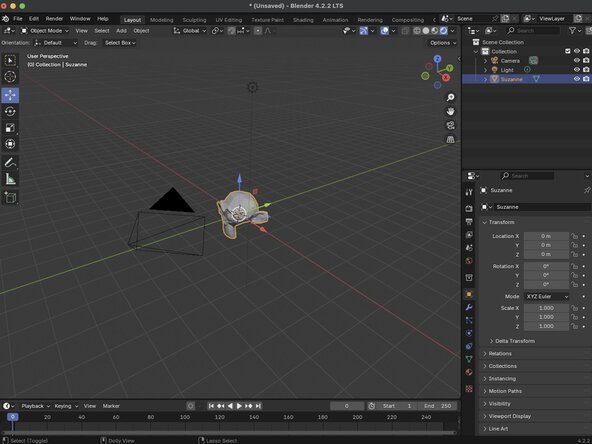
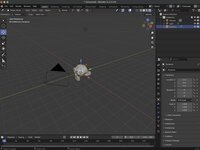
Once the cube has been deleted from the scene, you will click on the add button at the top of the Viewport, and choose Mesh then Monkey from the menu. This will add a rendering of Suzanne to our scene.
-
-
-
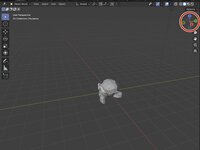
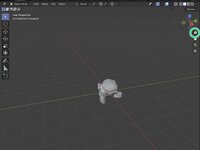
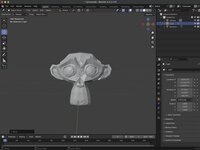
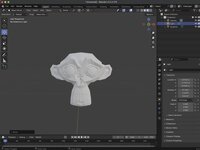
Orbit Gizmo: To orbit around an object you can hold down your mouse's scroll wheel known as the middle button to orbit around your object. You can also orbit by dragging the Orbit Gizmo in the upper right-hand corner of the Viewport.
-
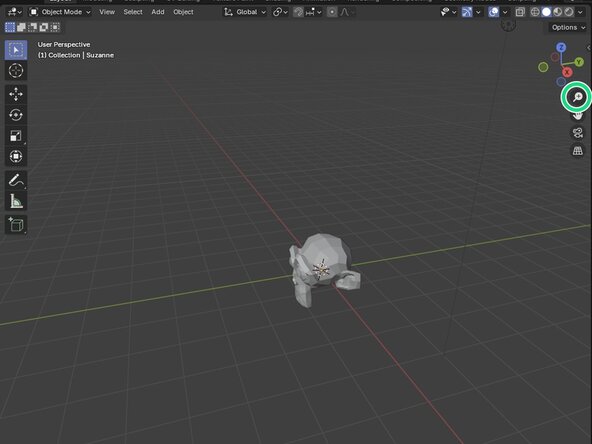
Zooming In/Out: You can zoom your view in and out by simply rolling the scroll wheel. You can also hold down the magnifying glass button and move your mouse foward and back.
-
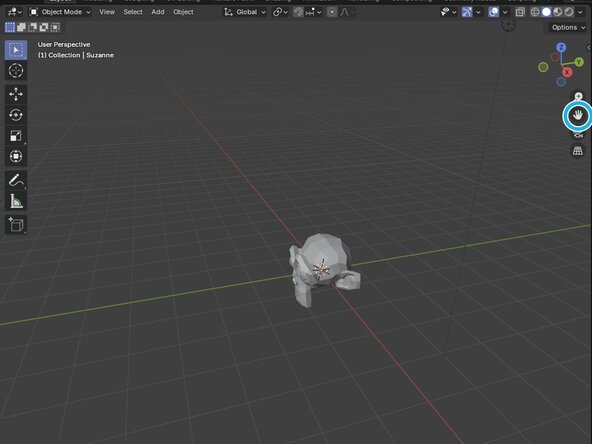
Moving the View: You can move the view itself by holding down the Move the View button and moving your mouse.
-
-
-
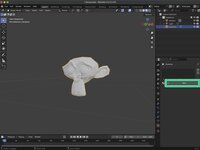
Solid: Renders the scene as solid objects using built-in lighting, which is helpful for modeling and basic preview.
-
Material Preview: Shows materials and textures in the viewport with Eevee engine, enabling previews of materials and textures under a specific lighting environment.
-
Rendered: It renders the scene as it will appear in the final render, using the selected render engine and lighting setup. This is ideal for previewing the final outcome.
-
-
-
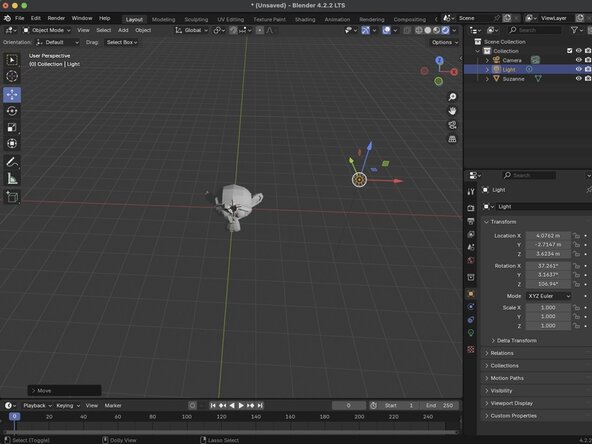
You can move objects around your scene usign the Move Tool. Simply toggle the tool on by clicking on the Move Tool button, and either selecting the object you want to move in the 3D Viewport, or by slecting the object in the Outliner.
-
Once you've selected your object a set of arrows should appear, corisponding to the X, Y, and Z axis. You can move the object along the azis' by clicking and draging on the individual arrows, or you can move the object freely by clicking and dragging the object itself.
-
-
-
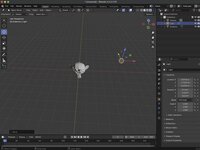
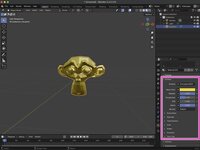
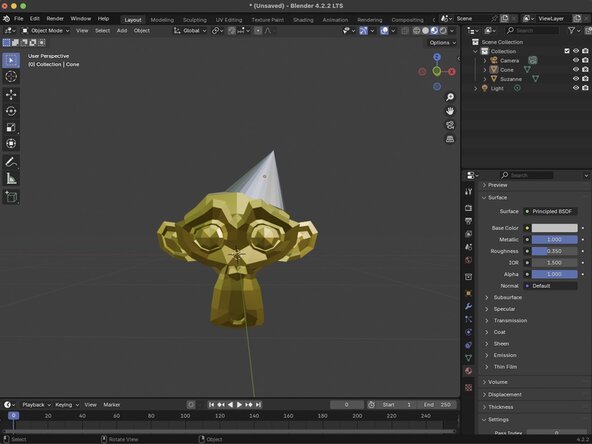
You can modify the material of an object by selecting the object in the 3D Viewport and modifying its Material Properties option in the Properties panel.
-
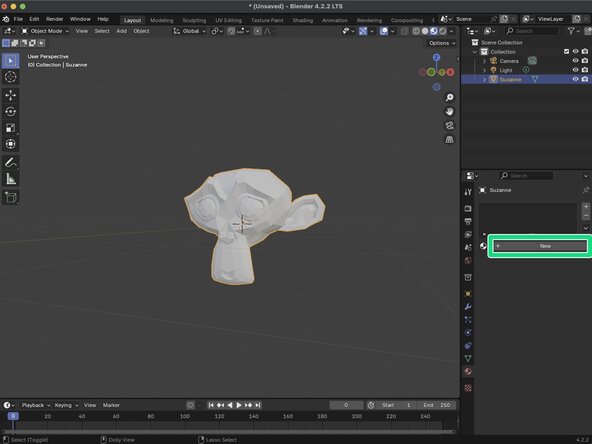
Once in our Material Properties, we will need to create a add a new material by clicking the Add New Material button. Your new material will be given the Material.001 by default and will be added to your objects Outliner, nested in the objects Mesh Data.
-
Your material can be modified by changing the values under the Surface tab. In our example, we were able to change the Base Color to Hex FFD700, Metalics to 1, and the Roughness to 0.35 to give Suzanne a gold texture.
-
-
-
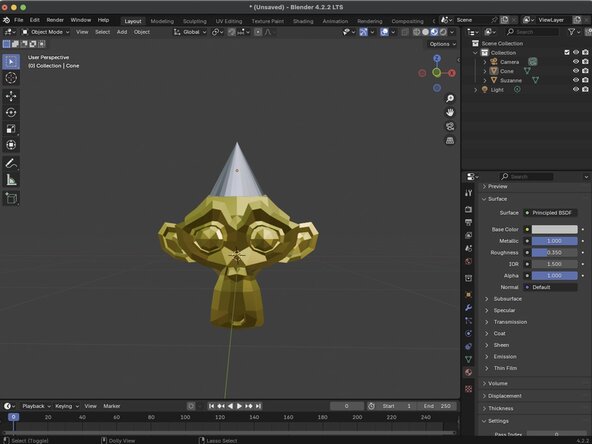
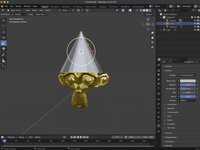
For this example, we've added a cone to our scene and moved it to be above Suzanne's head. We just need to scale it to make it appear that the cone is being worn.
-
With your object selected, click on the Scale tool. The Scale Gizmo should appear around your object.
-
To scale your object uniformly click and drag within the white circle. To scale along a specific axis, click and drag one of the colored boxes.
-
-
-
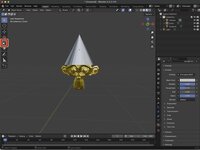
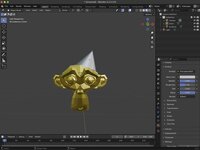
With your object selected, click on the Rotate tool. The Rotate Gizmo should appear around your object.
-
You can rotate the object along an axis by clicking and dragging the corisponding orbits.
-


Congratulations! You've just learned the basics of Blender. You can save your progress by clicking File from the Topbar, and choose Save As... from the dropdown menu. Now that you know the basics, you can move on to basic modeling.
Congratulations! You've just learned the basics of Blender. You can save your progress by clicking File from the Topbar, and choose Save As... from the dropdown menu. Now that you know the basics, you can move on to basic modeling.
crwdns2935221:0crwdne2935221:0
crwdns2935227:0crwdne2935227:0

