crwdns2915892:0crwdne2915892:0
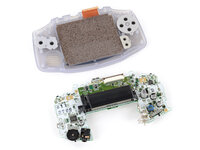
Follow this guide to replace the speaker in your Nintendo Game Boy Advance.
If the sound coming through your iPhone sounds like static or crackling, or if there's no sound at all, you may need to replace the speaker.
Note that replacing the speaker requires soldering. If you're new to soldering, check out our guide on soldering and desoldering connections.
The Game Boy Advance uses JIS screws. If you use a non-iFixit Phillips driver in JIS screws, you'll risk stripping them. iFixit's Phillips bits are designed to be compatible with JIS screws.
crwdns2942213:0crwdne2942213:0
-
-
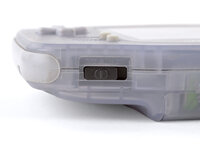
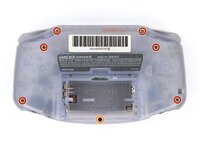
Before working on your Game Boy, turn the power switch to the OFF position and unplug any cables.
-
If you have a game cartridge installed, remove it.
-
-
-
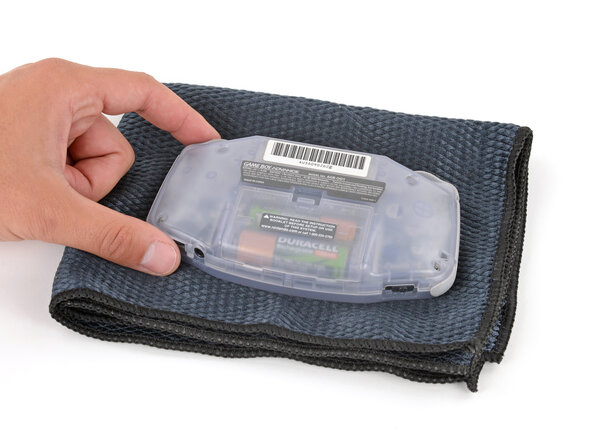
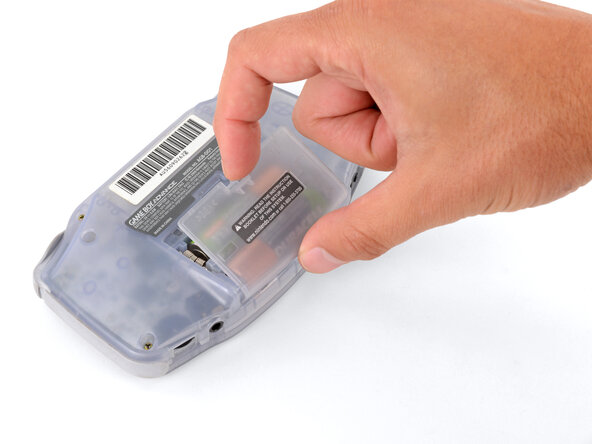
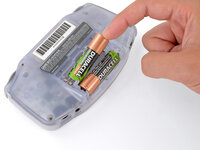
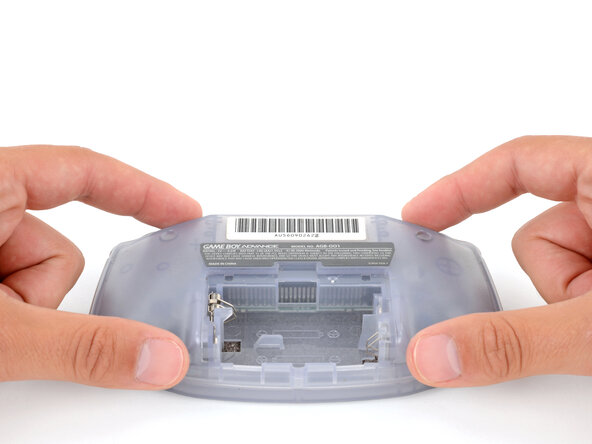
Release the battery cover tab with your finger and swing the cover away from your Game Boy to remove it.
-
-
-
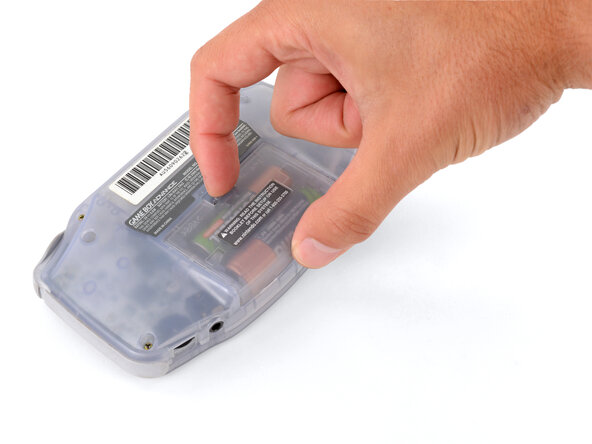
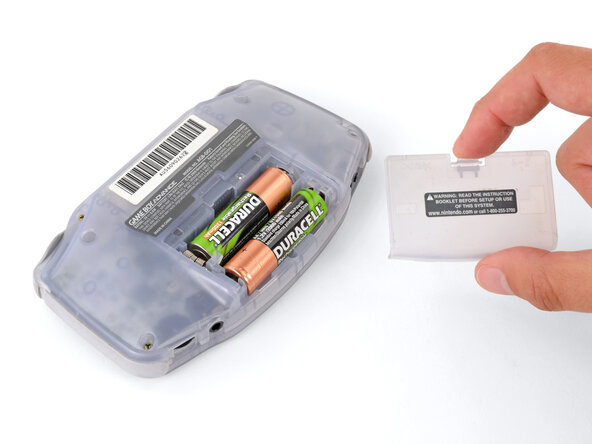
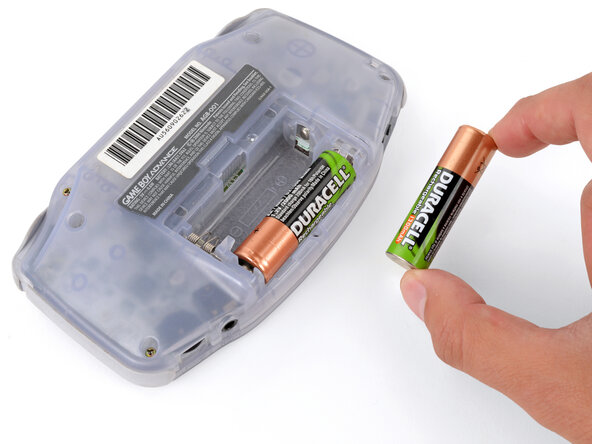
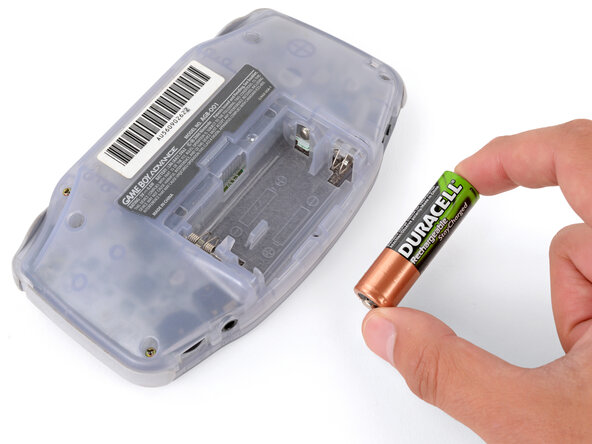
Remove the two AA batteries.
-
-
-
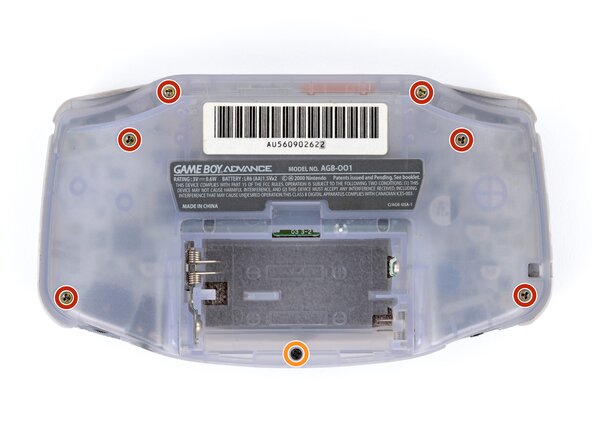
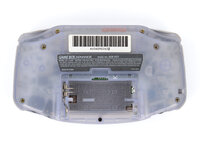
Remove the seven screws securing the back shell:
-
Six 9.4 mm‑long tri‑point Y0 screws
-
One 8.5 mm‑long JIS 1 screw
-
-
-
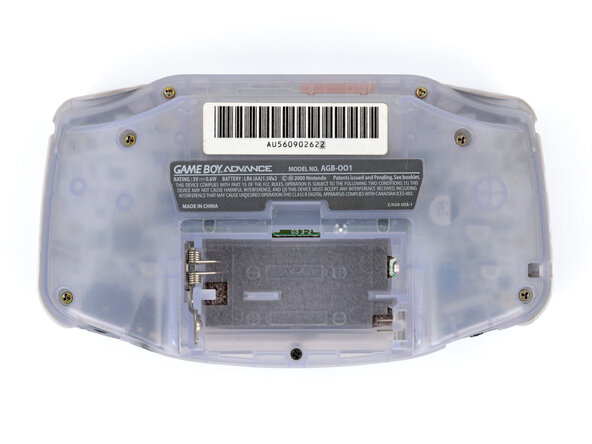
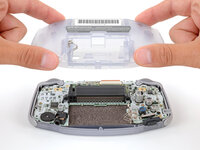
Lift the back shell straight up and remove it.
-
-
-
-
Lift the shoulder buttons (aka L and R buttons) straight up to remove them.
-
Slide the buttons into place, making sure the peg on the button goes into its circular cutout and the button itself is over the actual button mechanism.
-
Gently test the buttons to make sure they feel correct. If they don't, reposition them and make sure the metal arms aren't stuck in a weird position under the board.
-
-
-
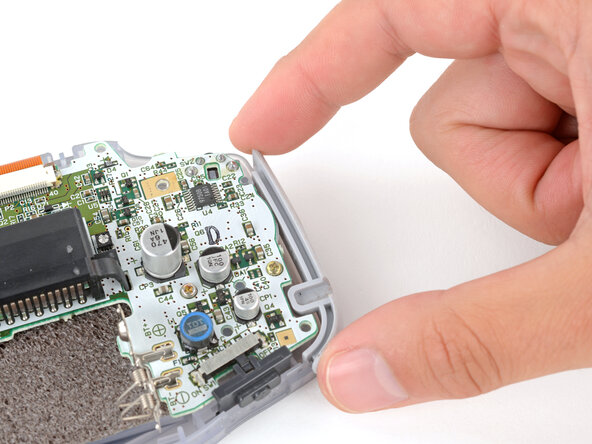
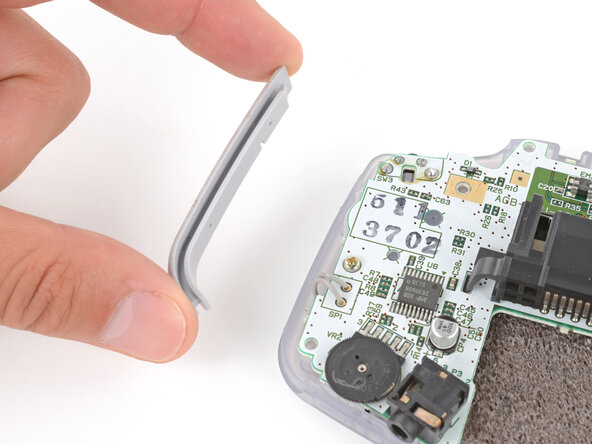
Remove the side bumpers.
-
-
-
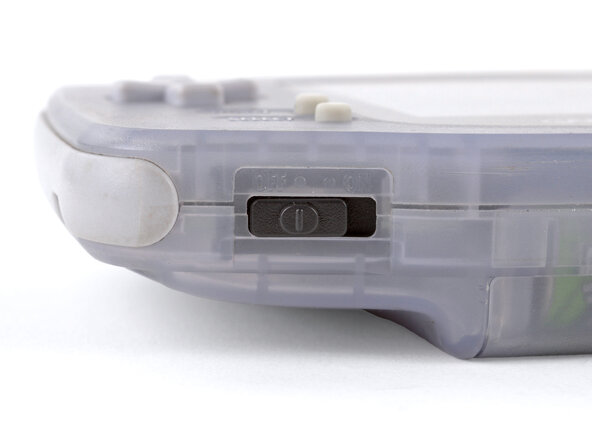
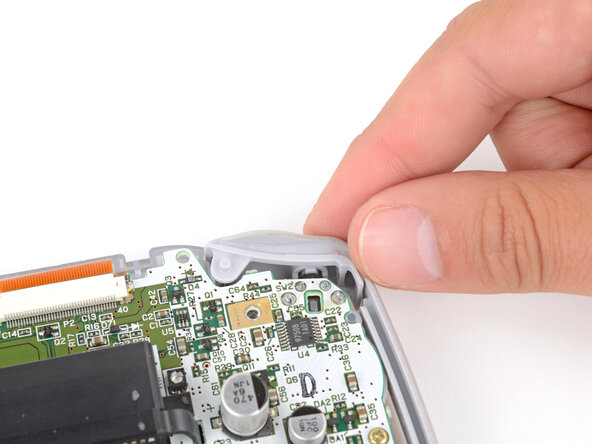
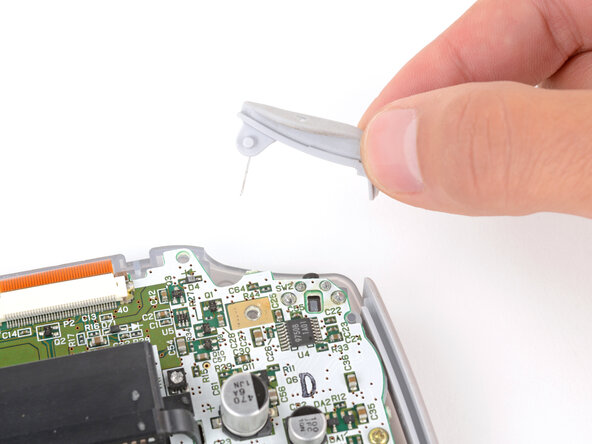
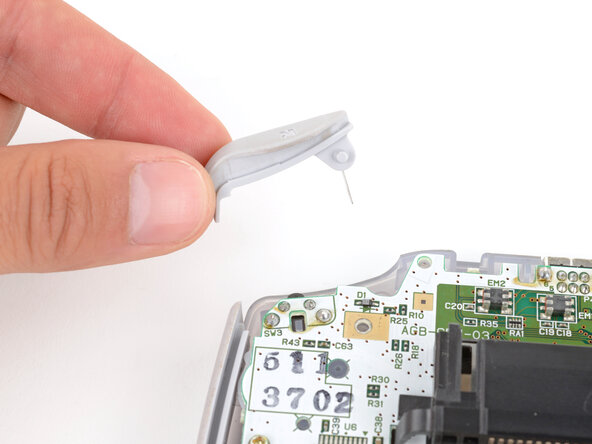
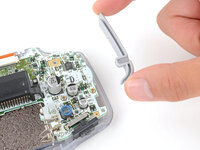
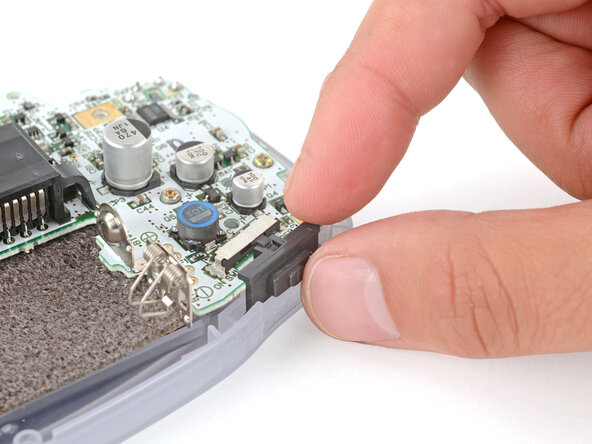
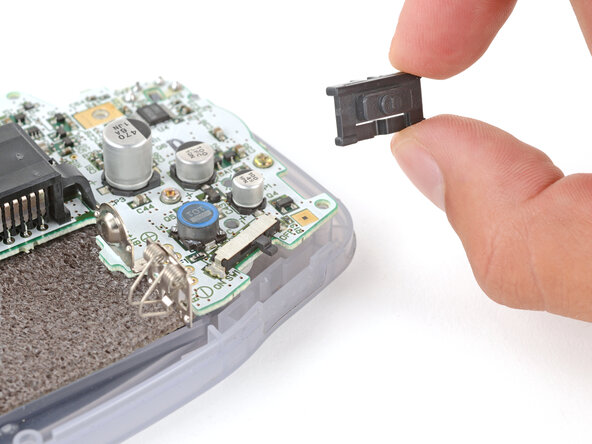
Remove the power switch cover.
-
-
-
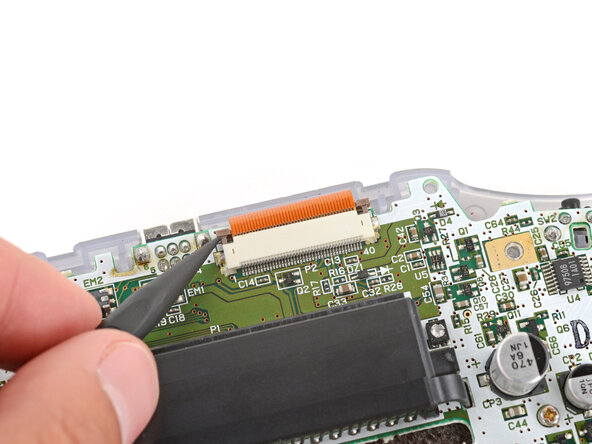
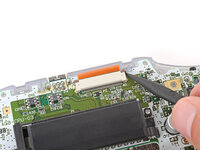
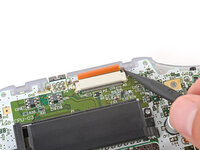
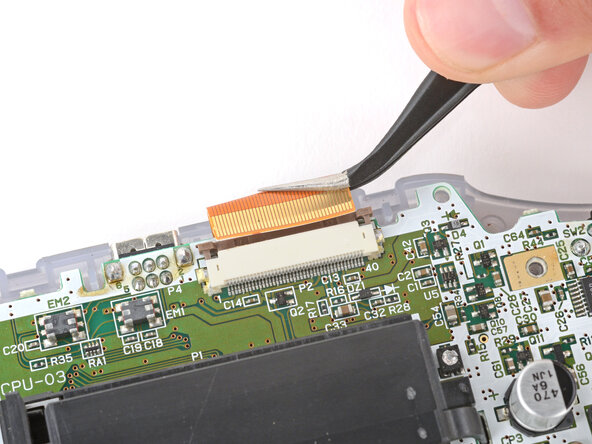
Use the point of a spudger to fully push up both locking tabs on either side of the screen cable connector.
-
-
-
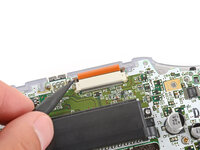
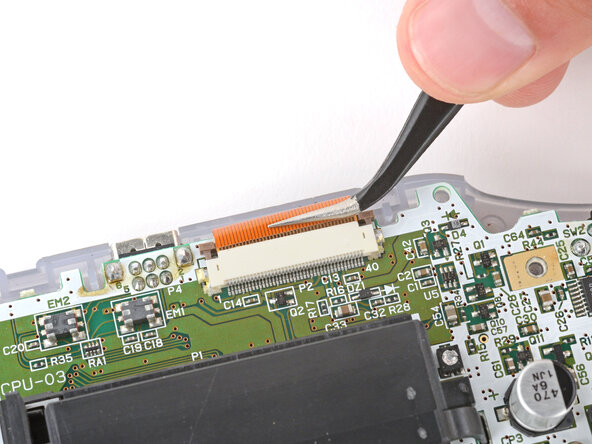
Use tweezers to slide the cable straight out of its socket.
-
-
-
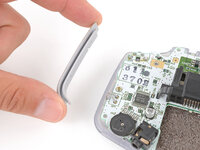
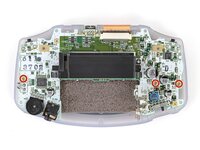
Use a JIS 1 screwdriver to remove the three 7 mm‑long screws securing the motherboard.
-
-
-
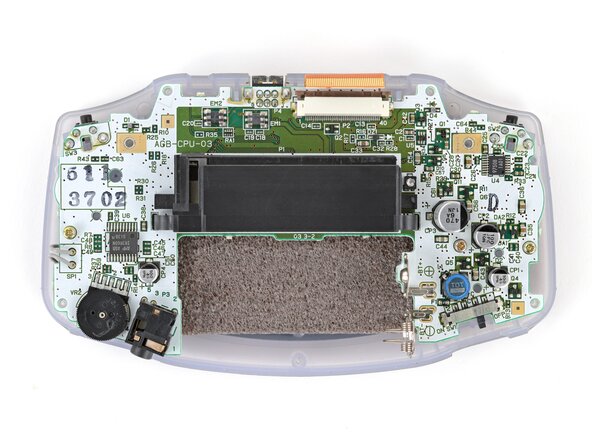
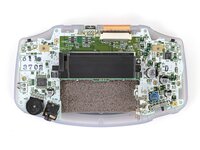
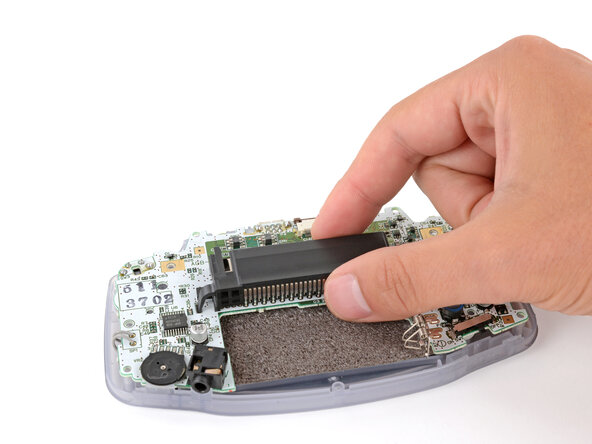
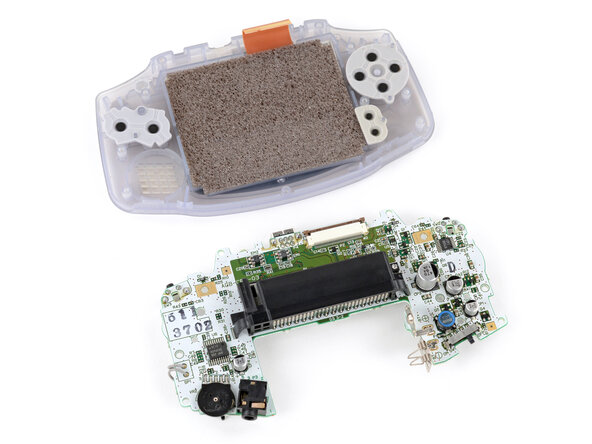
Use your fingers to grip the cartridge reader and lift the motherboard straight up to remove it.
-
-
-
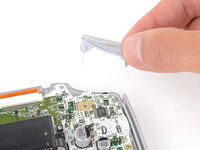
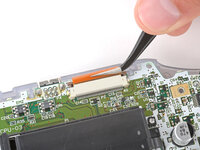
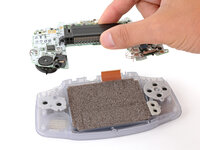
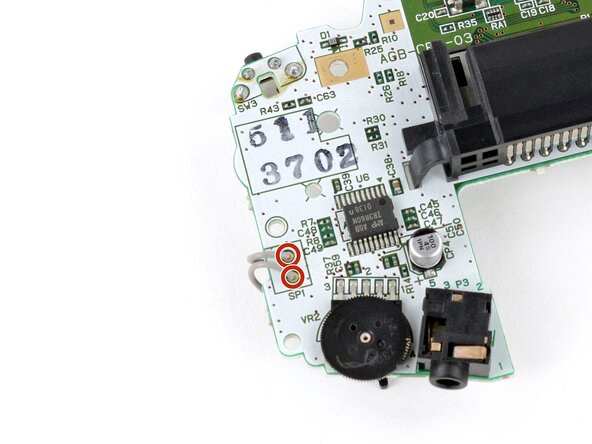
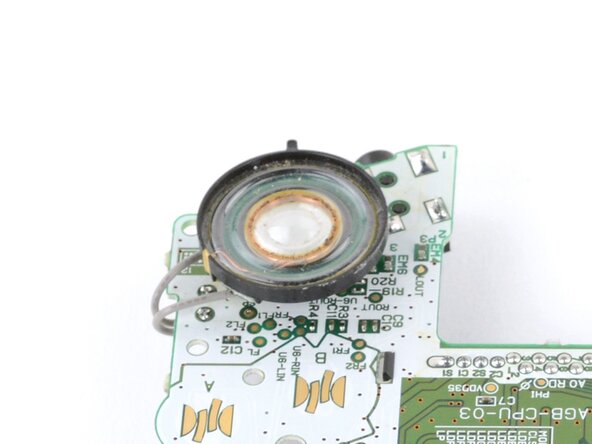
Use a soldering iron to desolder the two speaker wires from the motherboard.
-
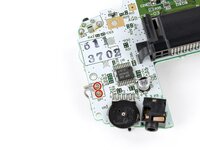
Remove the speaker.
-


To reassemble your device, follow these instructions in reverse order.
Take your e-waste to an R2 or e-Stewards certified recycler.
Repair didn’t go as planned? Try some basic troubleshooting, or ask our Answers Community for troubleshooting help.
To reassemble your device, follow these instructions in reverse order.
Take your e-waste to an R2 or e-Stewards certified recycler.
Repair didn’t go as planned? Try some basic troubleshooting, or ask our Answers Community for troubleshooting help.
crwdns2935221:0crwdne2935221:0
crwdns2935229:09crwdne2935229:0

crwdns2947412:04crwdne2947412:0
When no sound in GBA. Is the broken speaker the most common problem ? Or some SMD part in circuit board ? What to do if the new replaced speaker emits no sound ?
I'm just going to say it. this guide kind of sucks fr. What am I supposed to do after the desolder? Why do I need the desoldering braid? Like you end it with step 8 "Slightly move the speaker to the right and desolder the two wires from the logic board." What temp should my iron be??
We've fully revamped this guide, including links on how to solder and desolder. Hopefully this helps!
I have a funny playing screen I put in my GBA. I don't think that's relevant, but I have speaker buzz. Or it's noticable for me now. How can I get rid of it?