crwdns2915892:0crwdne2915892:0
Follow this guide to remove or replace the motherboard (aka main board or logic board) in your Nintendo Game Boy Advance.
Removing the board will give you access to modify it with kits that add RGB LEDs, convert your front buttons to tactile ones, etc.
Note that most motherboard mods require soldering. If you're new to soldering, check out our guide on soldering and desoldering connections.
The Game Boy Advance uses JIS screws. If you use a non-iFixit Phillips driver in JIS screws, you'll risk stripping them. iFixit's Phillips bits are designed to be compatible with JIS screws.
crwdns2942213:0crwdne2942213:0
-
-
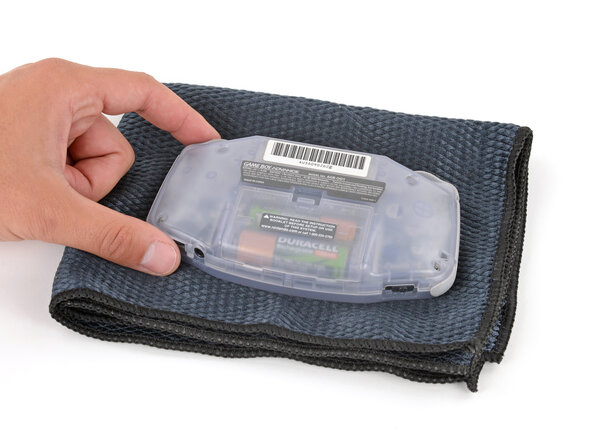
Before working on your Game Boy, turn the power switch to the OFF position and unplug any cables.
-
If you have a game cartridge installed, remove it.
 crwdns2952109:0crwdne2952109:0
-
-
-
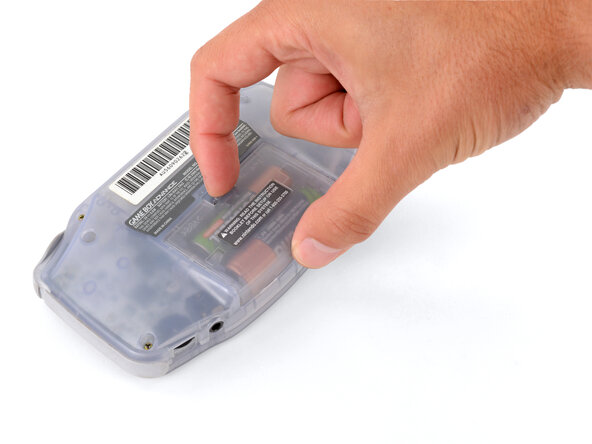
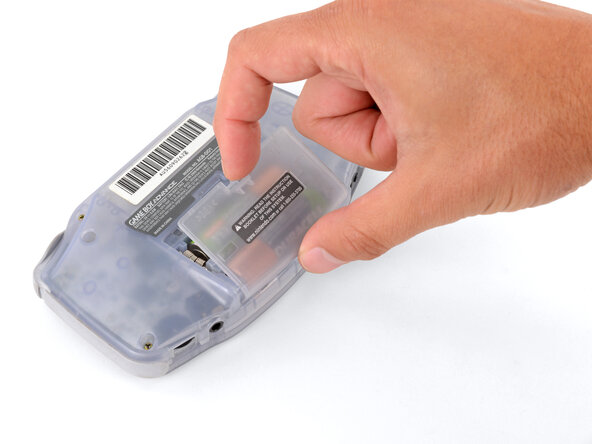
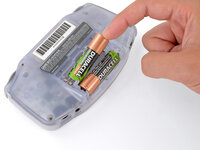
Release the battery cover tab with your finger and swing the cover away from your Game Boy to remove it.
-
-
-
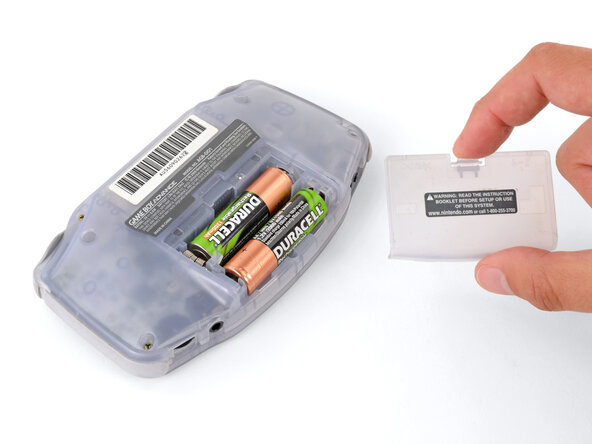
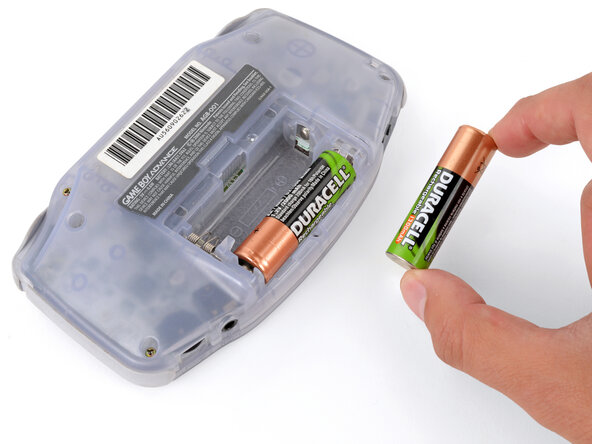
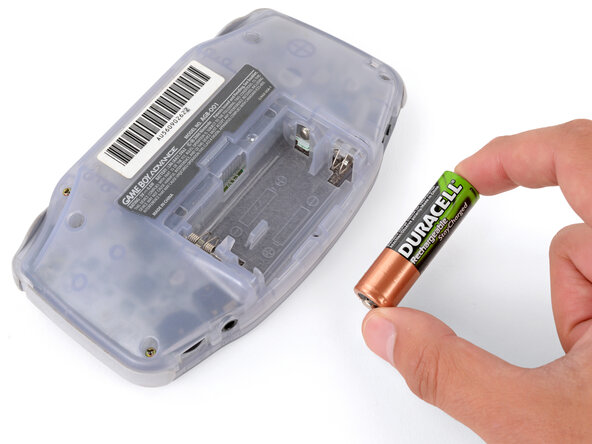
Remove the two AA batteries.
-
-
-
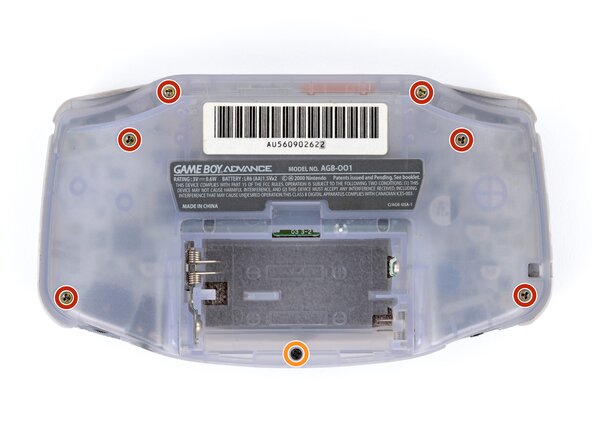
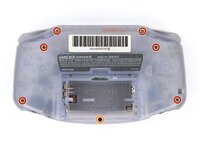
Remove the seven screws securing the back shell:
-
Six 9.4 mm‑long tri‑point Y0 screws
-
One 8.5 mm‑long JIS 1 screw
-
-
-
-
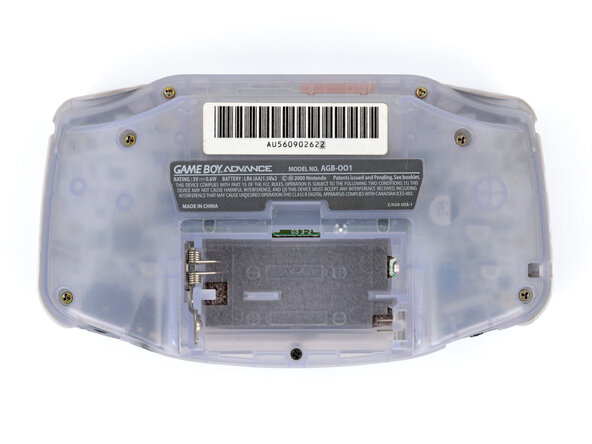
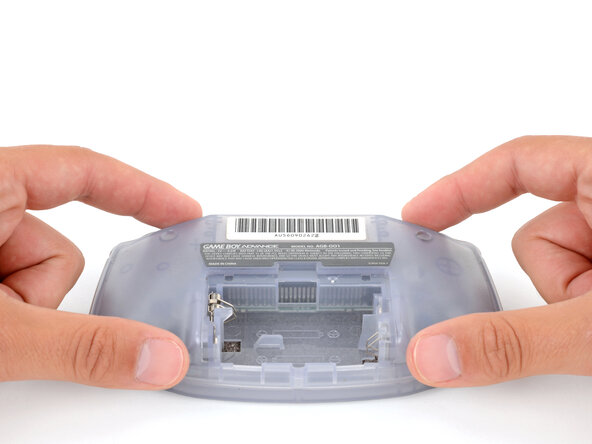
Lift the back shell straight up and remove it.
-
-
-
Lift the shoulder buttons (aka L and R buttons) straight up to remove them.
-
Slide the buttons into place, making sure the peg on the button goes into its circular cutout and the button itself is over the actual button mechanism.
-
Gently test the buttons to make sure they feel correct. If they don't, reposition them and make sure the metal arms aren't stuck in a weird position under the board.
-
-
-
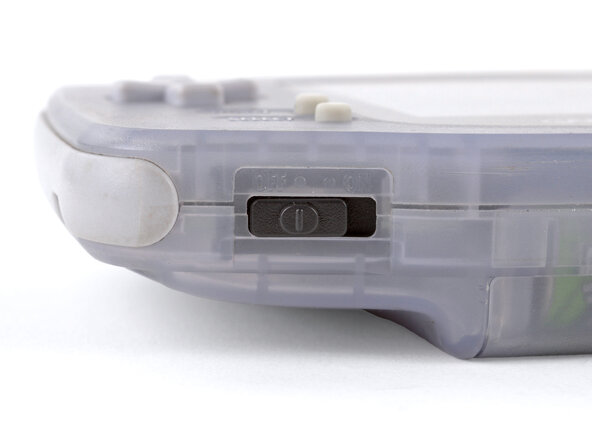
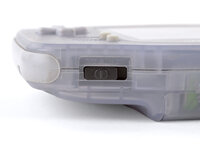
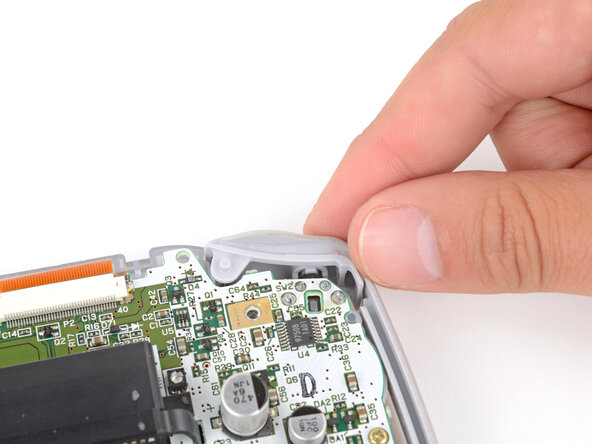
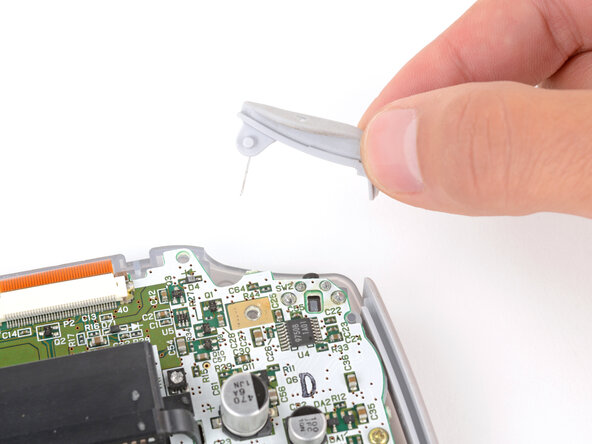
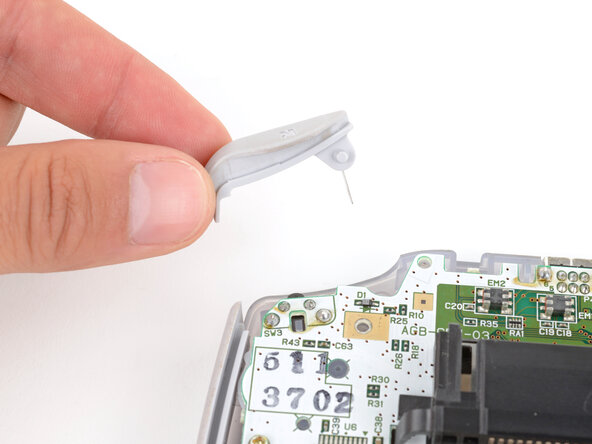
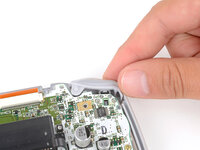
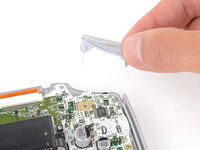
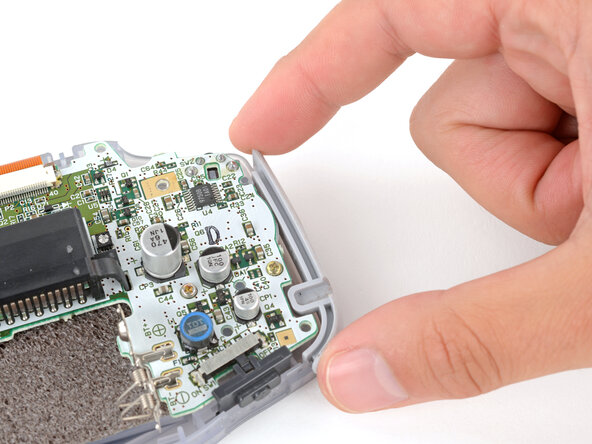
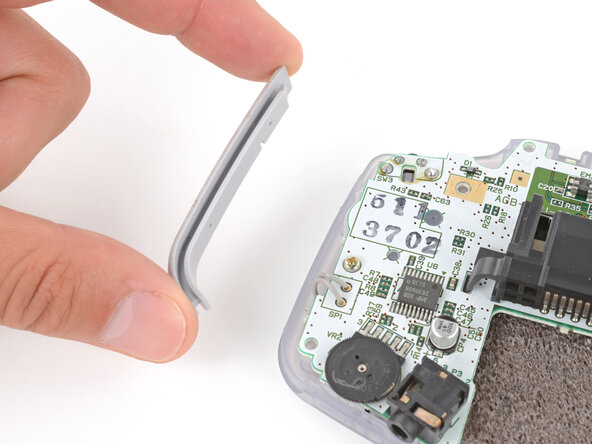
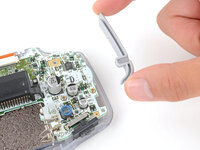
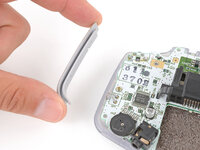
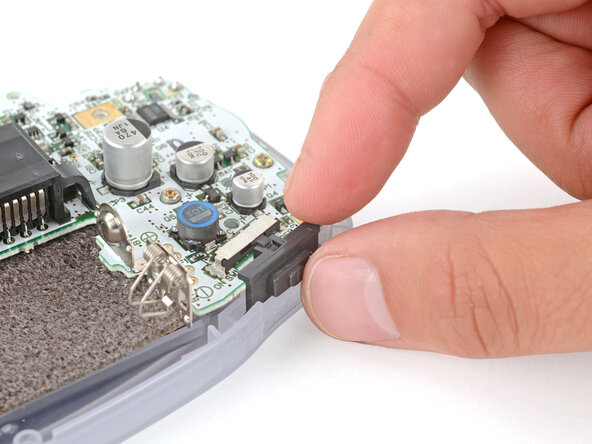
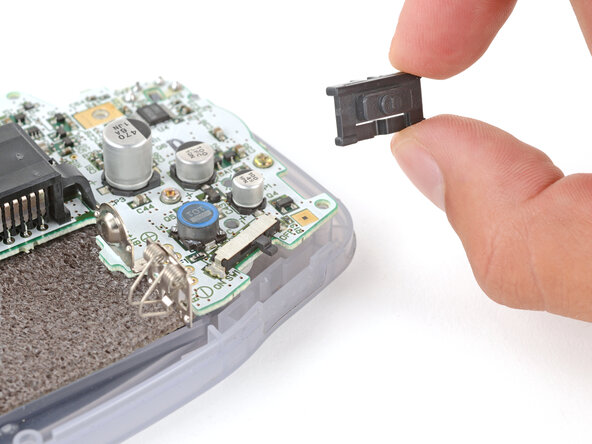
Remove the power switch cover.
-
-
-
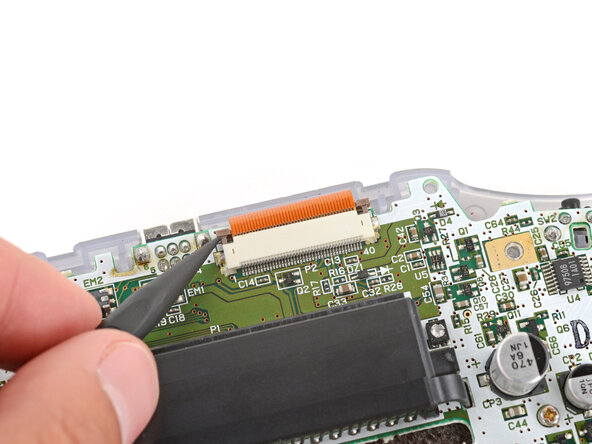
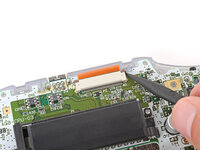
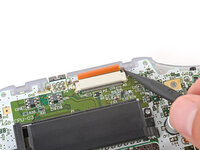
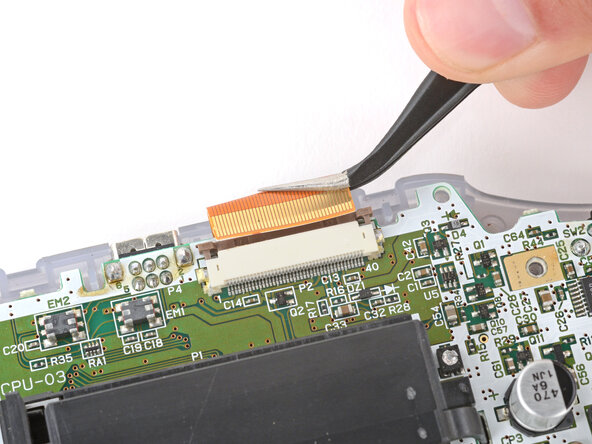
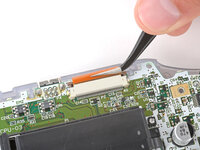
Use the point of a spudger to fully push up both locking tabs on either side of the screen cable connector.
-
-
-
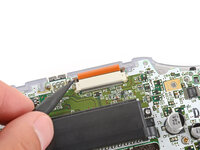
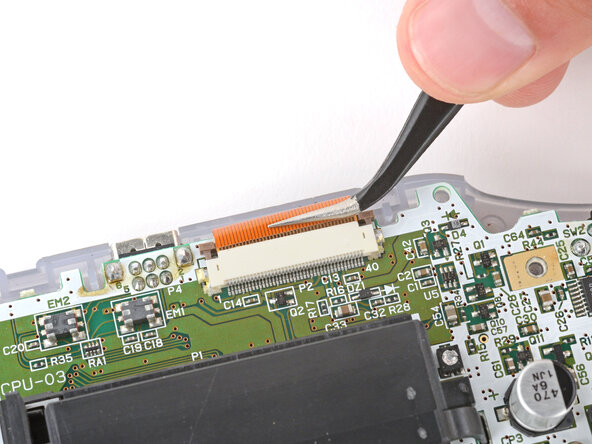
Use tweezers to slide the cable straight out of its socket.
-
-
-
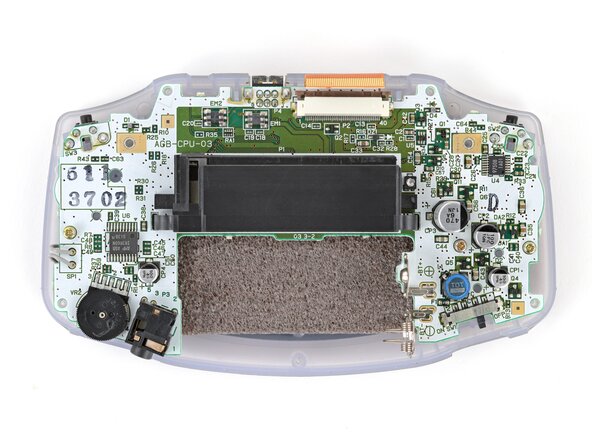
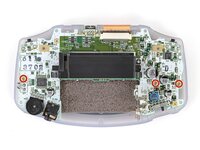
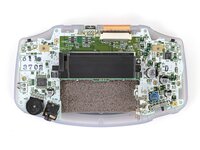
Use a JIS 1 screwdriver to remove the three 7 mm‑long screws securing the motherboard.
-
-
-
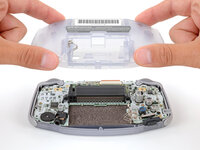
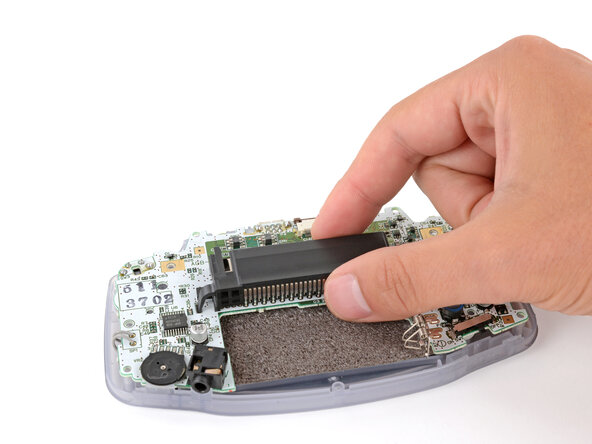
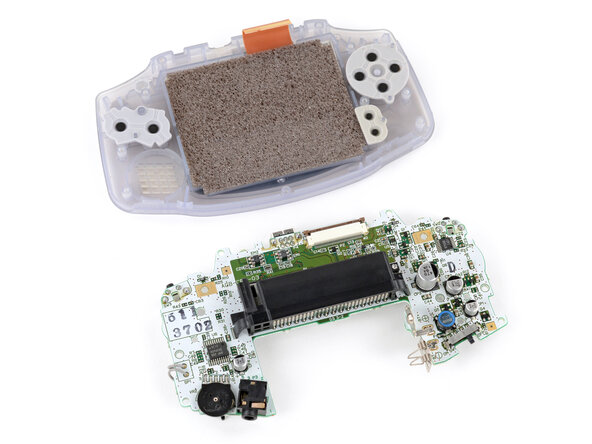
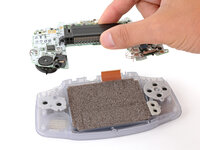
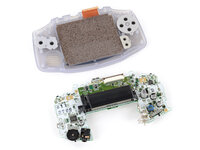
Use your fingers to grip the cartridge reader and lift the motherboard straight up to remove it.
-


To reassemble your device, follow these instructions in reverse order.
Take your e-waste to an R2 or e-Stewards certified recycler.
Repair didn’t go as planned? Try some basic troubleshooting, or ask our Answers Community for troubleshooting help.
crwdns2935221:0crwdne2935221:0
crwdns2935229:09crwdne2935229:0
