crwdns2933423:0crwdne2933423:0

Game Boy Advance Buttons Replacement

crwdns2942213:0crwdne2942213:0

  1. Game Boy Advance Buttons Replacement, Prepare your Game Boy for disassembly: crwdns2935265:01crwdnd2935265:01crwdnd2935265:02crwdne2935265:0 Game Boy Advance Buttons Replacement, Prepare your Game Boy for disassembly: crwdns2935265:01crwdnd2935265:02crwdnd2935265:02crwdne2935265:0
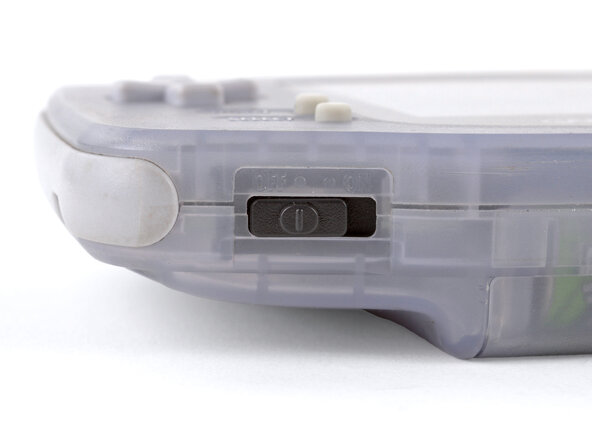
    • Before working on your Game Boy, turn the power switch to the OFF position and unplug any cables.

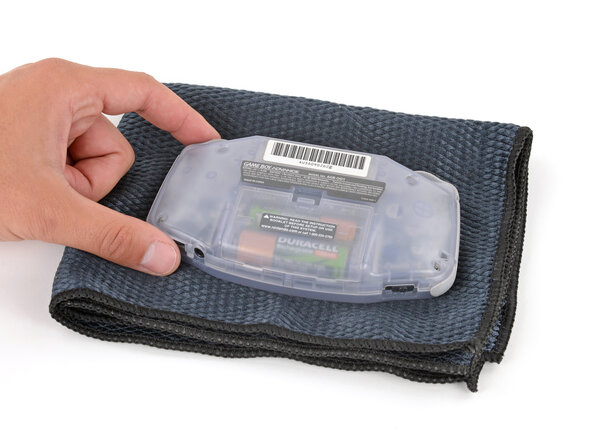
    • If you have a game cartridge installed, remove it.

    • Since your Game Boy will be laying screen‑side down for most of your repair, consider placing it on a clean cloth for protection.

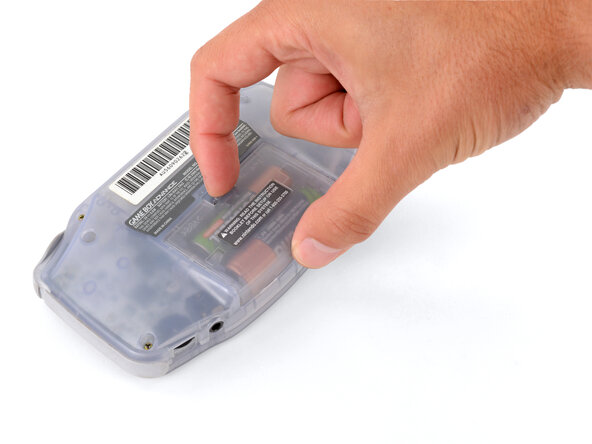
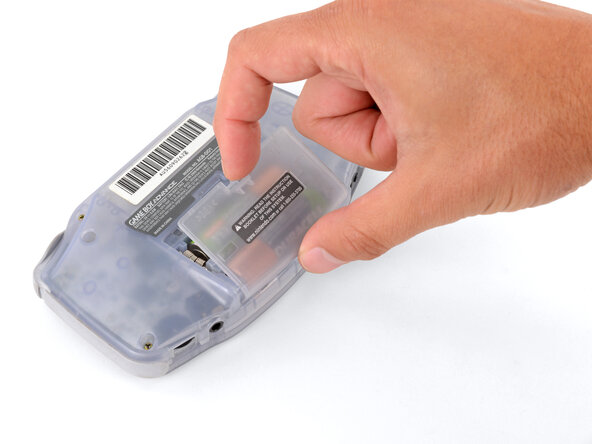
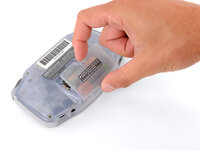
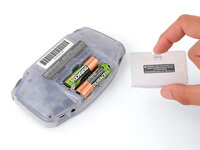
  2. Game Boy Advance Buttons Replacement, Remove the battery cover: crwdns2935265:02crwdnd2935265:01crwdnd2935265:03crwdne2935265:0 Game Boy Advance Buttons Replacement, Remove the battery cover: crwdns2935265:02crwdnd2935265:02crwdnd2935265:03crwdne2935265:0 Game Boy Advance Buttons Replacement, Remove the battery cover: crwdns2935265:02crwdnd2935265:03crwdnd2935265:03crwdne2935265:0
    • Release the battery cover tab with your finger and swing the cover away from your Game Boy to remove it.

    • During reassembly, insert the tabs on the bottom edge of the cover into their cutouts and press the cover into place.

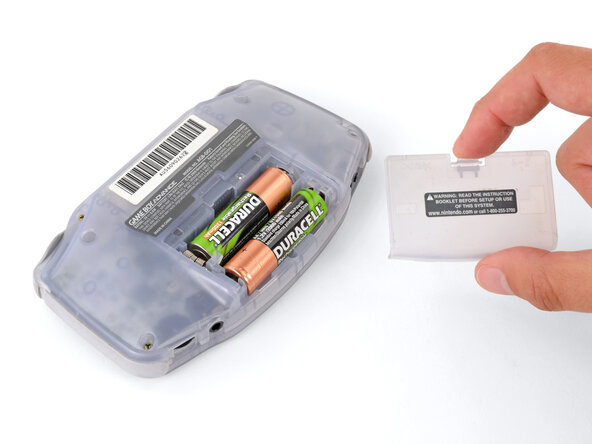
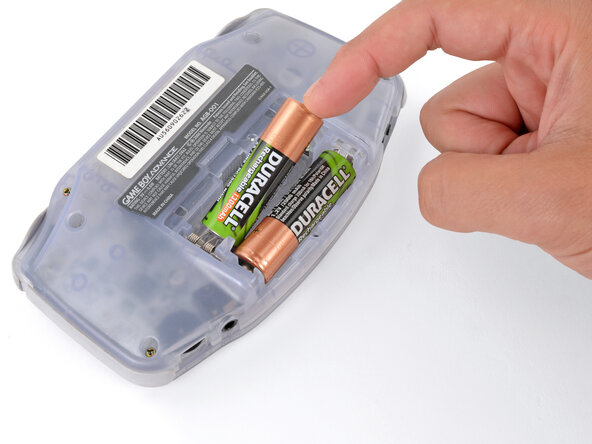
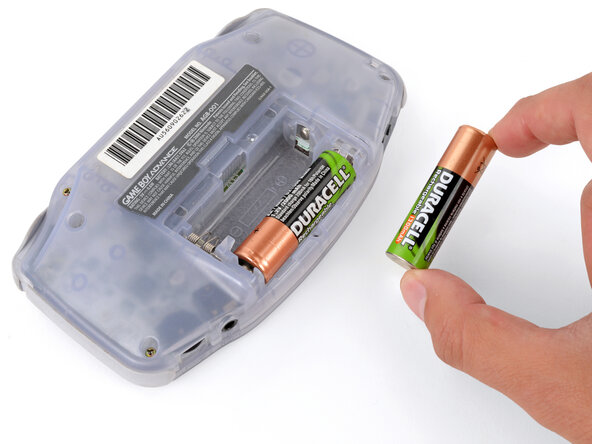
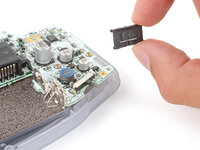
  3. Game Boy Advance Buttons Replacement, Remove the batteries: crwdns2935265:03crwdnd2935265:01crwdnd2935265:03crwdne2935265:0 Game Boy Advance Buttons Replacement, Remove the batteries: crwdns2935265:03crwdnd2935265:02crwdnd2935265:03crwdne2935265:0 Game Boy Advance Buttons Replacement, Remove the batteries: crwdns2935265:03crwdnd2935265:03crwdnd2935265:03crwdne2935265:0
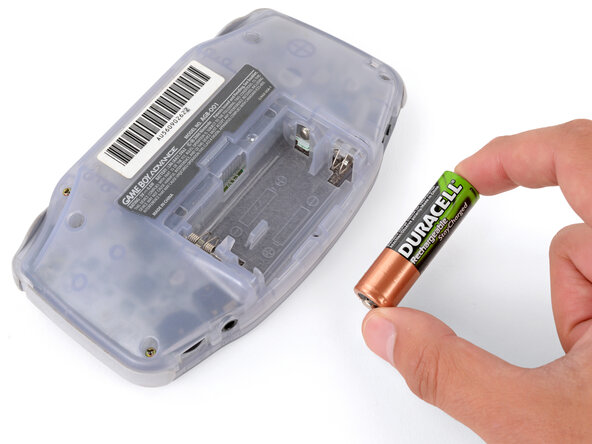
    • Remove the two AA batteries.

    • If the metal terminals are corroded, follow this guide to clean them.

    • When installing batteries, use the diagram in the battery well to properly orient them.

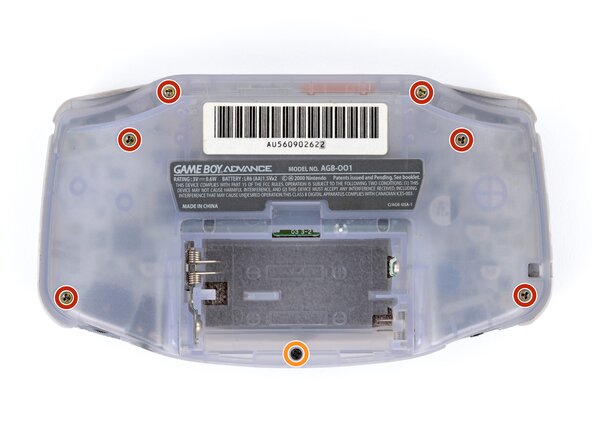
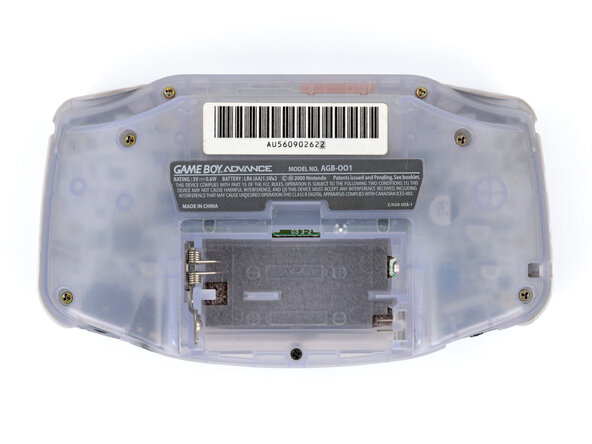
  4. Game Boy Advance Buttons Replacement, Remove the back shell screws: crwdns2935265:04crwdnd2935265:01crwdnd2935265:02crwdne2935265:0 Game Boy Advance Buttons Replacement, Remove the back shell screws: crwdns2935265:04crwdnd2935265:02crwdnd2935265:02crwdne2935265:0
    • Remove the seven screws securing the back shell:

    • Six 9.4 mm‑long tri‑point Y0 screws

    • One 8.5 mm‑long JIS 1 screw

    • You can try to use a non-iFixit Phillips driver in a pinch, but you risk damaging or stripping screws. Push down firmly on the driver and twist slowly.

  5. Game Boy Advance Buttons Replacement, Remove the back shell: crwdns2935265:05crwdnd2935265:01crwdnd2935265:02crwdne2935265:0 Game Boy Advance Buttons Replacement, Remove the back shell: crwdns2935265:05crwdnd2935265:02crwdnd2935265:02crwdne2935265:0
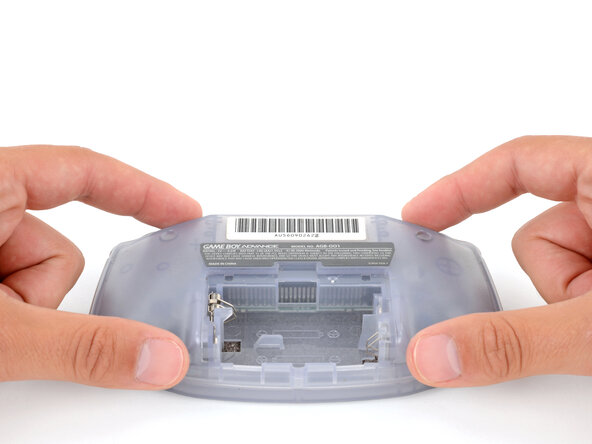
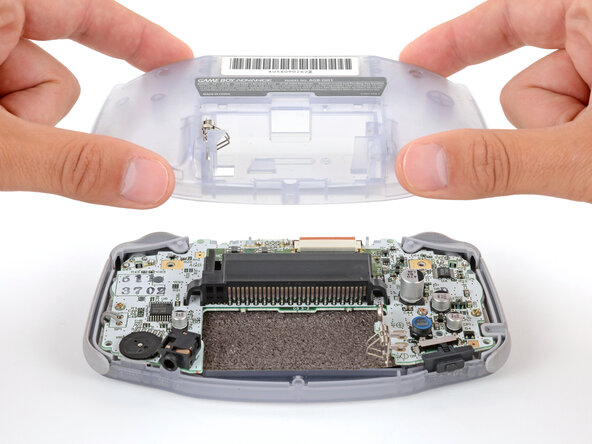
    • Lift the back shell straight up and remove it.

    • During reassembly, squeeze the shell firmly around the edges and ensure the shoulder buttons and bumpers are properly seated with no large gaps. Gently test the buttons to make sure everything feels correct.

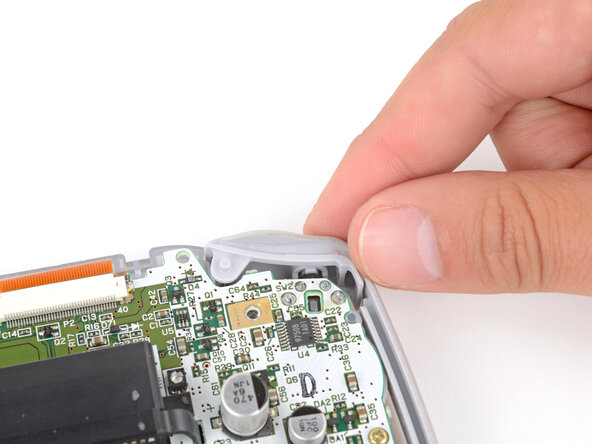
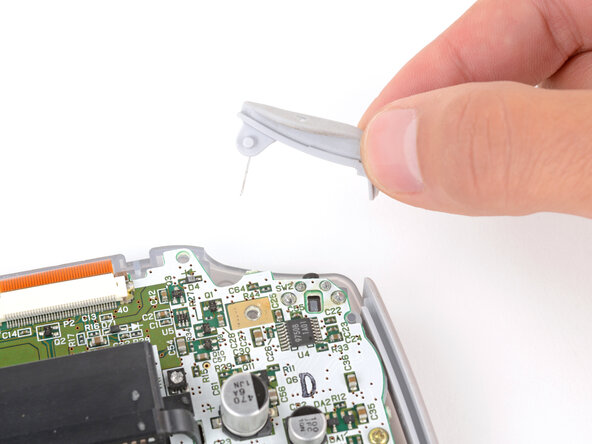
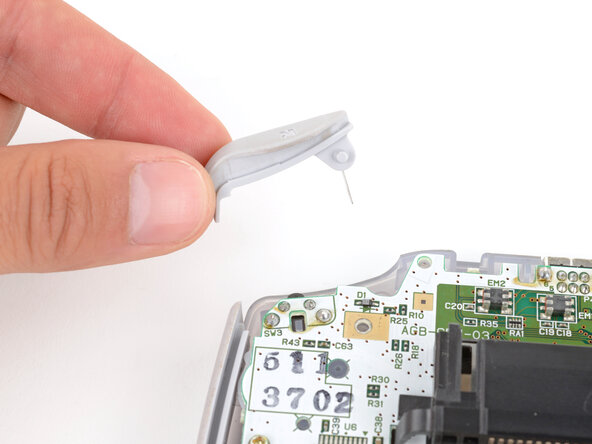
  6. Game Boy Advance Buttons Replacement, Remove the shoulder buttons: crwdns2935265:06crwdnd2935265:01crwdnd2935265:03crwdne2935265:0 Game Boy Advance Buttons Replacement, Remove the shoulder buttons: crwdns2935265:06crwdnd2935265:02crwdnd2935265:03crwdne2935265:0 Game Boy Advance Buttons Replacement, Remove the shoulder buttons: crwdns2935265:06crwdnd2935265:03crwdnd2935265:03crwdne2935265:0
    • Lift the shoulder buttons (aka L and R buttons) straight up to remove them.

    • During reassembly:

    • Since your Game Boy is laying upside down, the L button will go on your right‑hand side, and the R button will go on your left‑hand side.

    • Slide the buttons into place, making sure the peg on the button goes into its circular cutout and the button itself is over the actual button mechanism.

    • The shoulder buttons will sit on the inside edge of the side bumpers.

    • Gently test the buttons to make sure they feel correct. If they don't, reposition them and make sure the metal arms aren't stuck in a weird position under the board.

  7. Game Boy Advance Buttons Replacement, Remove the side bumpers: crwdns2935265:07crwdnd2935265:01crwdnd2935265:03crwdne2935265:0 Game Boy Advance Buttons Replacement, Remove the side bumpers: crwdns2935265:07crwdnd2935265:02crwdnd2935265:03crwdne2935265:0 Game Boy Advance Buttons Replacement, Remove the side bumpers: crwdns2935265:07crwdnd2935265:03crwdnd2935265:03crwdne2935265:0
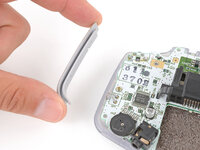
    • Remove the side bumpers.

  8. Game Boy Advance Buttons Replacement, Remove the power switch cover: crwdns2935265:08crwdnd2935265:01crwdnd2935265:02crwdne2935265:0 Game Boy Advance Buttons Replacement, Remove the power switch cover: crwdns2935265:08crwdnd2935265:02crwdnd2935265:02crwdne2935265:0
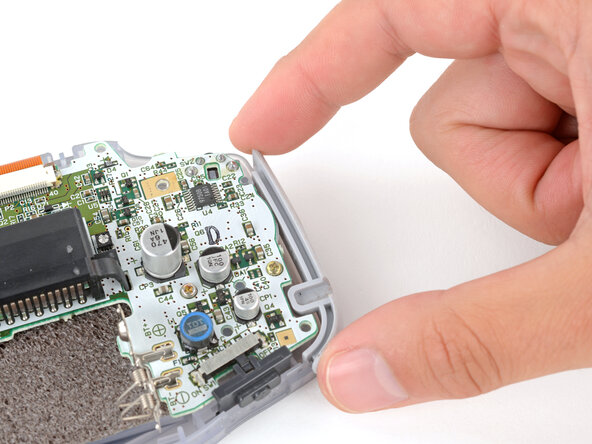
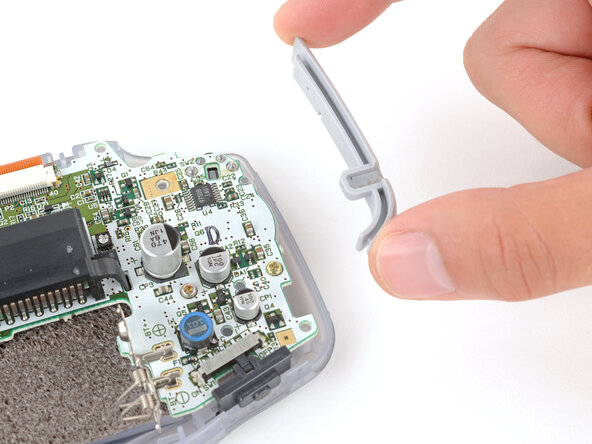
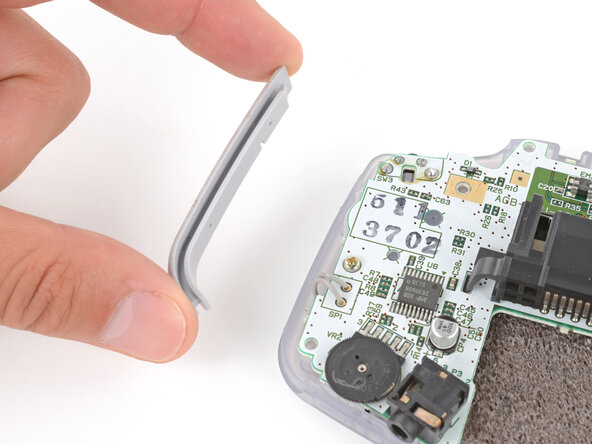
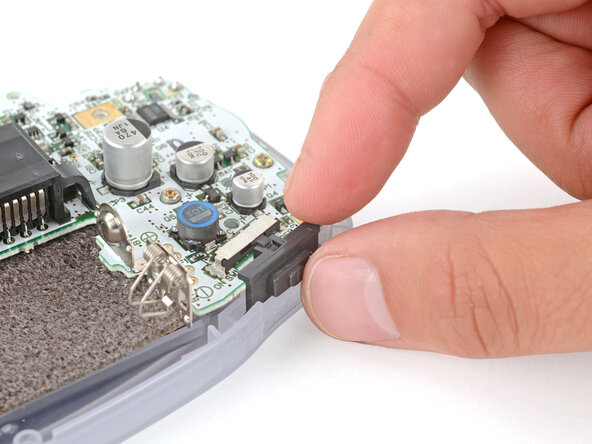
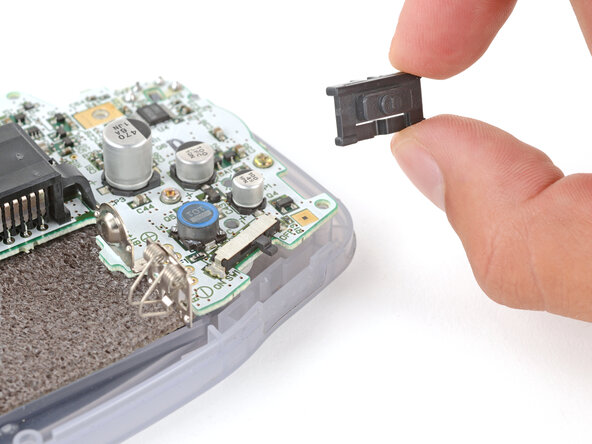
    • Remove the power switch cover.

    • During reassembly, make sure the switch cover is properly slotted around the arm on the switch mechanism.

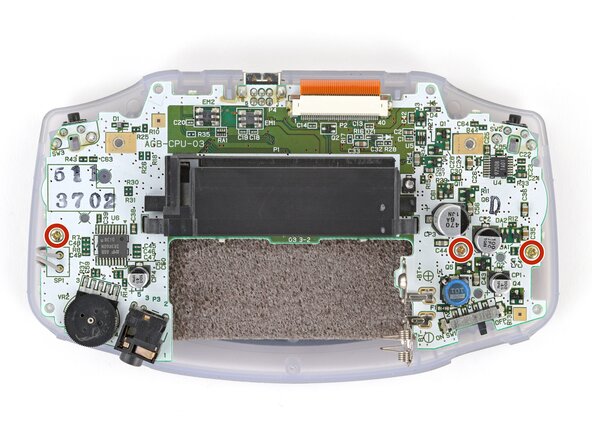
  9. Game Boy Advance Buttons Replacement, Remove the motherboard screws: crwdns2935265:09crwdnd2935265:01crwdnd2935265:02crwdne2935265:0 Game Boy Advance Buttons Replacement, Remove the motherboard screws: crwdns2935265:09crwdnd2935265:02crwdnd2935265:02crwdne2935265:0
    • Use a JIS 1 screwdriver to remove the three 7 mm‑long screws securing the motherboard.

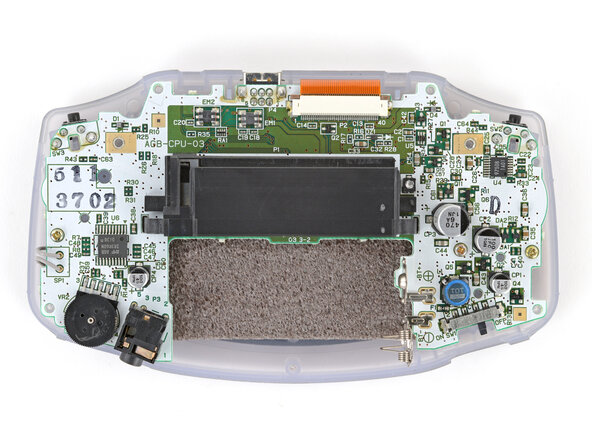
  10. Game Boy Advance Buttons Replacement, Reposition the motherboard: crwdns2935265:010crwdnd2935265:01crwdnd2935265:03crwdne2935265:0 Game Boy Advance Buttons Replacement, Reposition the motherboard: crwdns2935265:010crwdnd2935265:02crwdnd2935265:03crwdne2935265:0 Game Boy Advance Buttons Replacement, Reposition the motherboard: crwdns2935265:010crwdnd2935265:03crwdnd2935265:03crwdne2935265:0
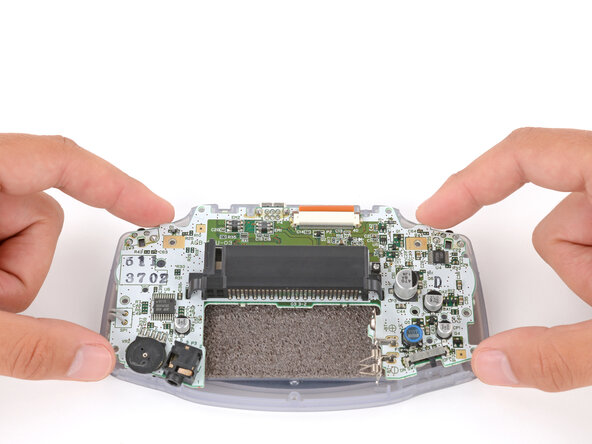
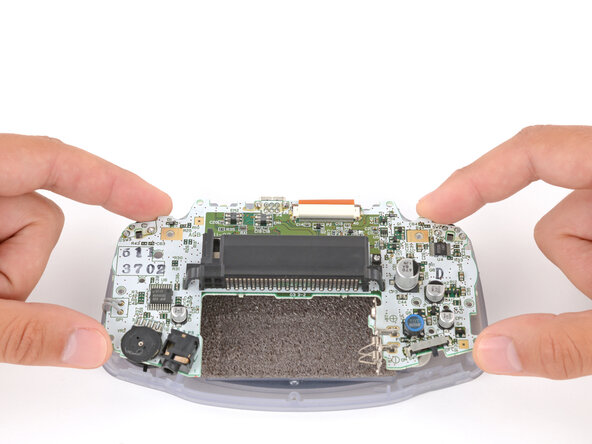
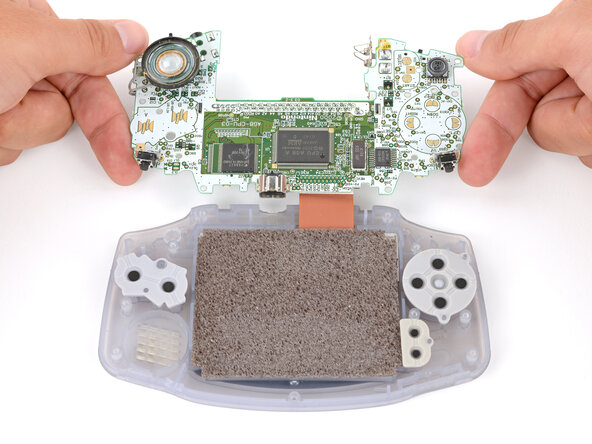
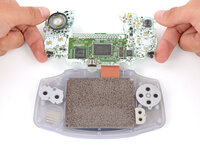
    • Be careful not to strain the screen cable that connects the motherboard.

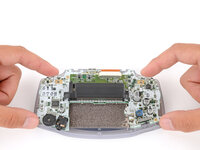
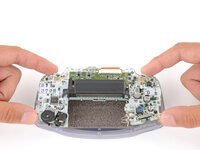
    • Carefully flip the motherboard over the top edge of your Game Boy and rest it on your work surface.

    • During reassembly, make sure the speaker gets correctly slotted into its circular cutout (including a small tab on the bottom) when lowering the motherboard into place.

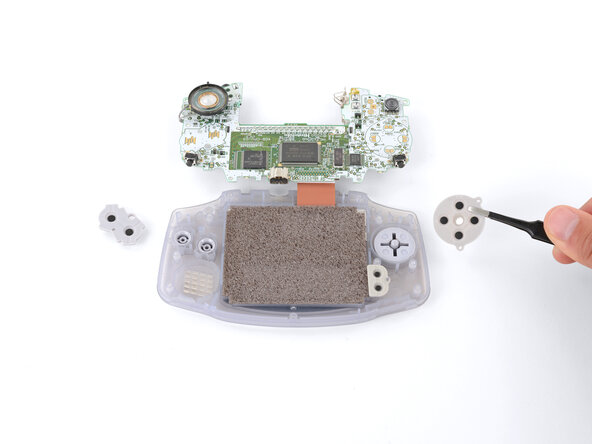
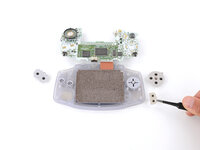
  11. Game Boy Advance Buttons Replacement, Remove the silicone pads: crwdns2935265:011crwdnd2935265:01crwdnd2935265:03crwdne2935265:0 Game Boy Advance Buttons Replacement, Remove the silicone pads: crwdns2935265:011crwdnd2935265:02crwdnd2935265:03crwdne2935265:0 Game Boy Advance Buttons Replacement, Remove the silicone pads: crwdns2935265:011crwdnd2935265:03crwdnd2935265:03crwdne2935265:0
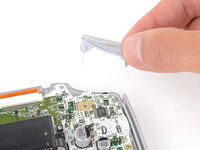
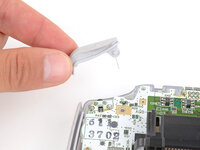
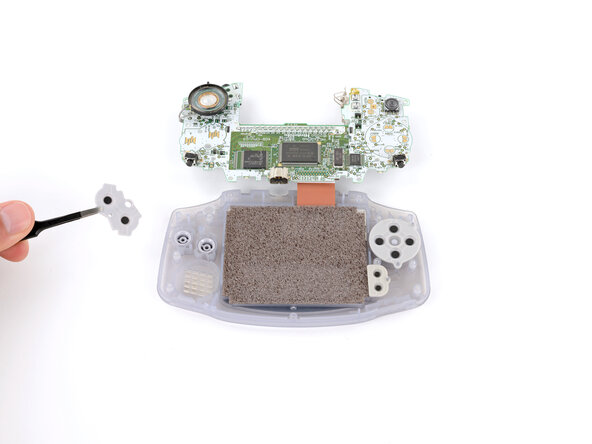
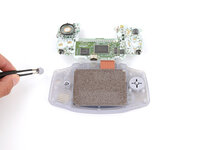
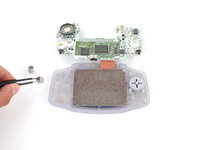
    • Use tweezers or your fingers to remove the three silicone pads covering the buttons (A and B, the D‑pad, and Start/Select ).

    • If any of the pads are missing, they may be stuck to their corresponding spot on the motherboard.

    • During reassembly, use your fingers to press each pad into place, using the alignment pegs to properly orient them.

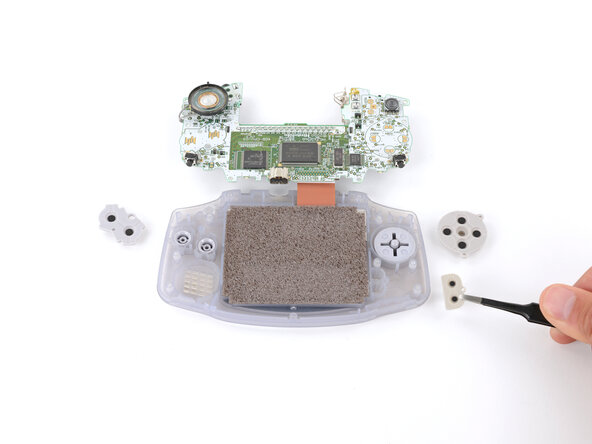
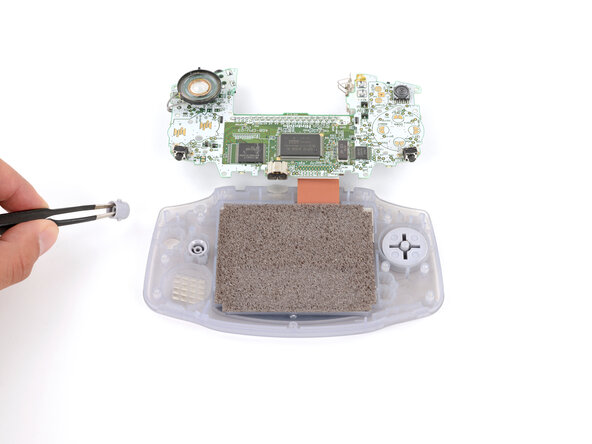
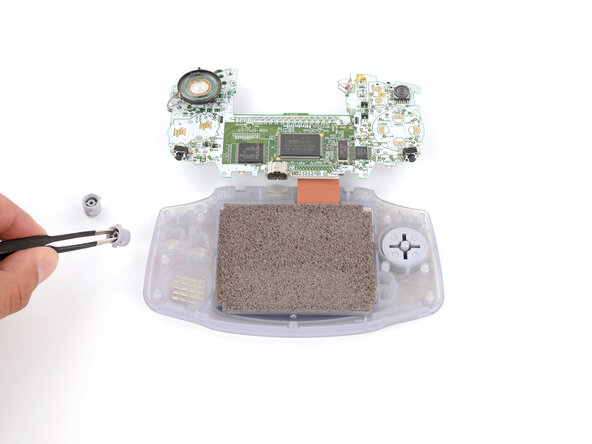
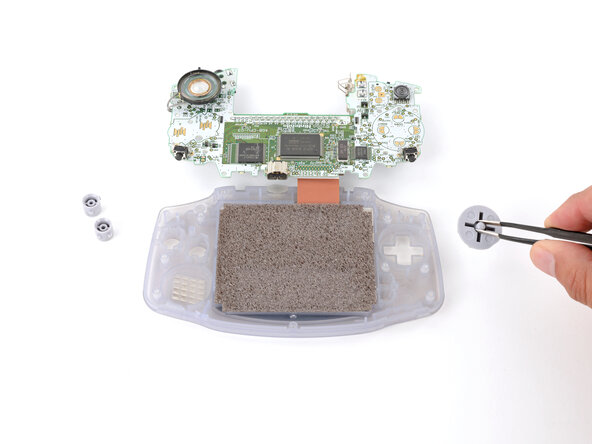
  12. Game Boy Advance Buttons Replacement, Remove the action buttons and D‑pad: crwdns2935265:012crwdnd2935265:01crwdnd2935265:03crwdne2935265:0 Game Boy Advance Buttons Replacement, Remove the action buttons and D‑pad: crwdns2935265:012crwdnd2935265:02crwdnd2935265:03crwdne2935265:0 Game Boy Advance Buttons Replacement, Remove the action buttons and D‑pad: crwdns2935265:012crwdnd2935265:03crwdnd2935265:03crwdne2935265:0
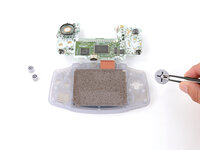
    • Use tweezers or your fingers to remove the buttons (A and B as well as the D‑pad).

    • The Start/Select buttons are part of the silicone pad—there are no other buttons to remove.

    • When re‑inserting the action buttons, note that each one is keyed specifically for its recess and proper orientation.

crwdns2915888:0crwdne2915888:0

To reassemble your device, follow these instructions in reverse order.

Repair didn’t go as planned? Try some basic troubleshooting, or ask our Answers Community for troubleshooting help.

crwdns2935229:014crwdne2935229:0

Spencer Day

crwdns2935283:009/14/22crwdne2935283:0

129,143 crwdns2915208:0crwdne2915208:0

crwdns2935297:0884crwdne2935297:0

crwdns2947410:01crwdne2947410:0

If you have buttons that don’t respond, you can also just clean the contacts (the round black ones and the gold ones on the board) with alcohol and a Q-tip. After that, I coated the contacts with some contact spray, also with Q-tip. All buttons are working again.

Simon - crwdns2934203:0crwdne2934203:0

crwdns2917038:0crwdne2917038:0

crwdns2936625:0crwdne2936625:0:

crwdns2936751:024crwdne2936751:0 7
crwdns2936753:07crwdne2936753:0 66
crwdns2936753:030crwdne2936753:0 223
crwdns2942667:0crwdne2942667:0 27,155